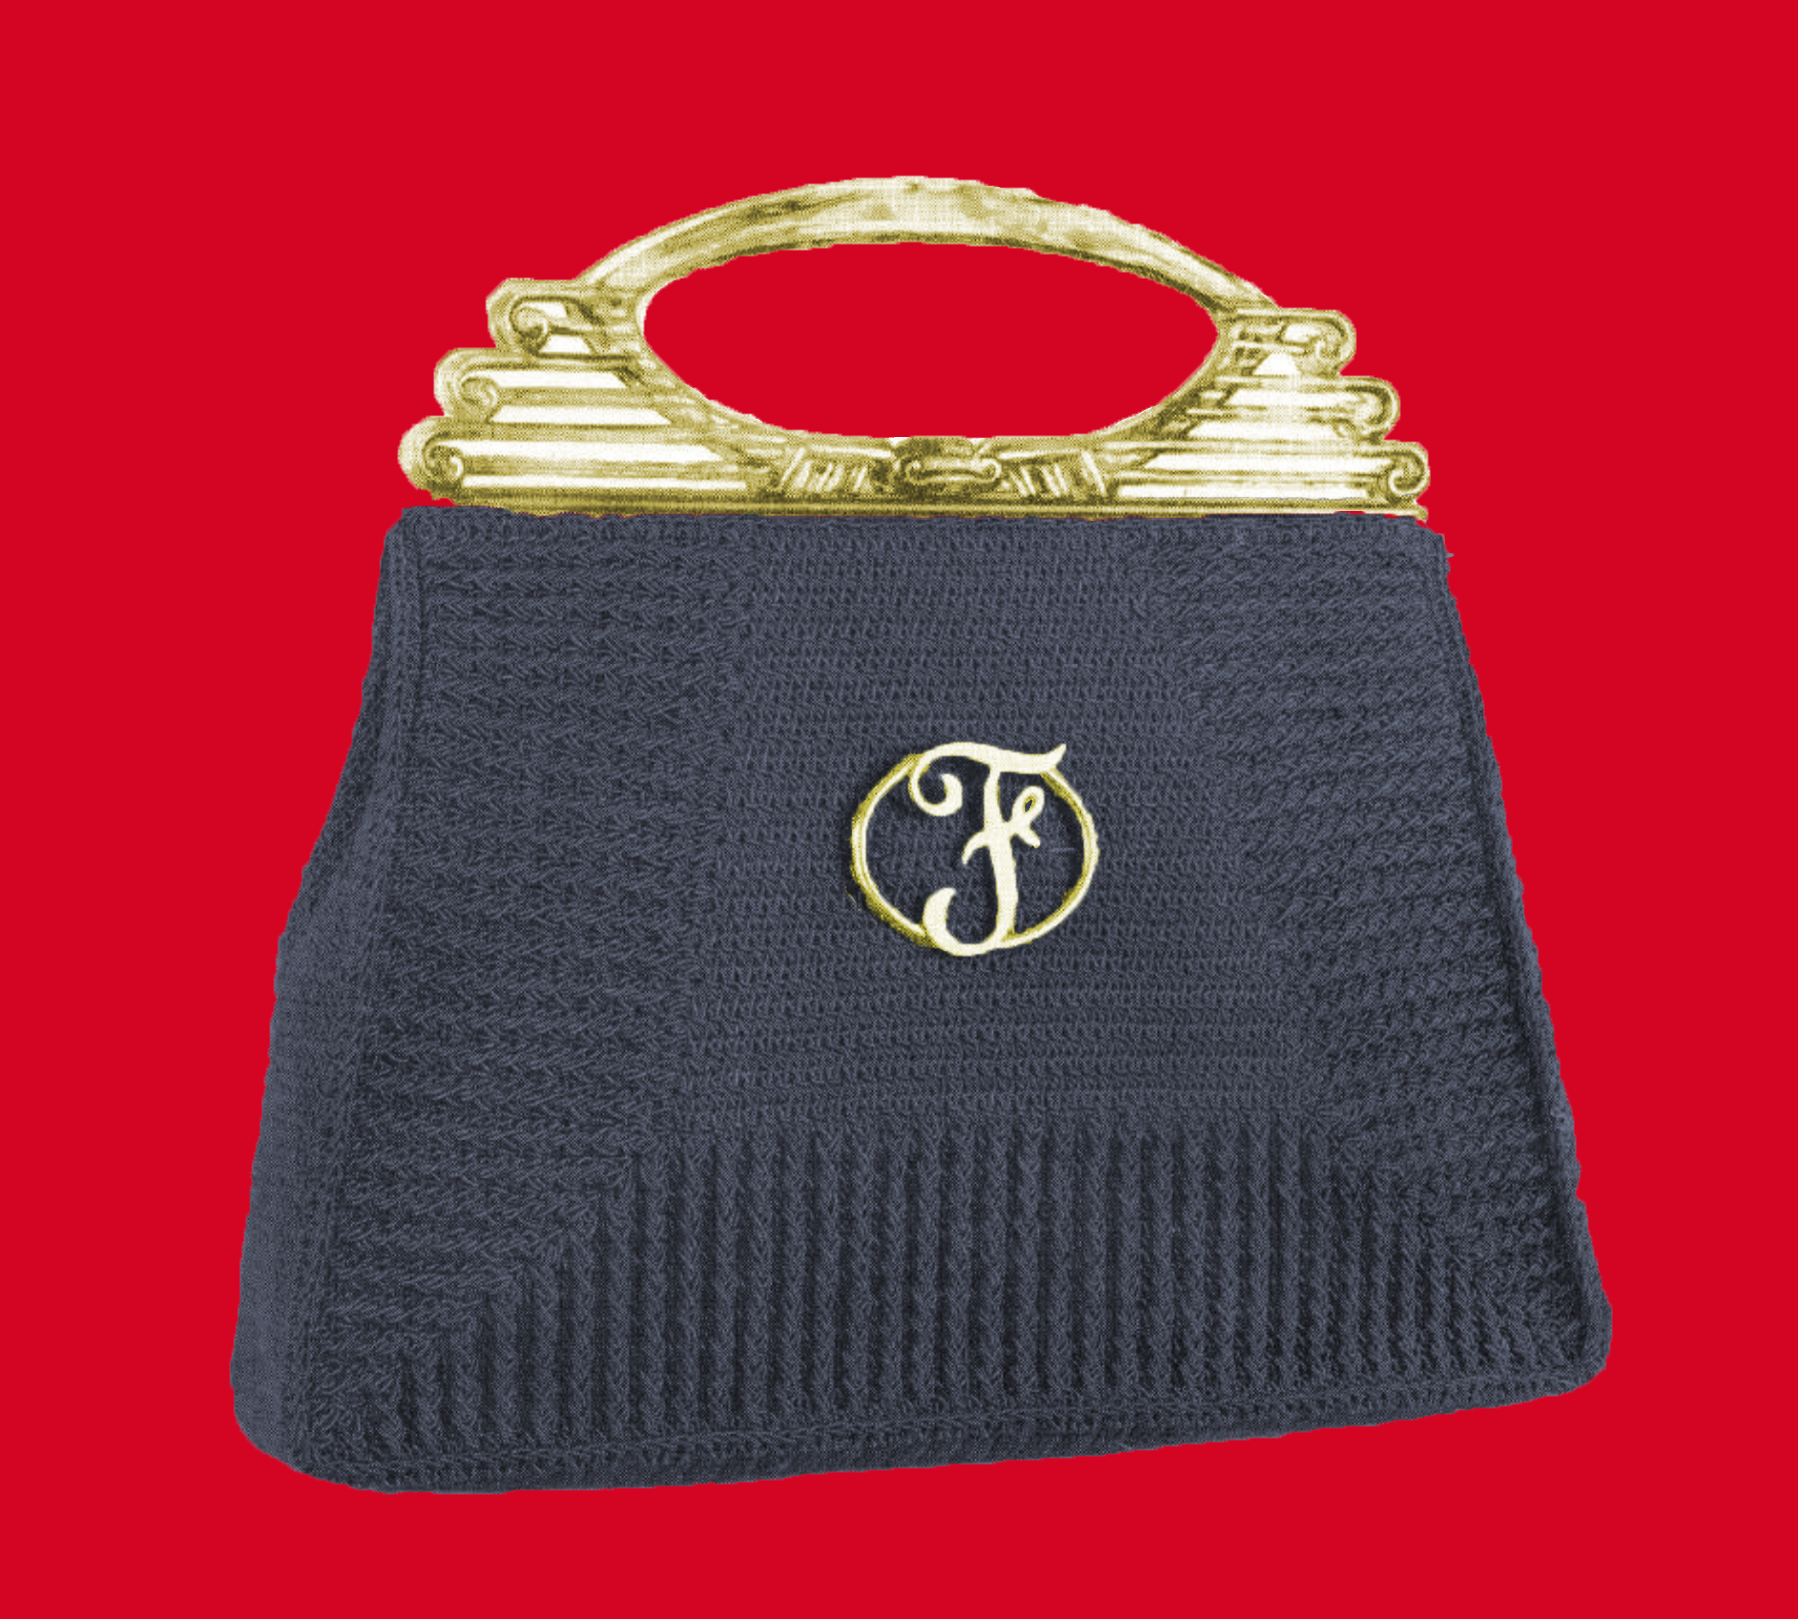
Monogram Bag Crochet Pattern
The Monogram Bag Crochet Pattern is a timeless and elegant project that perfectly blends vintage charm with personalized flair. Featuring clean lines and the option to add a monogrammed detail, this bag is both functional and stylish. Its structured design makes it a sophisticated accessory for everyday use or as a thoughtful, customized gift. The use of gimp material provides durability and shine, making this bag not only beautiful but also long-lasting. The Monogram Bag stands out as a classic representation of vintage crochet with the opportunity to infuse your personal touch.
This pattern is approachable for crocheters of varying skill levels, offering just enough complexity to make it rewarding without being overwhelming. The construction of the bag involves shaping through single and double crochet stitches, which are easy to grasp, even for newer crocheters. Attaching the monogram detail might seem like a challenge, but with clear instructions and a bit of patience, it’s a fun and straightforward process. The pattern’s structured design provides an excellent learning opportunity for techniques like working with gussets and assembling a lined bag. Any hurdles in this project can be easily overcome with focus and practice, making it an encouraging choice for those looking to expand their crochet repertoire.
Creating the Monogram Bag is a satisfying and enjoyable experience that results in a truly unique and personal accessory. The balance of simplicity and customization allows crocheters to put their own creative stamp on a vintage design. Whether you’re making it for yourself or as a special gift, the Monogram Bag is sure to become a treasured item. The process of crafting this bag highlights the joy of combining artistry with functionality, leaving you with a beautiful piece that reflects both skill and creativity.
Discover more timeless designs from this vintage collection by exploring Bags and Hats Crocheted with Raphael Brand Gimp No. 5 (1939), where you’ll find all the patterns from this classic booklet.
This pattern is transformed, adapted, and expanded from a public domain design originally published in Bags and Hats Crocheted with Raphael Brand Gimp No. 5 (1939). While the original design is in the public domain, the rewritten instructions and supplementary content on this site are ©Tiffany Bliss Mullins, 2024. All rights reserved. Have questions about this pattern, public domain, or copyright? Visit the FAQ page for answers and resources.
Key Details
- Skill Level: Intermediate
- Stitches Used: Single Crochet (SC), Double Crochet (DC)
- Finished Size: Adjustable based on materials and frame size
Materials
- Gimp: 6 tubes of “Raphael Brand Gimp” (or a modern substitute). You can read more about gimp and modern substitution suggestions here: What is Gimp?
- Lining fabric (recommendation: about ½ yard)
- Hinge Frame: Size to fit the finished width of your bag. Because the original 1939 instructions do not specify an exact hinge frame size (and because gimp yarn can vary in thickness), there isn’t a single “official” dimension given in the pattern. In practice, most crocheters find that a 6- to 8-inch hinge frame works well.
- Your Gauge: If your stitches are looser or tighter, the final width of the bag will differ.
- Yarn Substitution: Raffia, cord, or any modern yarn can change the finished dimensions.
- For your hinge frame size: Crochet your panels first, measure the width of the top edge, and then select a hinge frame that matches or is just slightly wider to accommodate seam allowances and lining.
- Monogram pin or embellishment
Monogram Bag Crochet Pattern
Center Panel
- Foundation Chain: Ch 24.
- Rows 1–3: SC in the second chain from the hook and in each stitch across. Ch 1, turn.
- Row 4: SC twice in the first stitch, SC in each stitch across, SC twice in the last stitch. Ch 1, turn.
- Rows 5–7: Work as Rows 1–3.
- Rows 8–35: Alternate increases every 8th row, maintaining the SC pattern. Fasten off.
Border
- Row 1: Attach Gimp to the first row of the Center Panel. Work along the long side edge as follows: SC in the end of the first row, DC in the end of the next row, SC in the end of the next row. Repeat from * to the corner, ch 2. Along the bottom edge: SC in the same stitch as the last SC, DC in the next stitch, SC in the next stitch. Repeat from * to the next corner, ch 2. Repeat this pattern along the opposite side. Ch 1, turn.
- Row 2: SC in each stitch of the previous row, working (DC, ch 2, DC) under each corner ch-2 space. Ch 1, turn.
- Row 3: SC in the first stitch, DC around the DC of the previous row, SC in the next stitch, DC around the next DC. Repeat from * to the end of the row, working (SC, ch 2, SC) in each corner space. Ch 1, turn.
- Rows 4–19: Alternate Rows 2 and 3. Fasten off.
- Work 1 row of SC across the top edge to finish the panel.
Gusset
- Foundation Chain: Ch 18.
- Row 1: SC in the second chain from the hook and in each chain across. Ch 1, turn.
- Rows 2–X: SC in each stitch across, continuing until the gusset measures 24 inches. Fasten off.
Assembly
- Joining Panels: Use SC on the right side to join both sides of the bag to the gusset.
- Lining: Sew the lining into the bag for a polished finish. Use approximately ½ yard of lightweight fabric, adjusting to your bag’s dimensions.
- Frame Attachment: Sew the top edges of the bag to the hinge frame securely.
- Monogram Pin: Attach the monogram pin or embellishment to the front of the bag as desired.
The Monogram Bag’s clean lines and timeless design make it a perfect blend of vintage style and personalization. Enjoy creating this unique accessory, and share your finished piece with the crochet community!


