
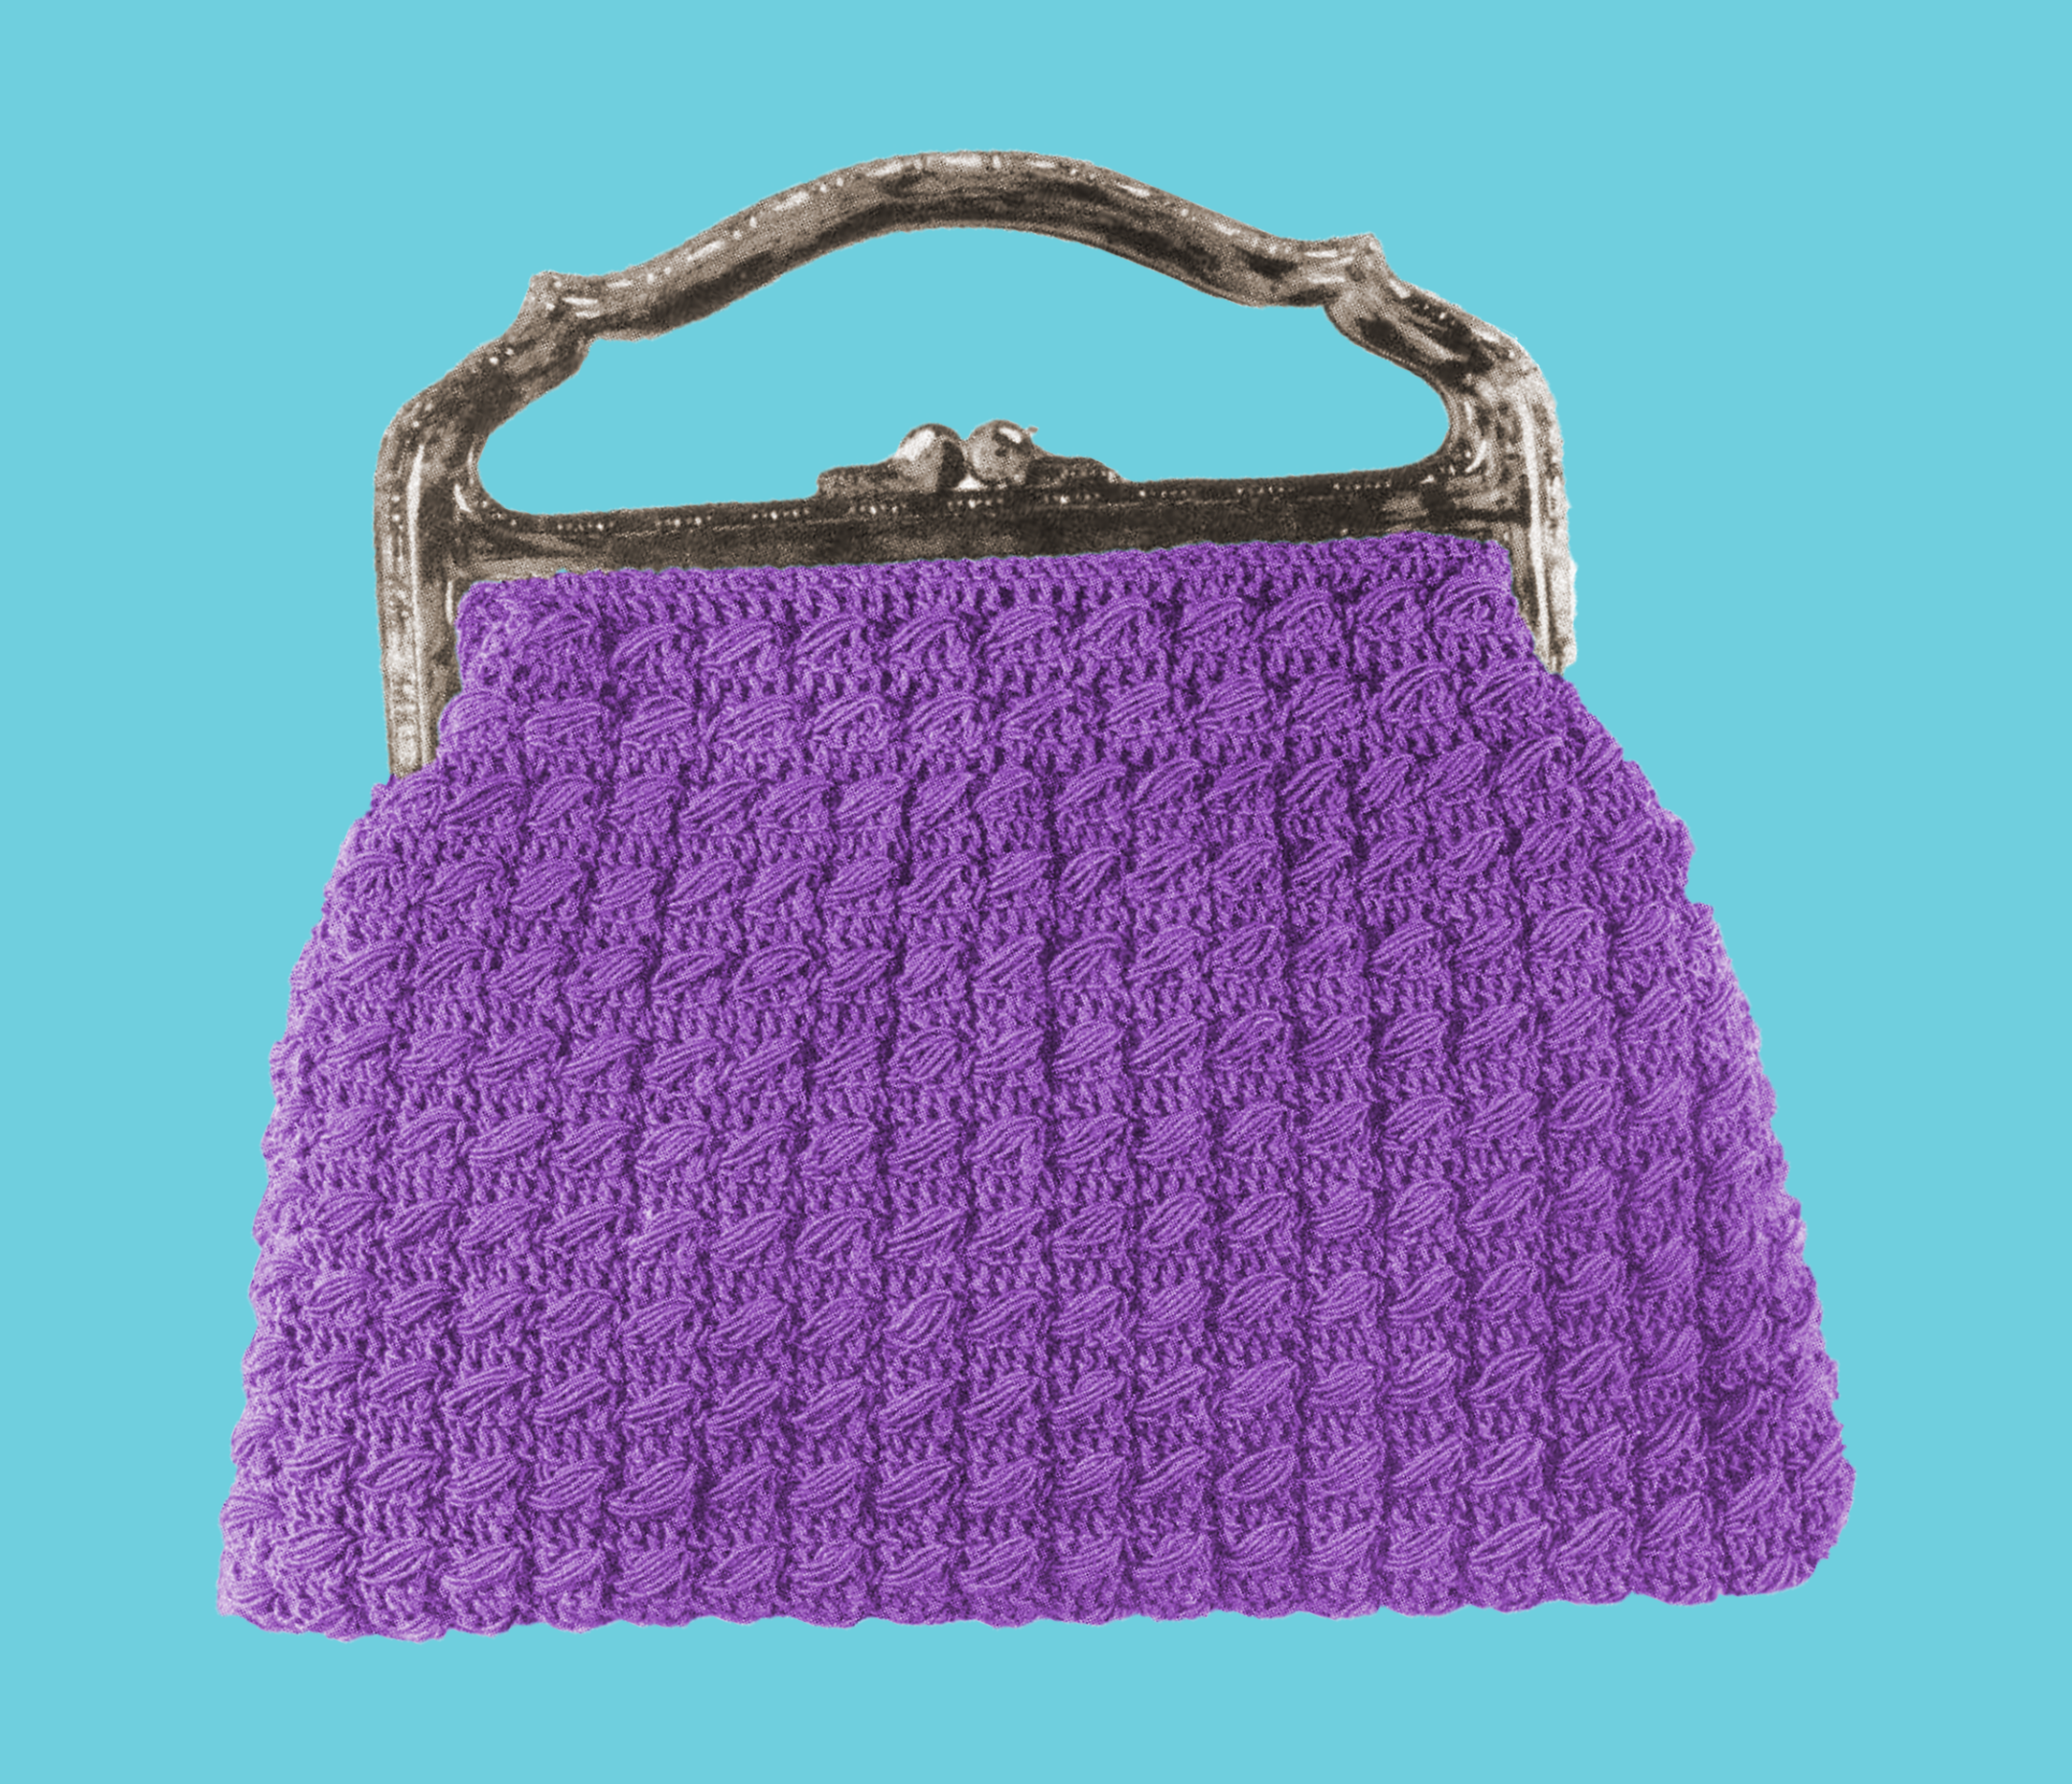
Whippet Bag Crochet Pattern
The Whippet Bag Crochet Pattern is a sleek and stylish design that blends vintage sophistication with modern functionality. The intricate whip stitch, which gives the bag its distinctive texture, creates a dynamic and eye-catching effect. Its clean lines and structured shape make it a versatile accessory that pairs beautifully with both casual and formal outfits. The Whippet Bag is a wonderful representation of the artistry of vintage crochet and offers a satisfying project for crafters who enjoy making timeless, elegant pieces.
This pattern introduces the whip stitch, a technique that might be new to some crocheters but is straightforward to learn and incredibly rewarding to master. The stitch involves creating a series of elongated loops, which add depth and texture to the design. While this stitch requires a bit of focus to maintain consistency in tension, it quickly becomes rhythmic and enjoyable with practice. Shaping the gussets and assembling the bag might seem challenging initially, but the clear step-by-step instructions make these tasks easy to follow. Each step of the process is an opportunity to build confidence and hone your skills, making this project approachable for crocheters of all levels.
Crafting the Whippet Bag is a highly rewarding experience that balances creativity with technical skill. The finished bag is a testament to your craftsmanship and is sure to draw compliments wherever it’s carried. Whether you’re making it for yourself or as a thoughtful gift, this pattern offers a chance to create something truly unique and beautiful. With its elegant design and vintage charm, the Whippet Bag is a project that’s both fun to make and a joy to use, leaving you with a stylish accessory you’ll be proud to show off.
Discover more timeless designs from this vintage collection by exploring Bags and Hats Crocheted with Raphael Brand Gimp No. 5 (1939), where you’ll find all the patterns from this classic booklet.
This pattern is transformed, adapted, and expanded from a public domain design originally published in Bags and Hats Crocheted with Raphael Brand Gimp No. 5 (1939). While the original design is in the public domain, the rewritten instructions and supplementary content on this site are ©Tiffany Bliss Mullins, 2024. All rights reserved. Have questions about this pattern, public domain, or copyright? Visit the FAQ page for answers and resources.
Key Details
- Skill Level: Intermediate
- Stitches Used: Single Crochet (SC), Half Double Crochet (HDC), Double Crochet (DC), Whip Stitch
- Finished Size: Adjustable based on materials and frame size
Materials
- Gimp: 6 tubes of “Raphael Brand Gimp” (or a modern substitute). You can read more about gimp and modern substitution suggestions here: What is Gimp?
- Lining fabric (recommendation: about ½ yard)
- Hinge Frame: Size to fit the finished width of your bag. Because the original 1939 instructions do not specify an exact hinge frame size (and because gimp yarn can vary in thickness), there isn’t a single “official” dimension given in the pattern. In practice, most crocheters find that a 6- to 8-inch hinge frame works well for the Normandie Bag.
Special Stitches
Whip Stitch:
- Yarn over, insert hook into the specified stitch, and pull through, drawing up a ¼” loop.
- Yarn over, insert hook into the same stitch, and pull through, drawing up another ¼” loop.
- Yarn over, insert hook into the same stitch again, and pull through, drawing up a final ¼” loop.
- Yarn over and pull through all 7 loops on the hook.
- Lock the Whip Stitch by making 1 HDC in the same stitch.
Pattern
Bag Body
- Foundation Chain: Ch 61.
- Row 1: SC in the second chain from the hook and in each chain across. Ch 2, turn.
- Row 2: DC in each stitch across. Ch 2, turn.
- Row 3: Skip the first stitch, DC in each of the next 3 stitches, work 1 Whip Stitch into the first stitch of the previous row, HDC into the next stitch after the last DC.
- DC in each of the next 3 stitches, Whip Stitch in the same stitch as the last HDC, HDC in the next stitch.
- Repeat from * to the end of the row, ending with 1 HDC in the same stitch as the last DC. Ch 2, turn. (15 Whip Stitches in this row.)
- Row 4: Skip the first stitch, DC in each of the next 4 stitches, skip 1 stitch.
- Repeat from * to the end of the row. Ch 2, turn.
- Row 5: Work as Row 3.
- Row 6: Work as Row 4, ending with 2 DC in the last stitch.
- Row 7: Skip the first stitch, DC in each of the next 3 stitches, Whip Stitch into the first stitch of the previous row, HDC into the same stitch as the last DC.
- DC in each of the next 3 stitches, Whip Stitch in the same stitch as the last HDC, HDC in the same stitch as the last DC.
- Repeat from * to the end of the row. Ch 2, turn. (20 Whip Stitches in this row.)
- Row 8: Work as Row 4.
- Rows 9–27: Alternate Rows 3 and 4. Fasten off.
- Second Panel: Make another panel identical to the first.
- Joining: Join both sides of the bag with slip stitches (sl st) on the wrong side, starting and ending at Row 10.
Gussets
- Attach Gimp at the top of the bag on the right side. SC evenly around the opening. Ch 2, turn.
- Rows 2–5: HDC in each stitch across. Ch 2, turn.
- Fold the gusset in half and join the edges with sl st on the wrong side, picking up the back loop only. Fasten off.
- Make another gusset identical to the first.
Finishing
- Sew the lining into the bag for a clean and structured interior. Use approximately ½ yard of fabric, adjusted to fit your final dimensions.
- Attach the gussets to the sides of the hinge frame first, then sew the top of the bag to the frame.
The Whippet Bag’s textured design and elegant structure make it a standout project for experienced crocheters. Enjoy crafting this timeless piece, and don’t forget to share your finished creation with the crochet community!


