Adding a tile backsplash to your kitchen or bathroom can transform the space, adding both functionality and style. Whether you’re a DIY enthusiast or a first-timer, this guide will walk you through the process step-by-step to give you an idea of what’s involved and what you’ll need to proceed.
Planning and Preparation
Choosing Your Tiles
Types of Tiles: Tiles come in various materials, including ceramic, porcelain, glass, and natural stone. Each has its benefits and aesthetic appeal.
Size and Shape: Consider the size and shape of the tiles. Mosaic tiles can be more challenging to install but offer a unique look, while larger tiles provide a more modern, streamlined appearance.


Tools and Materials
- Measuring tape
- Level
- Tile cutter or saw
- Notched trowel
- Spacers
- Tile adhesive
- Grout
- Sponge and bucket
- Grout float
- Silicone caulk
Measuring Your Space
- Step 1: Measure the width and height of your backsplash area. Multiply these numbers to get the square footage, then add 10% for waste and cuts.
Preparing the Workspace
Cleaning and Repairing the Wall
- Cleaning: Ensure the wall is clean and free of grease or dust. Use a degreaser if necessary.
- Repairs: Fill any holes or cracks with spackling compound and sand smooth.
Laying Out the Tiles
- Dry Layout: Arrange your tiles on the floor or a large table, mimicking the wall layout. This step helps in visualizing the end result and determining cuts.
Installing the Tiles


Applying the Adhesive
- Mixing Adhesive: Follow the manufacturer’s instructions to mix your tile adhesive.
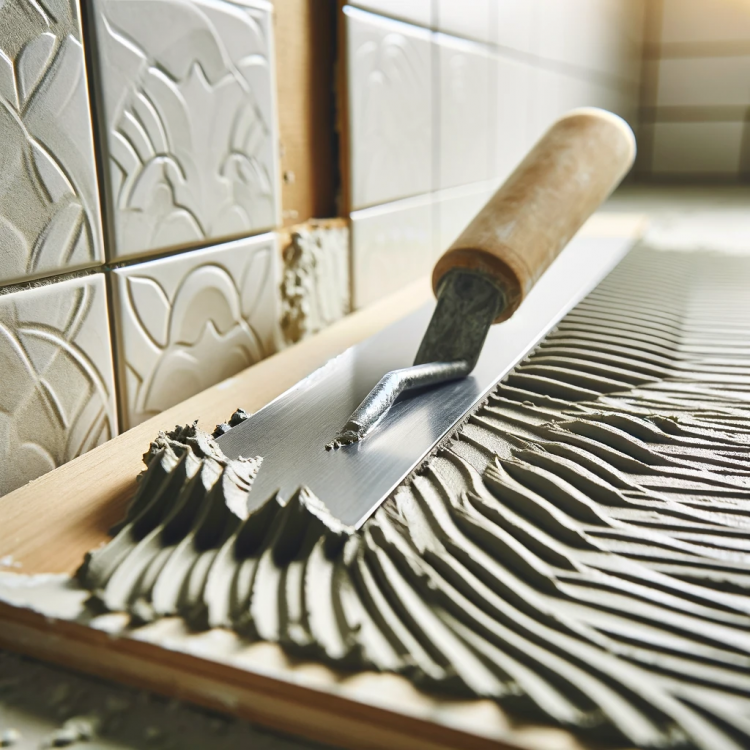
- Application: Using a notched trowel, apply adhesive to a small section of the wall. The notches help in creating an even layer.
Setting the Tiles
- Starting Point: Begin at the most visible part of the wall. Press the tiles into the adhesive, twisting slightly to ensure a good bond.
- Use Spacers: Place spacers between the tiles for even grout lines.
Cutting Tiles
- Measure and Mark: Measure and mark where cuts are needed.
- Cutting: Use a tile cutter or wet saw to make the cuts.
Grouting the Tiles
Choosing Grout
- Type of Grout: Select a grout that complements your tile. Sanded grout is typically used for wider grout lines, while unsanded grout is suitable for narrower lines.
Applying the Grout
- Mixing Grout: Mix the grout according to the manufacturer’s instructions until it’s the consistency of peanut butter.
- Spreading Grout: Using a grout float, apply the grout at a 45-degree angle, pressing it into the spaces between the tiles.
Cleaning as You Go
- Wiping Excess Grout: After about 10-15 minutes, begin wiping off the excess grout with a damp sponge. Rinse the sponge frequently.
- Finishing Touches: Once the grout has set slightly, go over the area again with a clean, slightly damp sponge for a smooth finish.
Sealing and Caulking
Sealing the Grout
- Why Seal?: Sealing the grout helps in preventing stains and moisture penetration.
- Application: After the grout has completely dried (typically 24-48 hours), apply a grout sealer.
Caulking
- Caulk Selection: Use a caulk that matches your grout or is clear.
- Application: Apply caulk along the bottom edge of the backsplash where it meets the countertop. Smooth the caulk line with a damp finger or caulking tool.
Cleaning and Maintenance
Regular Cleaning
- Daily Care: Wipe down your backsplash with a soft cloth and mild cleaner.
- Avoid Harsh Chemicals: Do not use abrasive cleaners as they can damage the tiles and grout.
Long-term Maintenance
- Grout Care: Reapply grout sealer annually.
- Tile Inspection: Regularly check for any loose tiles or cracks.
Tips and Tricks
Tile Layout
- Symmetry: For a balanced look, start your tile layout in the most focal area and work outwards.
- Mixing Tiles: Consider mixing different tile styles or colors for a custom design.
Troubleshooting
- Misaligned Tiles: If a tile is not level, gently pry it off and reapply.
- Grout Issues: If grout starts to crack or crumble, remove the damaged portion and regrout.
Installing a tile backsplash is a rewarding project that enhances the beauty and functionality of your kitchen or bathroom. With the right tools, materials, and a bit of patience, you can create a stunning result that reflects your personal style and craftsmanship.


