
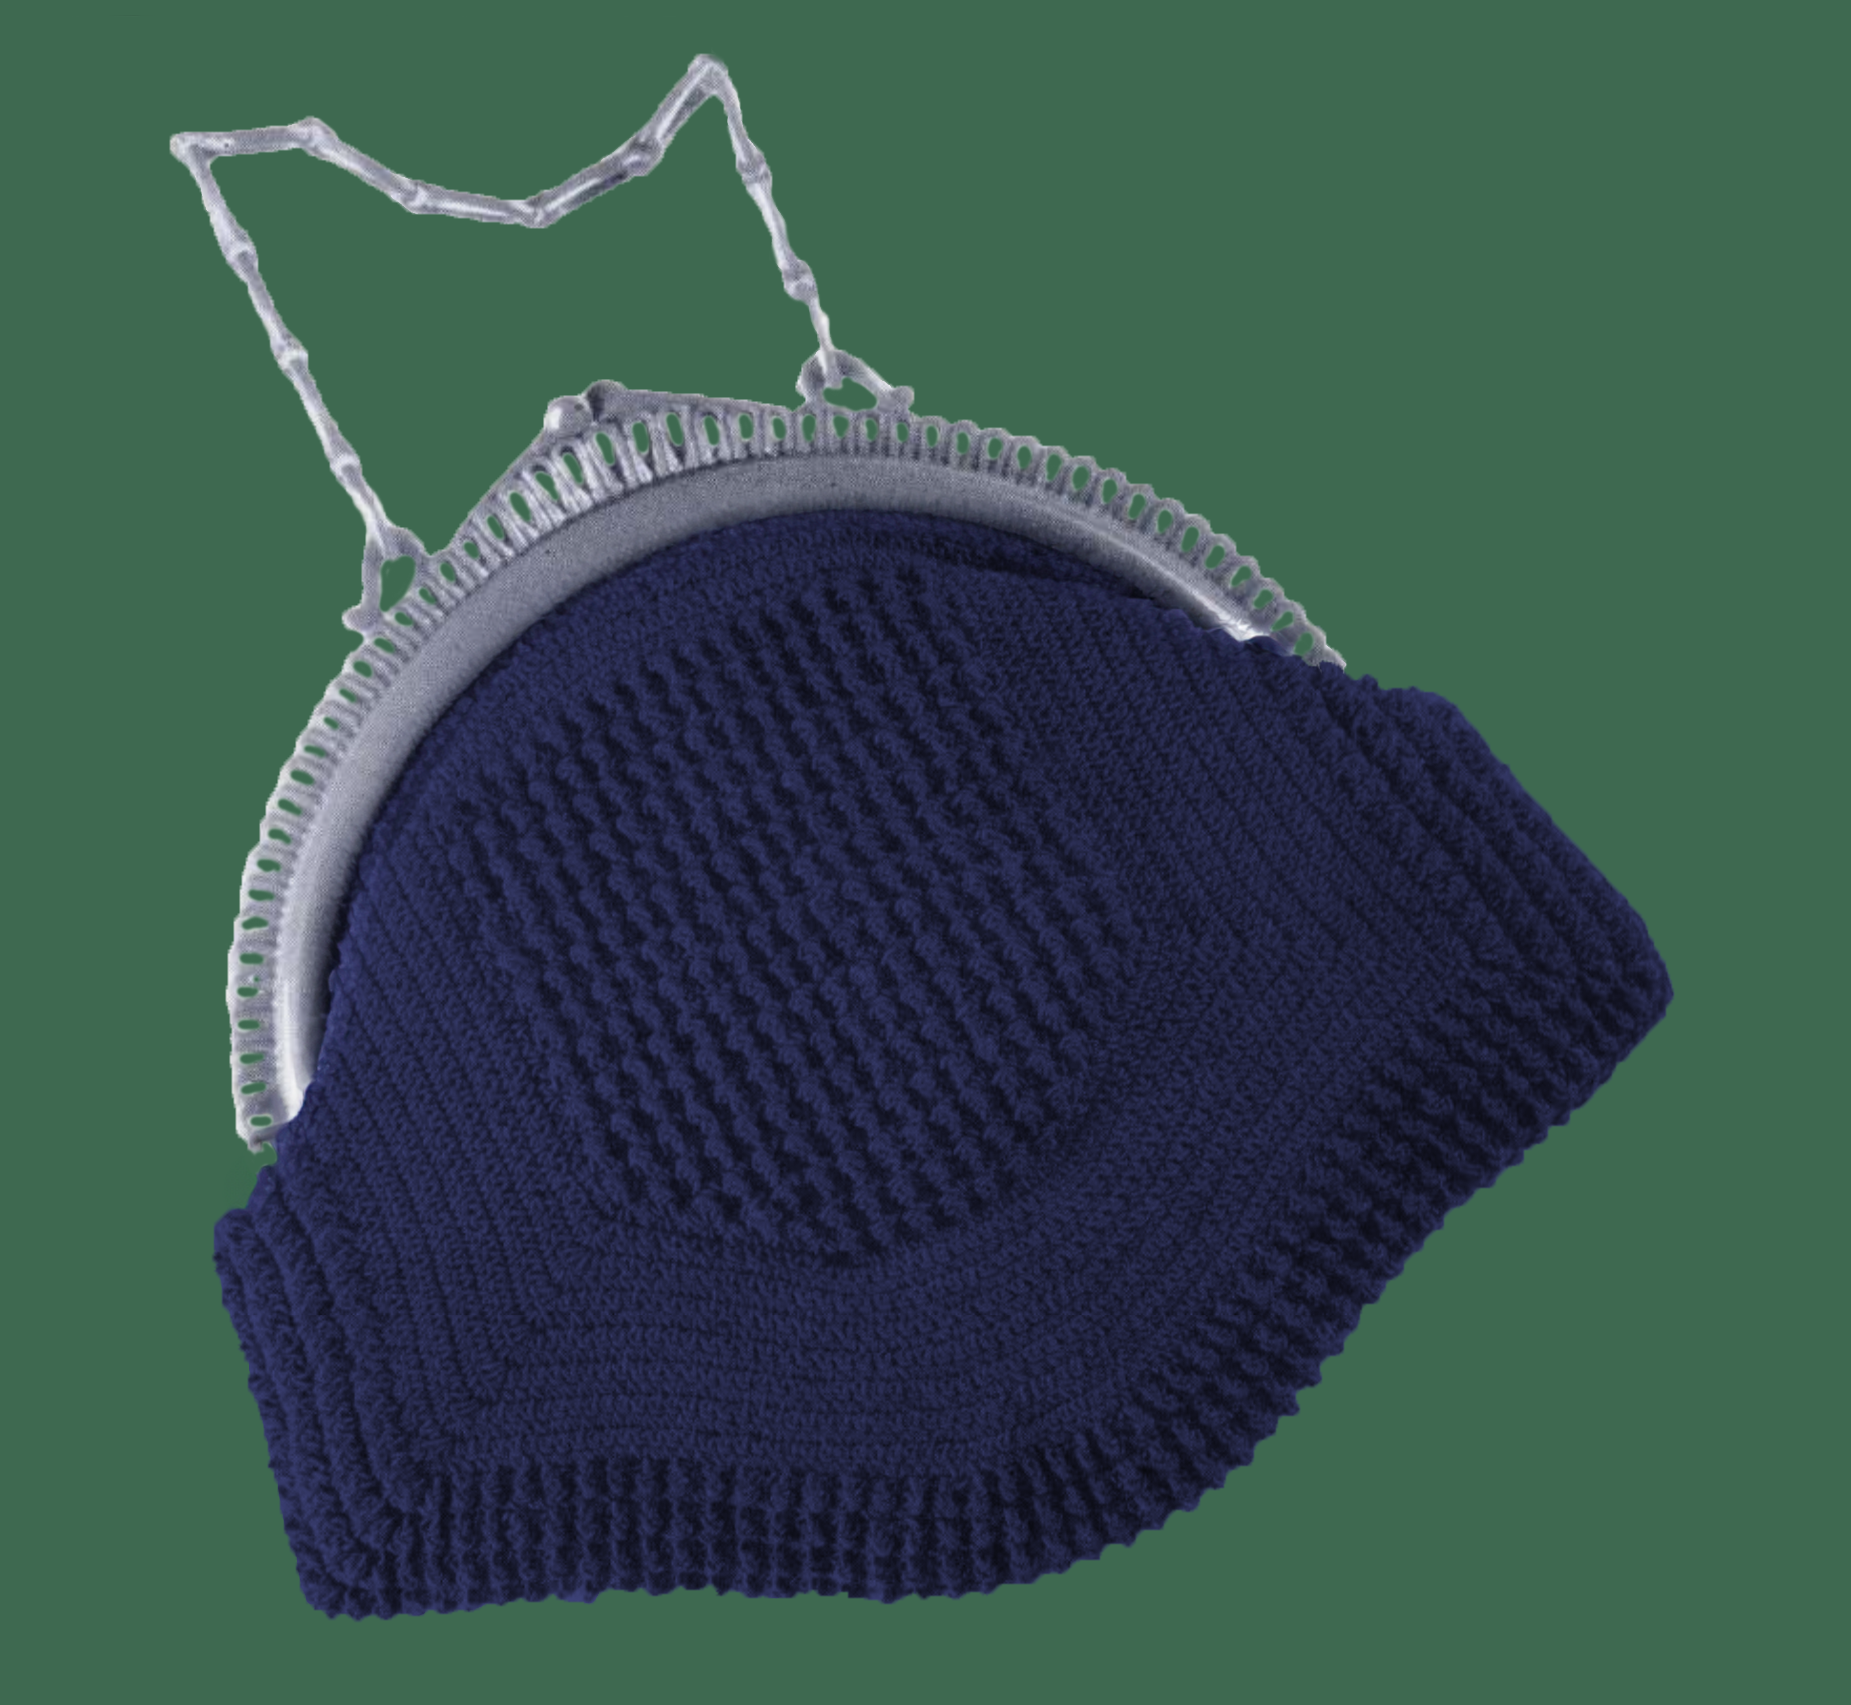
Normandie Bag: A Touch of 1930’s Glamour
The Normandie Bag is a striking example of vintage sophistication, capturing the essence of 1930s elegance. Designed with clean lines and a chic structure, this bag exudes a timeless appeal that makes it a perfect accessory for formal occasions or everyday use. Crafted with Raphael Brand Gimp, the pattern delivers both durability and a polished finish, ensuring that the bag is as practical as it is beautiful. Its compact size and exquisite details make it a showstopper in any setting.
For those looking to recreate this vintage masterpiece, the Normandie Bag offers a delightful crochet experience. The pattern employs straightforward techniques, making it accessible to crocheters of varying skill levels. While the assembly of the hinge frame and final finishing touches might require a bit of focus, these steps can be easily mastered with attention to detail. The joy of seeing this bag take shape as you work through the pattern is immensely satisfying and makes any minor challenges well worth the effort.
This bag isn’t just a craft project; it’s a gateway to embracing vintage fashion in your own unique way. Pair it with a retro-inspired outfit or use it to elevate modern attire—the Normandie Bag effortlessly bridges the gap between past and present. The sense of accomplishment in creating such an elegant accessory by hand is unmatched, making it a treasure in your collection for years to come.
This pattern is transformed, adapted, and expanded from a public domain design originally published in Bags and Hats Crocheted with Raphael Brand Gimp No. 5 (1939). While the original design is in the public domain, the rewritten instructions and supplementary content on this site are ©Tiffany Bliss Mullins, 2024. All rights reserved. Have questions about this pattern, public domain, or copyright? Visit the FAQ page for answers and resources.
Note: Normandy is spelled with an ie instead of a y in the original pattern so I kept that spelling here.
Discover more timeless designs from this vintage collection by exploring Bags and Hats Crocheted with Raphael Brand Gimp No. 5 (1939), where you’ll find all the patterns from this classic booklet.
If you would like to read more about the vintage material, gimp, as well as find some modern substitutions please read our article: What is Gimp?
Key Details:
- Pattern Name: Normandie Bag
- Original Publication Year: 1939
- Publisher: Fraser Manufacturing Company
- Source: Bags and Hats Crocheted with Raphael Brand Gimp
- Public Domain Notice: This pattern is in the public domain.
- Disclaimer: This pattern has been adapted from its original 1939 text for clarity and modern use. It resides in the public domain, and we are pleased to share it here for free. You can read more about copyright essentials here.
Materials
- Yarn: 6 tubes “Raphael Brand” Gimp (original). You can read more here: What is Gimp?
- Raphael Brand Gimp is a vintage material that doesn’t have a direct equivalent in modern standardized yarn weights. Gimp was essentially a stiff, cord-like material often used for purses or hats because it held its shape well. If you’re aiming to replicate the look and structure of the original:
- Closest Modern Approximation: Many crocheters use a heavy cotton cord, raffia, or a firm worsted-weight yarn (and sometimes even a #3 crochet thread held doubled), adjusting hook size to maintain the desired stiffness.
- Gauge Over Exact Yarn Size: Instead of matching exact yarn size, it’s often more reliable to crochet a swatch and ensure you get the firm, structured fabric typical of vintage gimp.
- In short, there isn’t a precise modern “yarn size” for Raphael Gimp, so focus on the feel and structure—choose a stiff, cord-like yarn and adjust your hook size or yarn weight until you achieve a similarly tight and sturdy crochet fabric.
- Closest Modern Approximation: Many crocheters use a heavy cotton cord, raffia, or a firm worsted-weight yarn (and sometimes even a #3 crochet thread held doubled), adjusting hook size to maintain the desired stiffness.
- Raphael Brand Gimp is a vintage material that doesn’t have a direct equivalent in modern standardized yarn weights. Gimp was essentially a stiff, cord-like material often used for purses or hats because it held its shape well. If you’re aiming to replicate the look and structure of the original:
- Lining Fabric: Enough to fully line your finished bag (original instructions do not specify a size). But because the Normandie Bag is relatively small (typically 6–8 inches wide at the top and around 7–9 inches tall, depending on your gauge), you won’t need much fabric. Generally:
- 1/4 yard of 44-inch-wide fabric is enough for a basic lining with minimal seam allowances.
- If you plan on adding pockets or extra details inside, you might prefer 1/2 yard to have a little wiggle room.
- It’s always safest to measure your finished crochet panels first (width, height, and side gusset depth) and then purchase lining fabric accordingly.
- Hinge Frame: Size to fit the finished width of your bag. Because the original 1939 instructions do not specify an exact hinge frame size (and because gimp yarn can vary in thickness), there isn’t a single “official” dimension given in the pattern. In practice, most crocheters find that a 6- to 8-inch hinge frame works well for the Normandie Bag.
- The exact measurement depends on:
- Your Gauge: If your stitches are looser or tighter, the final width of the bag will differ.
- Yarn Substitution: Raffia, cord, or any modern yarn can change the finished dimensions.
- For your hinge frame size: a good rule of thumb is to crochet your panels first, measure the width of the top edge, and then select a hinge frame that matches or is just slightly wider to accommodate seam allowances and lining. This ensures the frame fits your finished bag comfortably.
- Note: the original pattern lists a “link handle” as part of the materials needed, however, modern frames come complete with a handle and/or shoulder strap.
- The exact measurement depends on:
- Crochet Hook: Size suitable for your chosen yarn. Adjust as needed for tension and structure.
Stitches & Abbreviations
- ch: chain
- sc: single crochet
- tc (or tr): treble crochet (triple crochet)
- b st (Bead Stitch): See “Bead Stitch Instructions” below
- sl st: slip stitch
- st(s): stitch(es)
Bead Stitch Instructions
- Make 1 treble crochet (tc) in the specified stitch.
Note on Turns
- When a row ends with an instruction to “chain 1, turn,” you will start the next row in the first stitch unless otherwise indicated.
Pattern Instructions
Center Panel
- Foundation Chain: Chain 16.
- Row 1 (sc row):
- Work 1 sc in the second chain from the hook.
- Continue with 1 sc in each chain across (total of 15 sc).
- Chain 1, turn.
- Row 2 (sc & bead stitch row):
- Make 2 sc in the first stitch.
- Work 1 b st (treble crochet) in the next stitch, then 1 sc in the next stitch.
- Repeat from * to near the end.
- Finish with 2 sc in the last stitch.
- Chain 1, turn.
- Row 3 (sc row):
- Make 2 sc in the first stitch.
- 1 sc in each stitch across.
- 2 sc in the last stitch.
- Chain 1, turn.
- Rows 4–11:
- Alternate Row 2 and Row 3 instructions.
- (By the end of Row 11, you should have 35 stitches in total.)
- Row 12 (sc & bead stitch row):
- 1 sc in the first stitch.
- 1 b st (treble crochet) in the next stitch, then 1 sc in the next stitch.
- Repeat from * to end of row.
- Chain 1, turn.
- Row 13 (sc row):
- Make 1 sc in each stitch across.
- Chain 1, turn.
- Rows 14–33:
- Alternate Row 12 and Row 13.
- Do not fasten off at the end of Row 33.
Side Panel
You will now work around the ends of the rows of your Center Panel and across the bottom foundation chain.
- Row 1 (sc around edges):
- Make 1 sc in the end of each row of the Center Panel.
- Continue across the bottom foundation chain, placing 2 sc in each corner (i.e., at the first and last rows—Rows 1 and 12).
- You should end up with 85 stitches.
- Chain 1, turn.
- Row 2 (sc row with increases):
- Work 1 sc in each stitch across.
- Make 1 increase (2 sc in the same stitch) in each of the same corners you increased previously at Row 12. (Total of 2 increases in this row.)
- Chain 1, turn.
- Rows 3–6 (sc rows with corner increases):
- Repeat Row 2, making 2 increases at those same 2 corner points.
- Chain 1, turn.
- Rows 7–15 (sc rows, 2 corner points + bottom increases):
- Continue as before, but now add 2 additional increases at the bottom of the bag (not necessarily aligned with previous increases).
- By the end of Row 15, you should have 157 stitches total.
- Chain 1, turn.
- Row 16 (sc & bead stitch row with increases):
- 1 sc in the first stitch.
- 1 b st in the next stitch, 1 sc in the next stitch.
- Repeat across, continuing to make increases at the 2 corner points just like before (i.e., 1 sc, 1 b st, 1 sc in that same spot).
- Chain 1, turn.
- Row 17 (sc row):
- Work as Row 3 (or Row 2), maintaining your increases at the corners.
- Chain 1, turn.
- Rows 18–23:
- Alternate Row 16 and Row 17.
- Do not fasten off after Row 23.
- Chain 1 (to prepare for the Foundation Top).
Foundation Top
- Row 1 (sc around top edges):
- Make 1 sc in the end of each row and in each stitch across the top edge.
- Chain 1, turn.
- Rows 2–5 (sc rows):
- Work 1 sc in each stitch across.
- Chain 1, turn.
- At the end of Row 5, fasten off.
Make the other side of the bag in the same way, so you have two identical pieces.
Finishing
- Joining Front and Back:
- With wrong sides together, slip stitch (sl st) around the edges of the bag, picking up the back loop only from each piece. This creates a neat seam on the inside.
- Lining:
- Cut and sew your chosen fabric lining to fit snugly inside the bag.
- Attach it by hand-sewing or machine-sewing along the top edges, just below where the frame will be attached.
- Frame and Handle:
- Sew the top edge of the crocheted panels to the hinge frame (follow the frame’s instructions for the best method—some frames require hand stitching, others have a channel where the bag can be glued).
- Attach the link handle to the frame as directed by the frame’s hardware instructions.
Tips for Modern Crocheters
- Tension & Structure: The original bag uses Gimp, which is quite stiff. If using modern yarn, opt for a sturdy cotton or synthetic blend to maintain shape.
- Frame Sizing: Make sure your finished crochet piece aligns with the width of the hinge frame. Adjust row counts or yarn weight if necessary.
- Embellishments: Experiment with different handles or add decorative accents (beads, tassels, or embroidery) for a personalized look.
A Timeless Crochet Bag Design
The Normandie Bag is a timeless design straight from 1939! This stylish handbag uses bead stitches for texture and showcases a classic hinge frame closure. Feel free to share your finished project with fellow crocheters—bringing vintage patterns back to life preserves our crochet heritage for future generations.
Disclaimer: This pattern has been adapted from its original 1939 text for clarity and modern use. It resides in the public domain, and we are pleased to share it here for free. You can read more about copyright essentials here.


