Snowman Christmas Nail Art: A Festive Touch to Your Holiday Look
The holiday season is the perfect time to get creative with your nail art, and what could be more festive than adorning your nails with cute snowmen and Christmas motifs? Snowman Christmas nail art is not only adorable but also a fun way to add a touch of whimsy to your winter style. Whether you’re a nail art novice or a seasoned pro, there are designs and techniques to suit every skill level.
Why Choose Snowman Christmas Nail Art?
Snowman nail art embodies the spirit of Christmas and winter. It’s a playful theme that can be easily adapted to various nail shapes and sizes. Plus, it’s a great conversation starter at holiday parties!
Getting Started: What You’ll Need
- Base Coat: Protect your nails and create a smooth canvas.
- White Nail Polish: Essential for the snowman’s body.
- Colored Nail Polishes: Think festive colors like red, green, gold, or blue for details.
- Top Coat: To seal in your design and add a glossy finish.
- Dotting Tools and Brushes: For precision in creating details.
- Nail Art Stickers or Decals (optional): These can be handy for beginners or for adding intricate details.
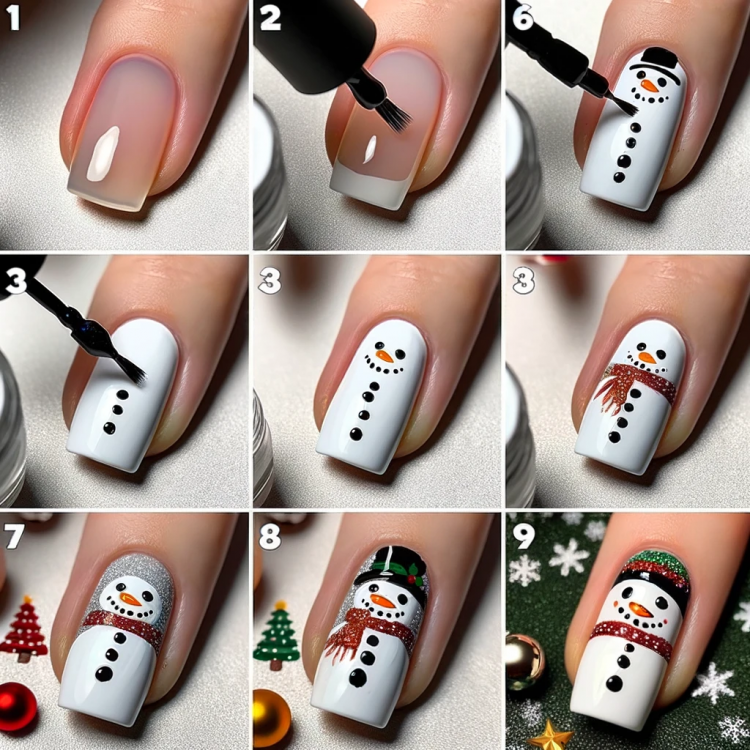
Simple Snowman Design for Beginners
- Apply Base Coat: Start with a clear base coat to protect your nails.
- White Base: Once the base coat dries, apply two coats of white nail polish.
- Create Snowmen: Using a dotting tool, create three white dots in a vertical line for the snowman’s body.
- Add Details: Use a thin brush or toothpick to add small dots for eyes, a carrot nose, and buttons. You can use black for the eyes and buttons, and orange for the nose.
- Finish with Top Coat: Apply a clear top coat to protect your design.
Advanced Designs for Nail Art Enthusiasts
If you’re more experienced with nail art, try these advanced ideas:
- Snowman in a Snow Globe: Create a snow globe effect on your nails by painting a snowman and adding a glittery blue background to represent a snowy scene.
- 3D Snowman: Use nail art clay or thick polish to create a 3D snowman on your nails.
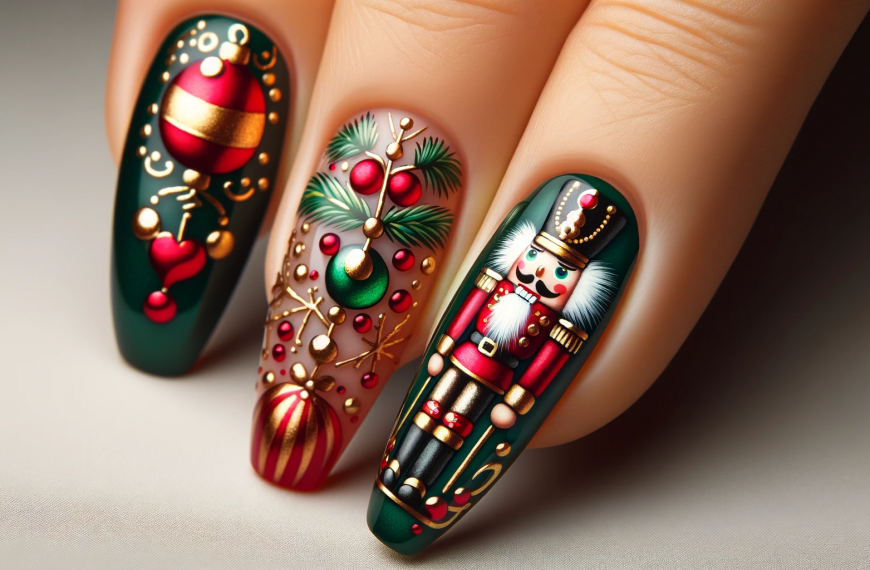
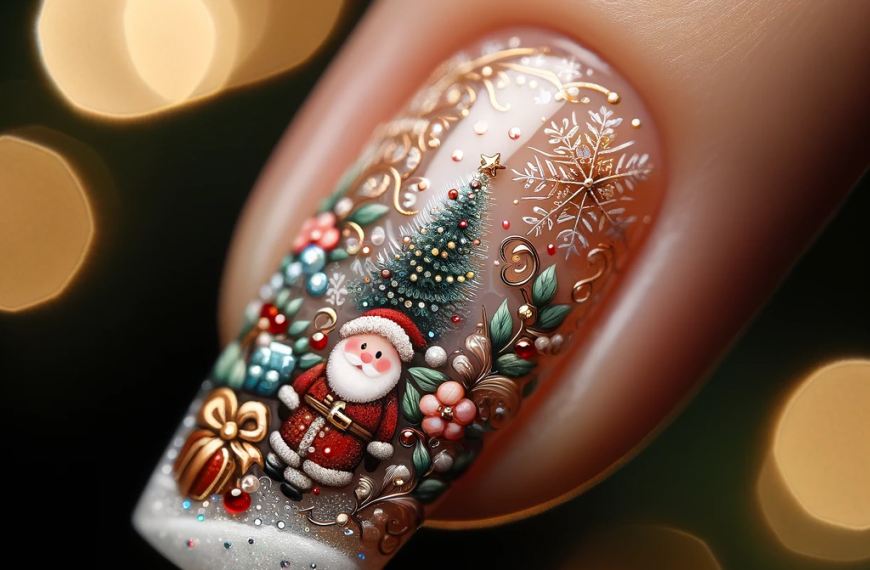
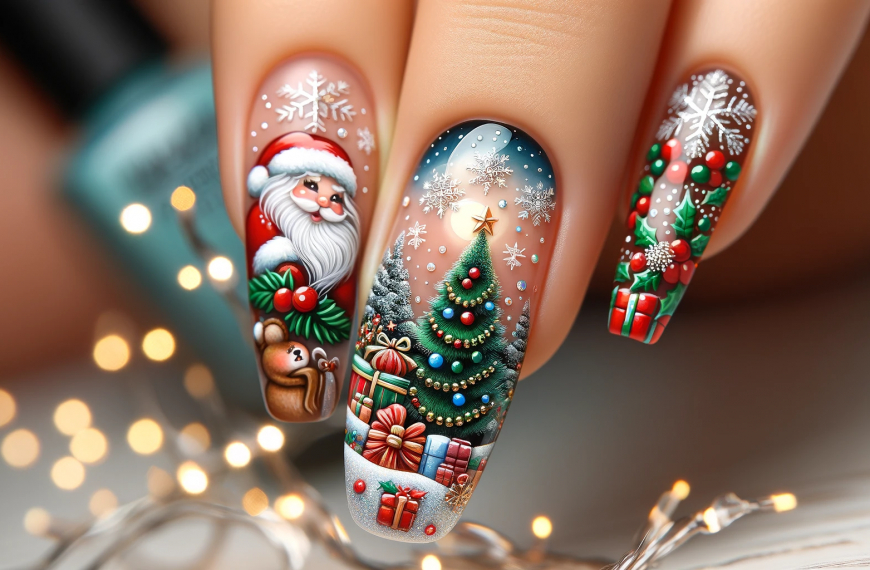
- Christmas Scene: Combine your snowman with other Christmas elements like trees, stars, or Santa hats.
Tips for Perfect Snowman Nail Art
- Keep a Steady Hand: Rest your hand on a flat surface while painting.
- Use Thin Layers: Apply thin layers of polish to prevent smudging and to speed up drying time.
- Be Patient: Allow each layer to dry completely before adding new details.
- Experiment with Colors: While traditional Christmas colors are great, don’t be afraid to try unconventional colors for a unique look.
- Practice Makes Perfect: If you’re new to nail art, practice your designs on a nail wheel or a piece of paper before painting your nails.
Conclusion
Snowman Christmas nail art is a delightful way to express your holiday cheer and showcase your creativity. Whether you opt for a simple design or a more elaborate creation, these festive nails are sure to bring a smile to your face and those around you. So grab your nail polish and let your creativity run wild this holiday season!
Find more fun nail art design ideas here on our website.
Some Nail Art Ideas You Might Like From Our Free Images Section