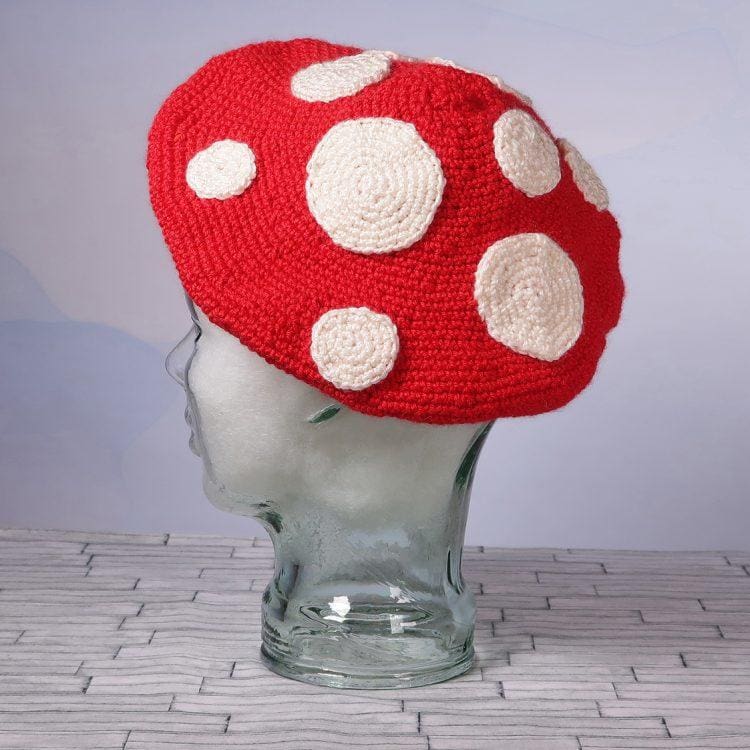

This easy crochet magic mushroom beret is so fun to make. We’re only going to be using single crochet stitches which makes this free crochet pattern especially user friendly. So, let’s get started!
Pattern Notes
- The pattern is written to make sure that the hat turns out as round as possible. This means that the increase stitches and decrease stitches are varied through out the pattern and aren’t right on top of each other. For more information on why this is important you can read my pattern notes on my Easy Crochet Classic French Beret.
- This pattern is worked in a continuous round (after the brim is completed), remember to place a stitch marker in the last stitch of the round



For this pattern you will need:
- 1 skein of #4 red worsted weight yarn and 1 skein of #4 white worsted weight yarn. I used Lion Brand “Wool Ease Recycled” in red and white.
- G/6 4.25 mm crochet hook
- A stitch marker of some kind. I just used yarn in a contrasting color and that worked for me.
- Scissors
- Yarn needle for weaving the yarn ends into your work in the end.
Crochet Stitch Abbreviations Used in this Pattern:
SC – Single Crochet
Sl St – Slip Stitch
INC – 2 Single Crochets in the same stitch
SC2Tog – Pull a loop through each of the next two stitches, you’ll have three loops on your hook, yarn over and draw through all three loops.
ST – Stitch/stitches


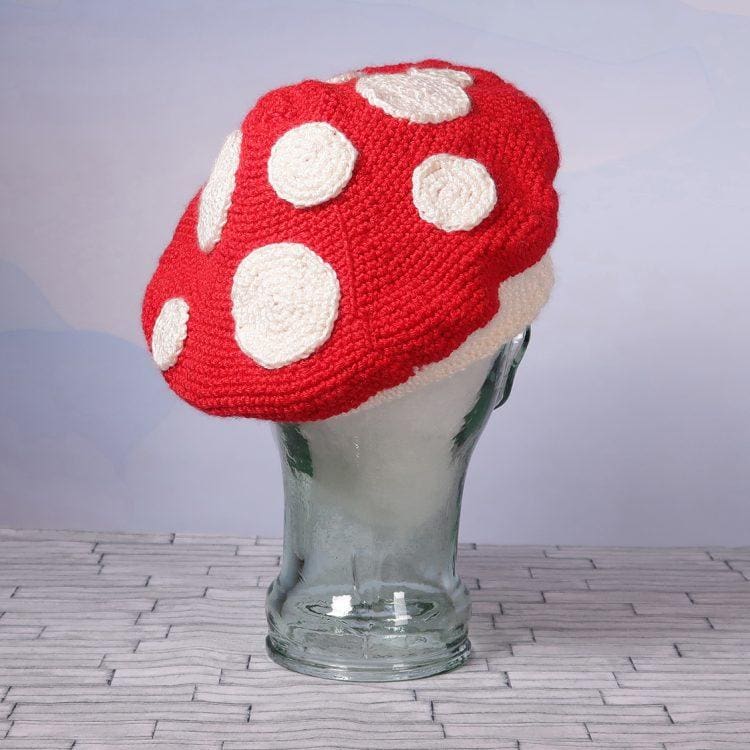

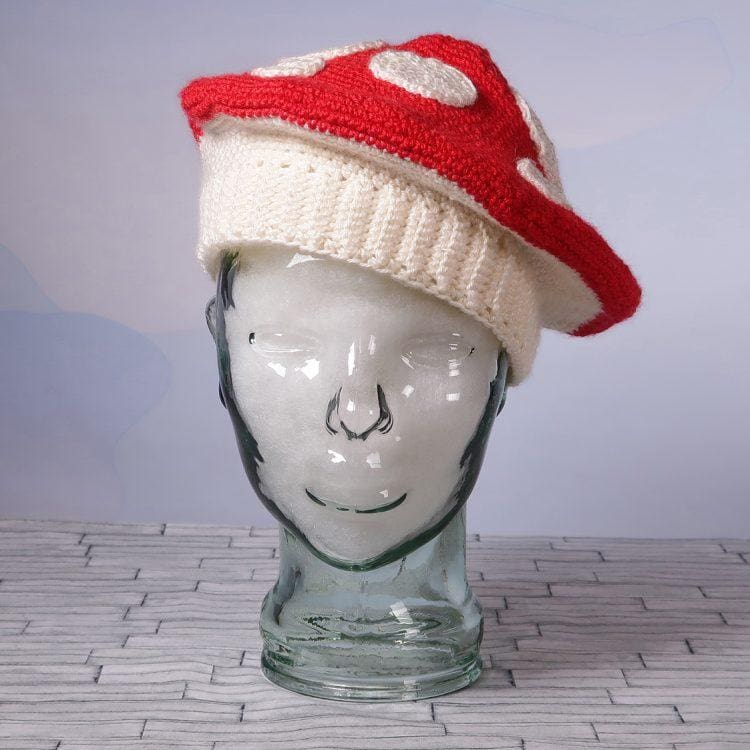

Easy Crochet Magic Mushroom Beret
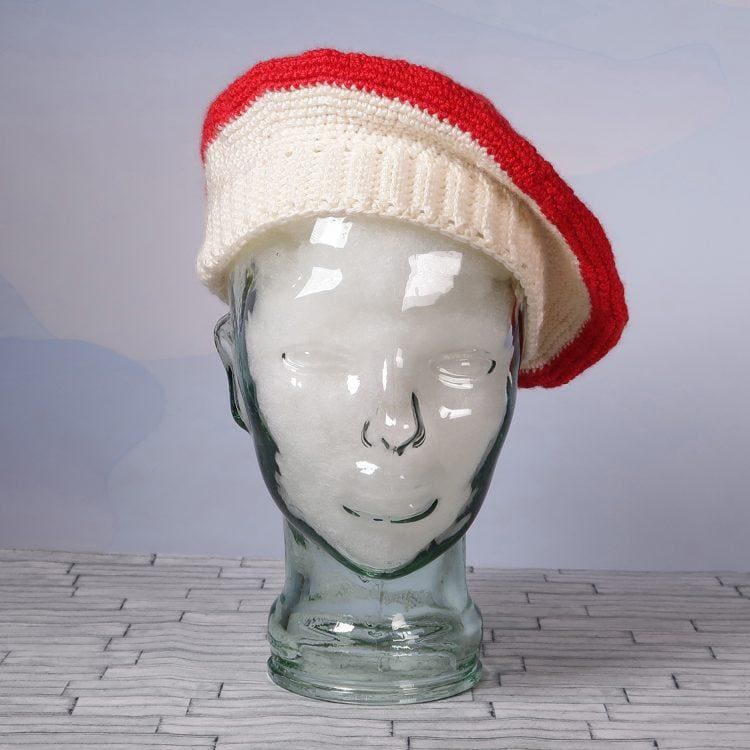
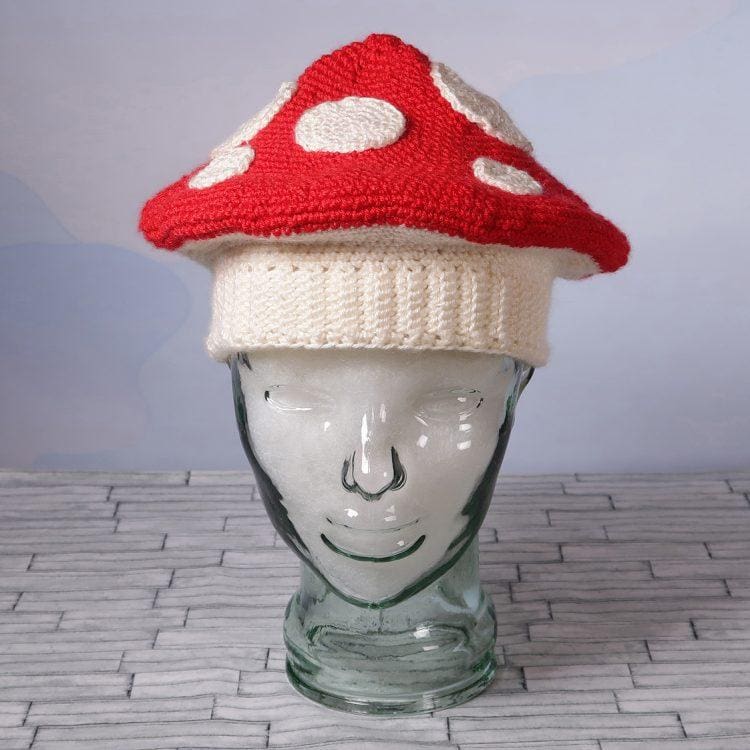
Making the Ridged Hat Brim (White Yarn)
- Using your white yarn, Chain 9
- Sc in every loop to the end of the row, ch1 and turn
- Sc in back loop only until the end of the row, ch1 turn
- Repeat step 3 until you have as many rows as you need for the circumference of your hat. I made 77 rows.
- Fold your brim in half and Slip stitch the two ends together up the side. Next we’ll start working in the round.
Working in the round with Increases and Decreases (Still using White Yarn)
Round 1
- Add a stitch marker then Sc across the top all the way around. When you reach the end Ss into the first stitch to complete the round.
Round 2
- Sc in the first 5 stitches, INC in the 6th st
- Sc in the next 10 st, INC in the 11th st,
- Repeat step 2 until the end of the round. Ss into the first st when you reach the end.
Round 3
- Sc in the first 2 stitches, INC in the 3rd st
- Sc in the next 11 st, INC in the 12th st,
- Repeat step 2 until the end of the round. Ss into the first st when you reach the end.
Round 4
- Sc in the next 9 st, INC in the 10th st, repeat until the end of the round. Ss into the first st when you reach the end.
Round 5
- Sc in the first 4 stitches, INC in the 5th st
- Sc in the next 8 st, INC in the 9th st
- Repeat step 2 until the end of the round. Ss into the first st when you reach the end.
Round 6
- Sc in the first stitch, INC in the 2nd st
- Sc in the next 7 st, INC in the 8th st
- Repeat step 2 until the end of the round. Ss into the first st when you reach the end.
Round 7
- Sc in the next 6 st, INC in the 7th st, repeat until the end of the round. Ss into the first st when you reach the end.
Round 8
- Sc across the top. When you reach the end Ss into the first st.
Making the top of the Mushroom (Red Yarn)
Round 1
- Loop in Red Yarn.
- Sc in the next 2 st, inc in the 3rd st
- Sc in the next 6 st, INC in the 7th st,
- Repeat step 3 until the end of the round. Ss into the first st when you reach the end.
Round 2
- Sc across the top. When you reach the end Ss into the first st.
Round 3
- Sc in the first 9 stitches, SC2Tog in the 10th st
- Sc in the next 19 st, SC2Tog in the 20th st,
- Repeat step 2 until the end of the round. Ss into the first st when you reach the end.
Round 4
- Sc in the first 4 stitches, SC2Tog in the 5th st
- Sc in the next 18 st, SC2Tog in the 19th st,
- Repeat step 2 until the end of the round. Ss into the first st when you reach the end.
Round 5
- Sc in the first 8 stitches, SC2Tog in the 9th st
- Sc in the next 17 st, SC2Tog in the 18th st,
- Repeat step 2 until the end of the round. Ss into the first st when you reach the end.
Round 6
- Sc in the first 16 stitches, SC2Tog in the 17th repeat until the end of the round. Ss into the first st when you reach the end.
Round 7
- Sc in the first 7stitches, SC2Tog in the 8th st
- Sc in the next 15 st, SC2Tog in the 16th st,
- Repeat step 2 until the end of the round. Ss into the first st when you reach the end.
Round 8
- Sc in the first 13 stitches, SC2Tog in the 14th st
- Sc in the next 14 st, SC2Tog in the 15th st,
- Repeat step 2 until the end of the round. Ss into the first st when you reach the end.
Round 9
- Sc in every stitch until the end of the round. Ss into the first st when you reach the end.
Round 10
- Sc in the first 6 stitches, SC2Tog in the 7th st
- Sc in the next 13 st, SC2Tog in the 14th st,
- Repeat step 2 until the end of the round. Ss into the first st when you reach the end.
Round 11
- Sc in the next 12 stitches, SC2Tog in the 13th st, repeat until the end of the round. Ss into the first st when you reach the end.
Round 12
- Sc in every stitch until the end of the round. Ss into the first st when you reach the end.
Round 13
- Sc in the first 5 stitches, SC2Tog in the 6th st
- Sc in the next 11 st, SC2Tog in the 12th st,
- Repeat step 2 until the end of the round. Ss into the first st when you reach the end.
Round 14
- Sc in every stitch until the end of the round. Ss into the first st when you reach the end.
Round 15
- Sc in the first 8 stitches, SC2Tog in the 9th st
- Sc in the next 10 st, SC2Tog in the 11th st,
- Repeat step 2 until the end of the round. Ss into the first st when you reach the end.
Round 16
- Sc in every stitch until the end of the round. Ss into the first st when you reach the end.
Round 17
- Sc in the first 4 stitches, SC2Tog in the 5th st
- Sc in the next 9 st, SC2Tog in the 10th st,
- Repeat step 2 until the end of the round. Ss into the first st when you reach the end.
Round 18
- Sc in every stitch until the end of the round. Ss into the first st when you reach the end.
Round 19
- Sc in the first 8 stitches, SC2Tog in the 9th until the end of the round. Ss into the first st when you reach the end.
Round 20
- Sc in every stitch until the end of the round. Ss into the first st when you reach the end.
Round 21
- Sc in the first 3 stitches, SC2Tog in the 4th st
- Sc in the next 7 st, SC2Tog in the 8th st,
- Repeat step 2 until the end of the round. Ss into the first st when you reach the end.
Round 22
- Sc in every stitch until the end of the round. Ss into the first st when you reach the end.
Round 23
- Sc in the first stitch, SC2Tog in the 2nd st
- Sc in the next 6 st, SC2Tog in the 7th st,
- Repeat step 2 until the end of the round. Ss into the first st when you reach the end.
Round 24
- Sc in every stitch until the end of the round. Ss into the first st when you reach the end.
Round 25
- Sc in the first 2 stitches, SC2Tog in the 3rd st
- Sc in the next 5 st, SC2Tog in the 6th st,
- Repeat step 2 until the end of the round. Ss into the first st when you reach the end.
Round 26
- Sc in every stitch until the end of the round. Ss into the first st when you reach the end.
Round 27
- Sc in the first 4 stitches, SC2Tog in the 5th st, repeat until the end of the round. Ss into the first st when you reach the end.
Round 28
- Sc in every stitch until the end of the round. Ss into the first st when you reach the end.
Round 29
- Sc in the first stitch, SC2Tog in the 2nd st
- Sc in the next 3 st, SC2Tog in the 4th st,
- Repeat step 2 until the end of the round. Ss into the first st when you reach the end.
Round 30
- Sc in every stitch until the end of the round. Ss into the first st when you reach the end.
Round 31
- Sc in the first 2 stitches, SC2Tog in the 3rd repeat until the end of the round. Ss into the first st when you reach the end.
Round 32
- Sc in every stitch until the end of the round. Ss into the first st when you reach the end.
Round 33
- Sc in the first stitch, SC2Tog in the 2nd st, repeat until the end of the round. Ss into the first st when you reach the end.
Round 34
- SC2Tog in every stitch until the top is closed up. Fasten off the yarn and weave it into your work with a yarn needle.
Mushroom Spots (White Yarn):
- Make a magic ring.
- 6 sc into the magic ring. Use a stitch marker to mark the end of the round.
- Make 2 Sc into each of the 6 stitches.
- INC in first stitch, 1 sc in the next stitch repeat this pattern until the end of the round.
- INC in first stitch, sc into the next 2 stitches, repeat this pattern until the end of the round.
- INC in first stitch, sc into the next 3 stitches, repeat this pattern until the end of the round.
You can make the spots on the mushroom as large or small as you want. I’m sure you can see how the rounds increase in the above pattern. If you want larger spots just add one more stitch in between the increase stitches for each new round.
Example: round 7 would be Inc, then 4 sc st repeat. Round 8 would be INC then 5 sc st repeat and so on and so on.
Sew on the Mushroom Spots
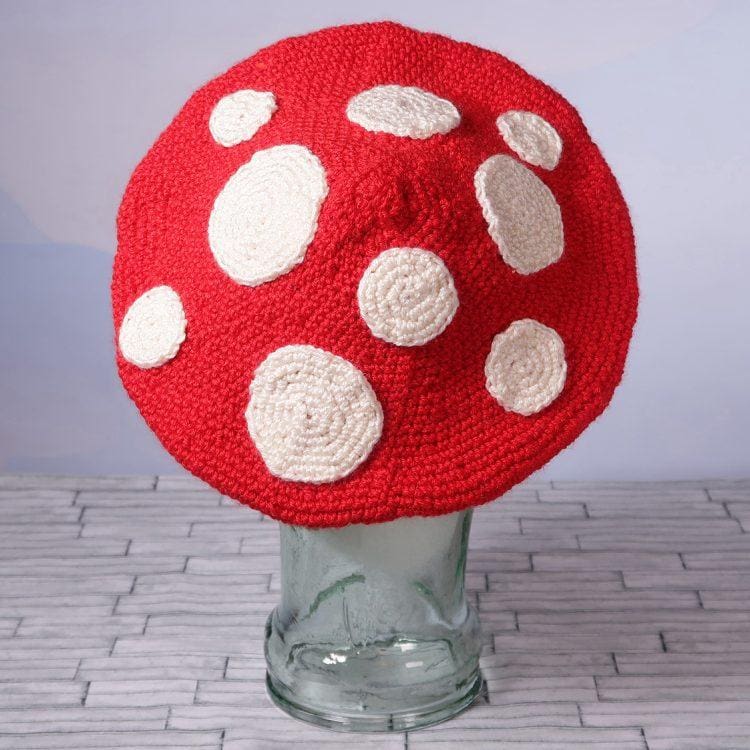
- Gather all your mushroom spots and pin them to the top of the hat. Arrange and re-arrange until the spots look how you’d like.
- Using a yarn needle and white yarn, sew on the mushroom spots.
Finishing Touches (Optional)
I used white yarn to add a row of sc to the bottom of the brim of the hat, just to give it a more finished look.
And that’s it for your crochet magic mushroom hat. It’s really an easy hat to make and it looks so cute and whimsical when it’s finished.


