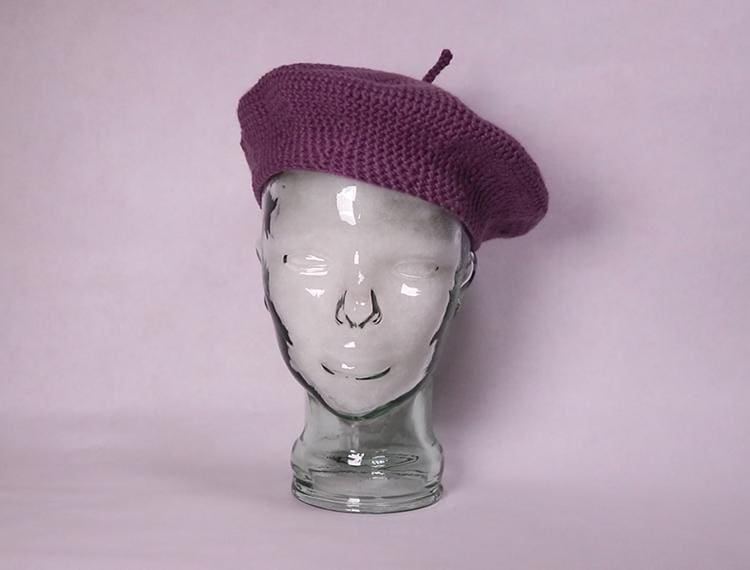
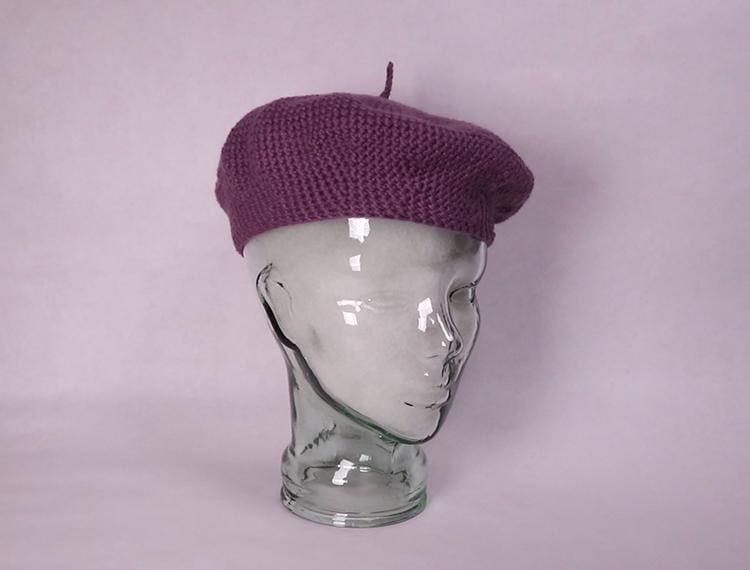
This easy crochet classic French beret is so fun to make. It’s crocheted in the round using a magic circle and from then on, it’s just a matter of increasing and decreasing the circle to make this lovely hat- easy peasey!
Pattern Notes
I know you’re eager to begin, but I think I should add a few notes about this pattern before we start.
Making the Hat Round
For this hat I wanted a really round beret. As many of you know, when you’re crocheting a circle in the round, placing the increase stitches next to each other, creates more of a hexagon shape instead of a round circle. So I paid careful attention to where I placed my increase (and decrease) stitches so that my hat would be very round.
Let me explain what I mean. To crochet in the round you simply add increase stitches to every round. If you place these increase stitches in a predictable fashion the pattern will look very simple like this:
Round 1: 6 stitches in a magic ring
Round 2: an increase into each stitch (repeated for the round)
Round 3: 1 single crochet then an increase (repeated for the round)
Round 4: 2 single crochets then an increase (repeated for the round)
Round 5: 3 single crochets then an increase (repeated for the round)
Round 6: 4 single crochet then an increase (repeated for the round)
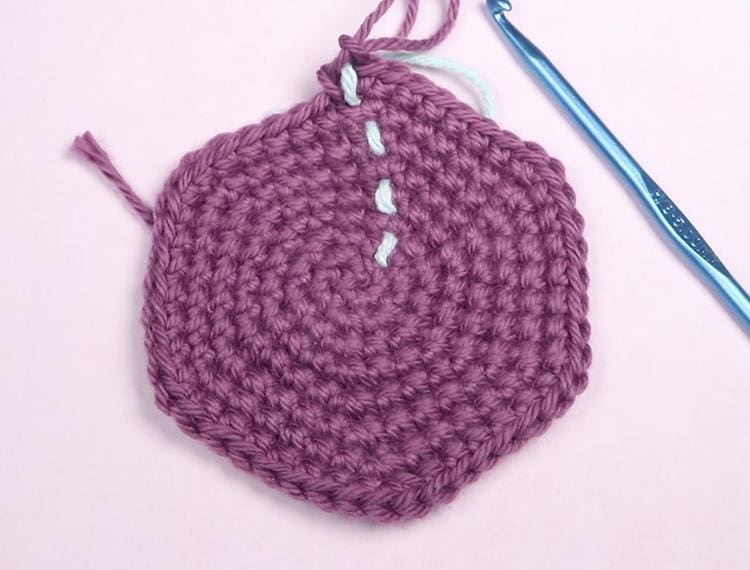
You just keep repeating this pattern, adding one more single crochet in between the increases each round. This is a very simple crochet circle and makes the pattern very easy to read and execute. But, it doesn’t actually make a very round circle, it makes more of a hexagon shape.
To combat this, patterns make a more circular shape by altering every even numbered round. For example, instead of:
Round 6: 4 single crochet then an increase (repeated for the round)
You would do:
Round 6: 2 single crochets then an increase, 4 single crochet then an increase -repeated for the round until you reach the end where you will make 2 single crochets to complete the round.
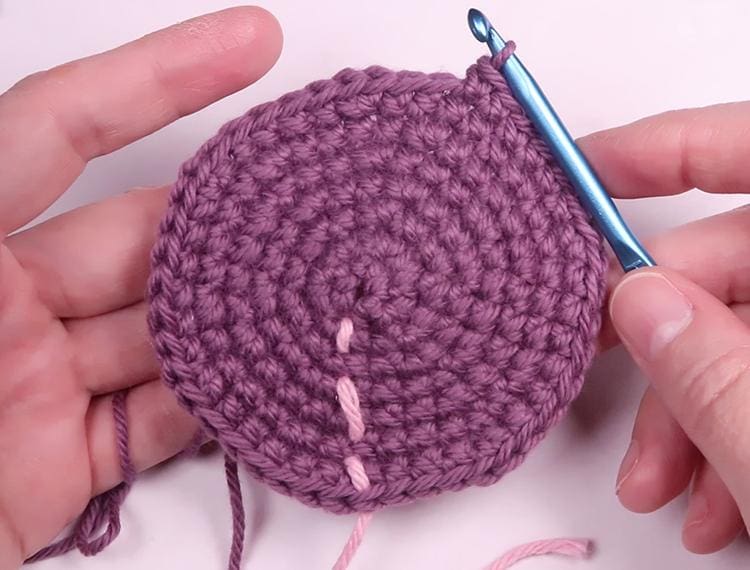
Essentially, you take half of the single crochets at the beginning of the round and split them up so that one half of the single crochets is at the beginning and one half is at the end. This staggers the stitches and makes the circle much rounder.
But I still wasn’t satisfied with this circle because the end increase of each odd numbered round was still going to be directly on top of the last odd numbered round when you reached the end. This can create a sort of seam at the end.
Is this a big deal in reality? No. Not at all. In fact, if I had made the traditional circle just staggering the even numbered rounds, this hat would have still turned out beautifully, I’m sure. And who is really going to look so closely as to notice? Probably no one (except, maybe me, lol).
So, I still wanted to take this a step further to make the hat as round as possible. To do this, I decided to split up some of the odd numbered rounds too. This way the odd numbered increases at the end wouldn’t be on top of each other.
This makes the pattern appear to be more complex. It really isn’t though, I even listened to a TV show while I was making the pattern.
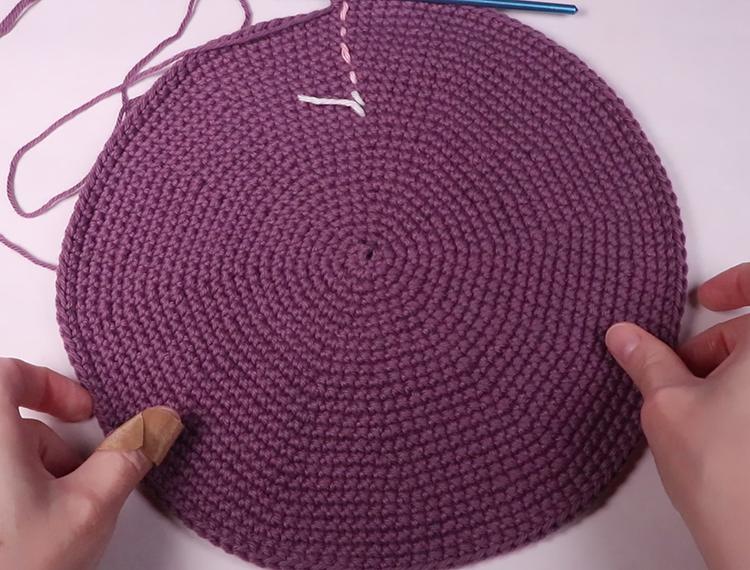
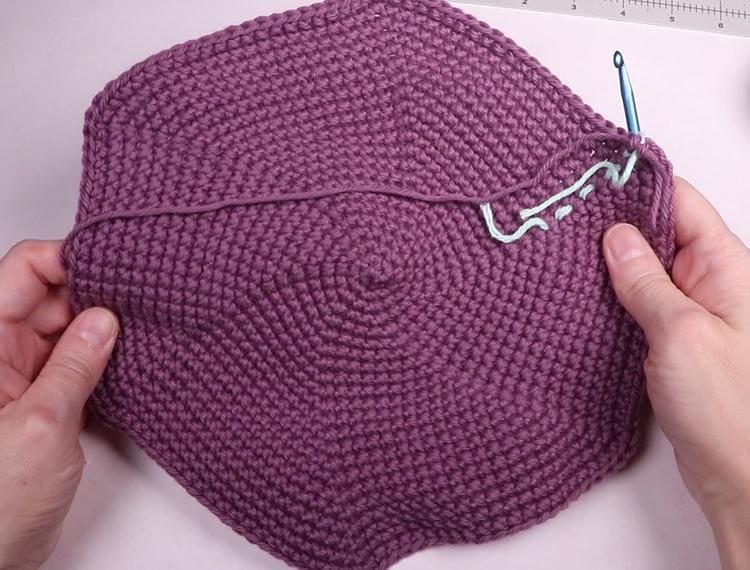
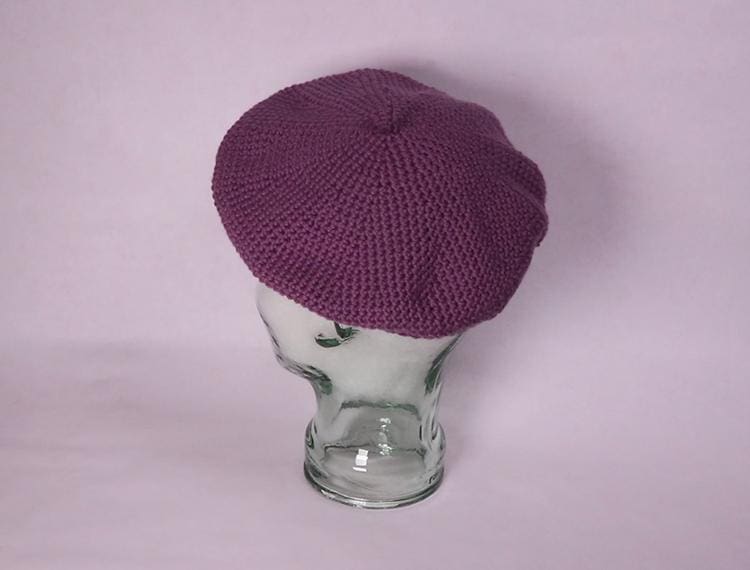
When I was finished crocheting the hat I was really pleased with how round the hat turned out and I really liked the drape of the top of the beret as well.
Numbering the Rounds
In my pattern I number the rounds a little differently. I really dislike reading patterns that give me too many numbers….maybe it’s just me but it seems unnecessary. Most patterns number rounds like this:
Round 1: 6 stitches in a magic ring
Round 2: an increase into each stitch (repeated for the round)
Round 3: 1 single crochet then an increase (repeated for the round)
Round 4: 2 single crochets then an increase (repeated for the round)
Round 5: 3 single crochets then an increase (repeated for the round)
Round 6: 4 single crochet then an increase (repeated for the round)
To me, when I see round 4, I think this is where we should increase 4 single crochets most of the round. But no…the pattern above is telling us we don’t do that until round 6. Making the round number irrelivant when you’re in the middle of constructing this pattern.
This isn’t a big deal when you have only 4 or 5 rounds, but when I read a large pattern and round 16 means to increase 14 single crochets most of the round, it just adds another number into my brain that quite frankly doesn’t need to be there.
It also invites mistakes to happen. You can very easily be listening to a television show and glance down at the pattern only to make 16 single crochets instead of 14. You won’t even realize you’ve made a mistake until half way down the round.
So, to simplify matters, I changed the numbering system so that the increase and decrease rounds are numbered differently. I find it to be much easier to read, and maybe you will too.
This Pattern is worked in a Continuous Round
This pattern is worked in a continuous round. Do not join at the end and remember to place a stitch marker in the last stitch of the round.
“X” Shaped Crochet Stitches
Another thing about this pattern is that I use the single crochet “x” stitch instead of the “v” stitch. Something I picked up from learning amigurumi. I love how it makes the hat look, but you can decide however you want to make your stitches. You don’t have to make “x” stitches to make this hat.
In case your unfamiliar with the “x” crochet stitch, it’s not very difficult to make.
To make an “x” single crochet stitch, you just pull the yarn through the loop with the hook on top of the yarn facing down. So, instead of yarning over, you just pull the yarn through. It’s a small change that makes a big difference in how your single crochets look.
Okay, that’s it. I think we’re ready to begin!

If you’d like to learn the basics of this pattern, you can watch this video tutorial before you begin:
The left handed version of this pattern can be found on my YouTube channel here.
For this pattern you will need:
- 1 skein of #4 worsted weight yarn. I used Hobby Lobby “I Love this Cotton” in French Cotton. This skein had 180 yards and I used almost the whole ball. You can also use acrylic or wool yarn if you prefer.
- H/8 5 mm crochet hook
- A stitch marker of some kind. I just used yarn in a contrasting color and that worked for me.
- Scissors
- Yarn needle for weaving the yarn ends into your work in the end.
Crochet Stitch Abbreviations Used in this Pattern:
SC – Single Crochet
Sl St – Slip Stitch
INC – 2 Single Crochets in the same stitch
SC2Tog – Pull a loop through each of the next two stitches, you’ll have three loops on your hook, yarn over and draw through all three loops.
ST – Stitch/stitches
Easy Crochet Classic French Beret Pattern
Starting Rounds
- Make a magic ring and place 6 single crochet stitches into the magic ring. Place your stitch marker into the last crochet stitch. (6)
- INC in each stitch in the round. (12)
Increase Rounds
1. SC in next 1 st, INC in next st, repeat until end of round.
2. SC in next 2 st, INC in next st, repeat until end of round.
3. SC in next 3 st, INC in next st, repeat until end of round.
4. SC in next 2 st, INC in next st. Then repeat: SC in next 4 st, INC in next st until almost the end where you will SC in last 2 st.
5. SC in next 5 st, INC in next st, repeat until end of round.
6. SC in next 3 st, INC in next st. Then repeat: SC in next 6 st, INC in next st until almost the end where you will SC in last 3 st.
7. SC in next 2 st, INC in next st. Then repeat: SC in next 7 st, INC in next st until almost the end where you will SC in last 5 st.
8. SC in next 4 st, INC in next st. Then repeat: SC in next 8 st, INC in next st until almost the end where you will SC in last 4 st.
9. SC in next 9 st, INC in next st, repeat until end of round.
10. SC in next 5 st, INC in next st. Then repeat: SC in next 10 st, INC in next st until almost the end where you will SC in last 5 st.
11. SC in next 9 st, INC in next st. Then repeat: SC in next 11 st, INC in next st until almost the end where you will SC in last 2 st.
12. SC in next 6 st, INC in next st. Then repeat: SC in next 12 st, INC in next st until almost the end where you will SC in last 6 st.
13. SC in next 13 st, INC in next st, repeat until end of round.
14. SC in next 7 st, INC in next st. Then repeat: SC in next 14 st, INC in next st until almost the end where you will SC in last 7 st.
15. SC in next 14 st, INC in next st. Then repeat: SC in next 15 st, INC in next st until almost the end where you will SC in last 1 st.
16. SC in next 8 st, INC in next st. Then repeat: SC in next 16 st, INC in next st until almost the end where you will SC in last 8 st.
17. SC in next 17 st, INC in next st, repeat until end of round.
18. SC in next 9 st, INC in next st. Then repeat: SC in next 18 st, INC in next st until almost the end where you will SC in last 9 st.
19. SC in next 5 st, INC in next st. Then repeat: SC in next 19 st, INC in next st until almost the end where you will SC in last 14 st.
20. SC in next 10 st, INC in next st. Then repeat: SC in next 20 st, INC in next st until almost the end where you will SC in last 10 st.
Single Crochet Rounds
Make single crochets in every stitch for 3 rounds.
Decrease Rounds
We’ll number the rows backwards now. This makes it easier to read and know where you are as you crochet.
20. SC in next 4 st, SC2Tog in next st. Then repeat: SC in next 20 st, SC2Tog in next st until almost the end where you will SC in last 16 st.
19. SC in next 5 st, SC2Tog in next st. Then repeat: SC in next 19 st, SC2Tog in next st until almost the end where you will SC in last 14 st.
18. SC in next 9 st, SC2Tog in next st. Then repeat: SC in next 18 st, SC2Tog in next st until almost the end where you will SC in last 9 st.
17. SC in next 17 st, SC2Tog in next st, repeat until end of round.
16. SC in next 8 st, SC2Tog in next st. Then repeat: SC in next 16 st, SC2Tog in next st until almost the end where you will SC in last 8 st.
15. SC in next 14 st, SC2Tog in next st. Then repeat: SC in next 15 st, SC2Tog in next st until almost the end where you will SC in last 1 st.
14. SC in next 7 st, SC2Tog in next st. Then repeat: SC in next 14 st, SC2Tog in next st until almost the end where you will SC in last 7 st.
13. SC in next 13 st, SC2Tog in next st, repeat until end of round.
12. SC in next 6 st, SC2Tog in next st. Then repeat: SC in next 12 st, SC2Tog in next st until almost the end where you will SC in last 6 st.
11. SC in next 9 st, SC2Tog in next st. Then repeat: SC in next 11 st, SC2Tog in next st until almost the end where you will SC in last 2 st.
10. SC in next 5 st, SC2Tog in next st. Then repeat: SC in next 10 st, SC2Tog in next st until almost the end where you will SC in last 5 st. Then chain one and fasten off.
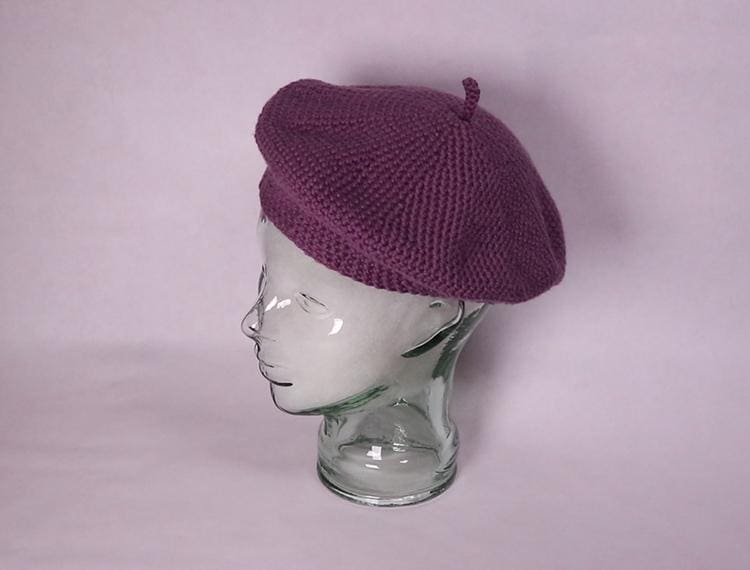
To make the Beret Stem that sticks out on top of the hat:
Chain 7 then slip stitch down the row from the second chain on the hook until you reach the bottom. Once at the bottom chain one and pull tight then cut the yarn leaving a tail. You should have two tails next to each other at this point.
Next, use your crochet hook to pull the tails through your hat in the center and tie them to the hat tail then weave all three tails (hat and stem) into your hat. Then cut off any excess yarn.
And that’s it! See? Easy-peasey!


