
Crown molding is a classic decorative element that can add elegance and character to any room. It’s an excellent way to create a finished look, bridging the gap between walls and ceilings. This basic guide will walk you through the steps of installing crown molding, from preparation to the finishing touches.
Understanding Crown Molding
What is Crown Molding?
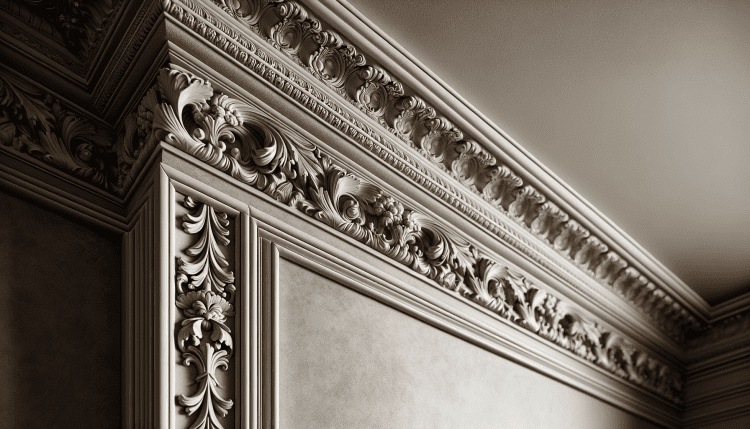
Crown molding is a type of trim used to decorate the area where the wall meets the ceiling. Available in various materials and styles, it can complement any home décor.
Types of Crown Molding
- Wood: Traditional and customizable, but can be expensive and challenging to install.
- MDF (Medium Density Fiberboard): Cost-effective and easier to work with, suitable for painted finishes.
- Polyurethane: Lightweight, durable, and moisture-resistant, ideal for bathrooms and exteriors.
Tools and Materials
Essential Tools
- Miter saw
- Coping saw
- Nail gun or hammer
- Level
- Measuring tape
- Caulk gun
Materials
- Crown molding
- Finishing nails
- Wood filler or caulk
- Sandpaper
- Paint or stain
Preparing for Installation
Measuring Your Space
Accurately measure the perimeter of the room to determine how much molding you’ll need. Always buy extra to account for mistakes and cuts.
Choosing the Right Style
Select a molding style that complements your room’s height and décor. Remember, larger and more ornate moldings suit high ceilings better.
Prepping the Molding
If painting or staining, it’s easier to do this before installation. Ensure the molding is dry before starting the installation.
Installation Steps
Marking the Wall and Ceiling
- Finding Studs: Use a stud finder to locate and mark the studs along the wall.
- Ceiling Line: Using a level, draw a guideline along the ceiling to ensure even placement of the molding.
Cutting the Molding
- Measuring Angles: Measure the angles of your walls. Most corners will be 45 degrees, but it’s crucial to measure for accuracy.
- Miter Cuts: Use a miter saw to cut the molding at the appropriate angles. For an inside corner, cut at a 45-degree angle.
Coping Joints
- Coping Method: For a tighter fit, especially in older homes with uneven walls, cope the joints. This involves cutting the profile of one piece of molding to fit snugly against another.
Fitting and Securing the Molding
Attaching the Molding
- Start with Corners: Fit the corners together first. Apply adhesive on the back of the molding, align it with your guideline, and attach it to the wall and ceiling using finishing nails.
Seamless Joints
- Adjustments: Use a coping saw for fine adjustments to ensure tight joints.
- Nailing: Nail the molding into the studs and ceiling joists for secure attachment.
Finishing Touches
Caulking and Filling
- Fill Gaps: Use caulk to fill any gaps between the molding and the wall or ceiling. Fill nail holes with wood filler.
- Smooth Surfaces: Once the caulk and filler are dry, sand these areas gently for a smooth finish.
Final Painting or Staining
- Touch-Ups: If you painted or stained the molding beforehand, do touch-ups as needed after installation.
Tips and Tricks
Working with Corners
- Practice Makes Perfect: Practice cutting on scrap pieces to perfect your technique.
- Use a Protractor: For irregular angles, a protractor can help determine the exact angle for cuts.
Handling Materials
- Careful Handling: Be careful not to damage the molding during handling, especially if it’s made of softer materials like MDF.
With the right tools, materials, and a bit of patience, you can transform any room in your home with this elegant architectural detail.


