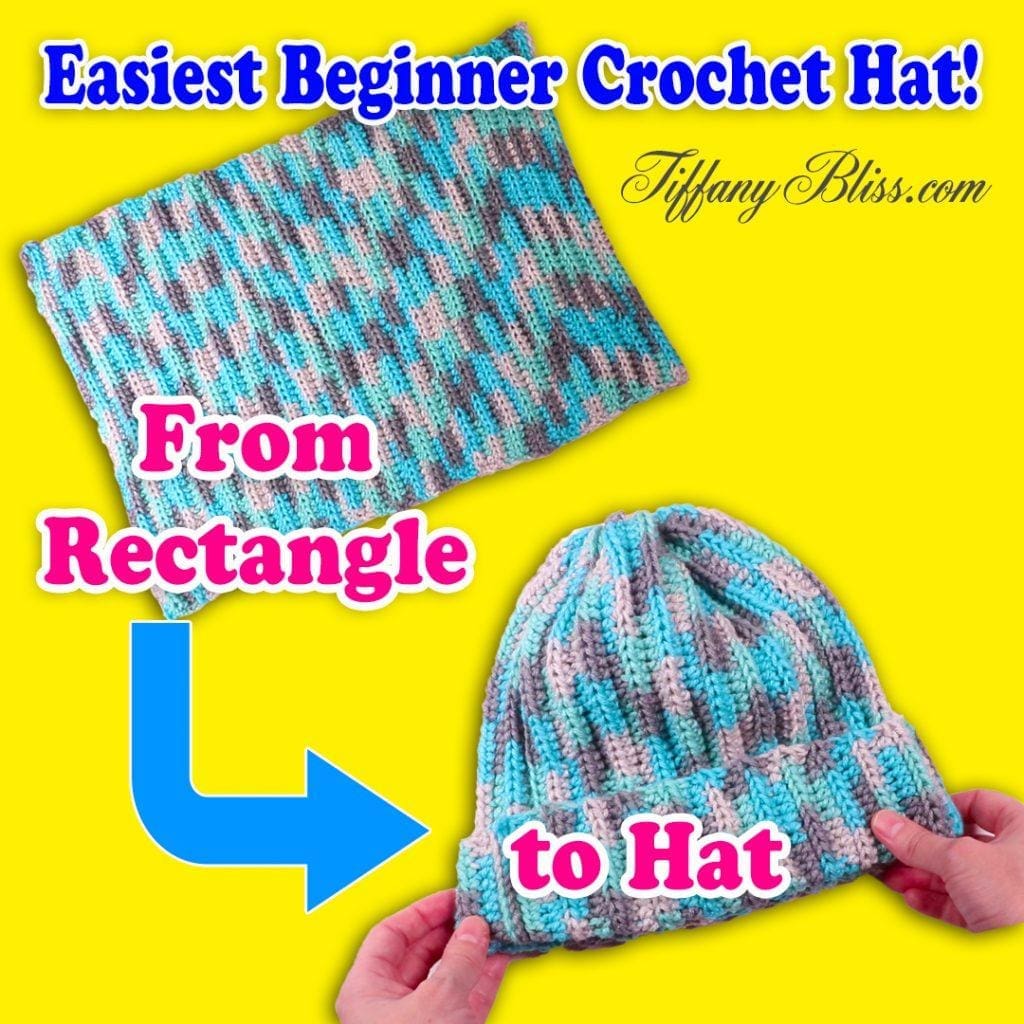
If you can crochet a rectangle…you can crochet a hat.
This is an easy crochet hat for beginners that only uses one ball of yarn. Best of all we’re only going to be using only one stitch so it’s perfect for beginners.
Let me give you a little bit of background before we get started. I like beanies that fit but aren’t too snug. I don’t like it when hats that make me feel like my head has been put in a vice grip. Which is why I made this beanie much larger than other crochet hat patterns I’ve seen.
So, size wise this beanie would be an adult XL. But if you ask me, it’s actually just an average adult hat that won’t hurt your head all day. This hat fits like a dream and everyone I’ve made one for loves it!
And, like I said it’s an easy crochet hat for beginners because we’ll only be using one stitch through out the crochet process: the half double crochet.
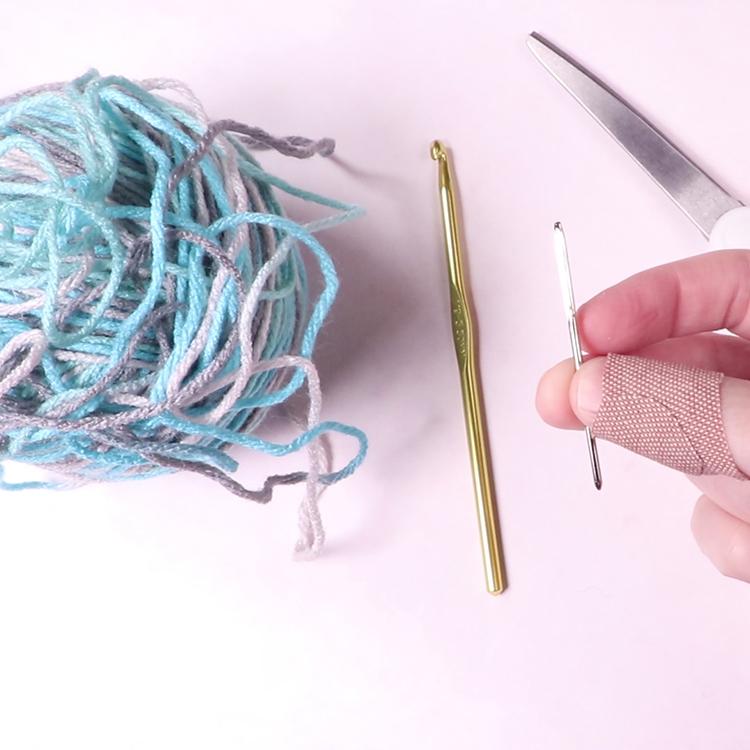
Let’s look at the supplies you need:
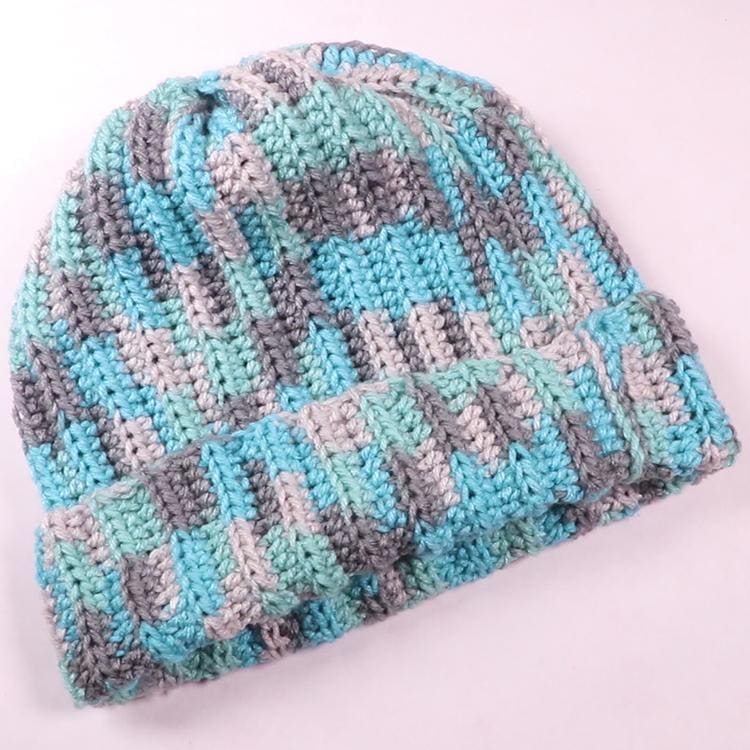
- 1 ball of Yarn (size 4 worsted weight) I used Red Heart Super Saver in the color “Icelandic” which is about 236 yards. I used almost the whole ball.
- Crochet Hook (I used a 5.5 mm or size I)
- Yarn needle
- scissors
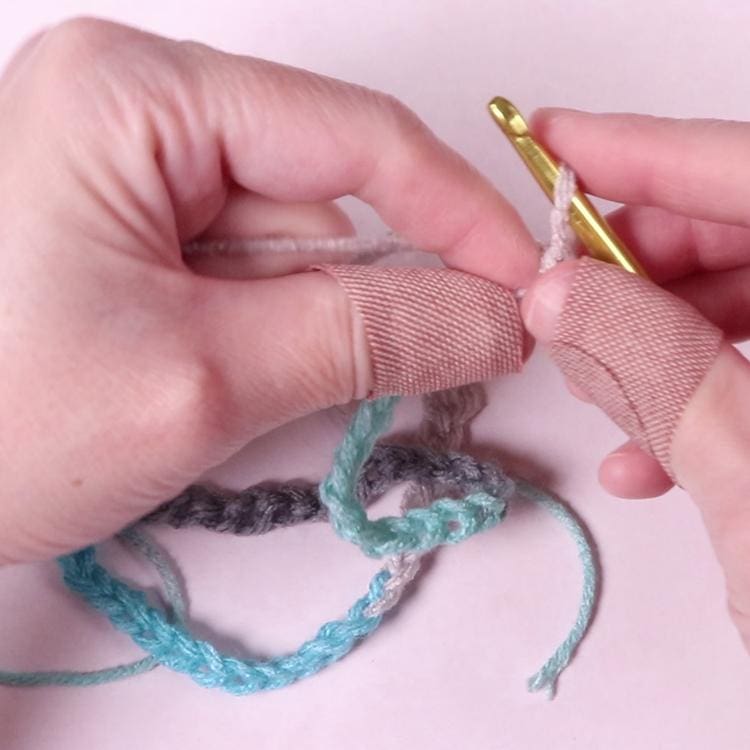
We’ll start by making a crochet chain of 51 stitches. This will be the length of your hat from top to bottom, not the width. So, if you want a taller hat (for instance, a slouchy hat) then you would make it longer. Likewise if you wanted a shorter hat (maybe one without a flip up brim) you would make fewer stitches in your chain.
Once you finish making your chain, yarn over, skip two stitches and make your first half double crochet. Continue making half double crochets in each stitch down the row until you get to the end.
When you get to the end, chain 2 and turn your work.
To give this hat a ribbed texture, we’re going to only be working in the back loop to make our next row. So the next step is to skip the first loop and work a half double crochet into the back part of the next stitch. From now on you’ll half double crochet into every back loop until you come to the end of the row. Then you’ll chain 2, turn your work and repeat until you have 52 rows.
If you want your hat to be smaller in size (width), you will make fewer rows.
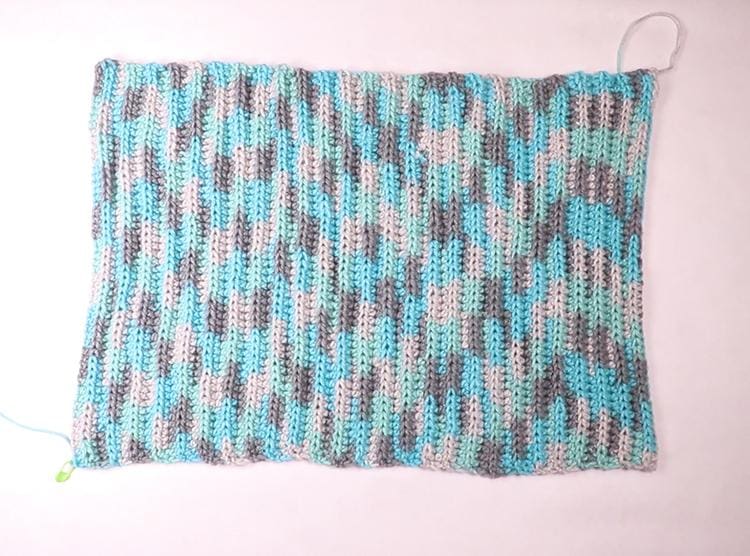
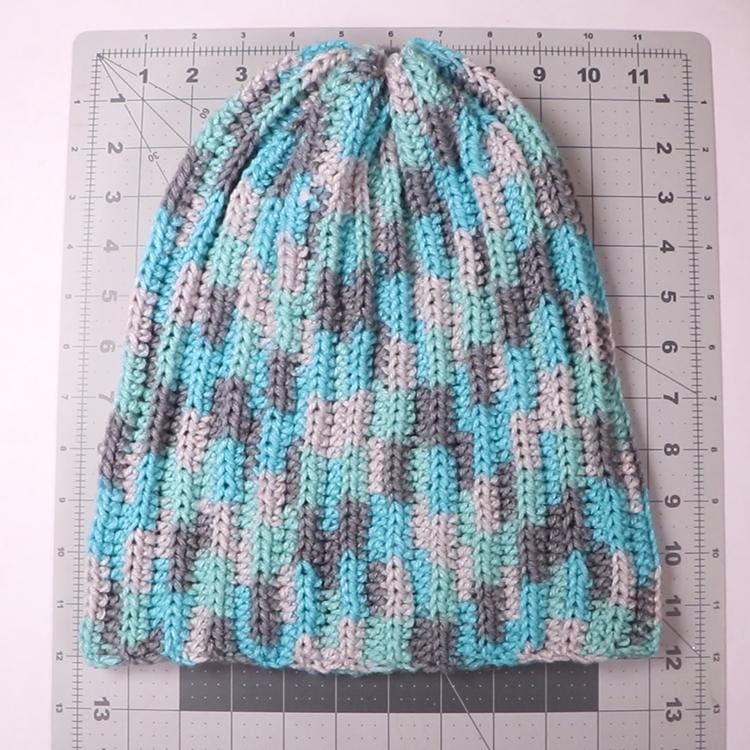
When you’ve made 52 rows of half double crochets you’ll have a rectangle.
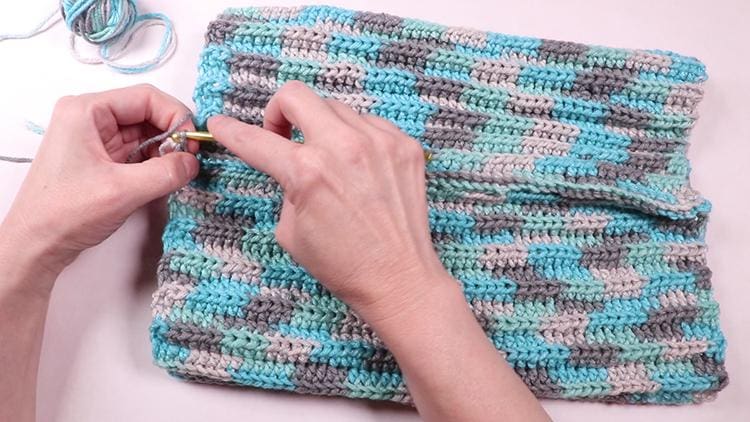
Fold your rectangle in half and slip stitch up the side of the hat. When you’re finished you’ll have what looks like a tube.
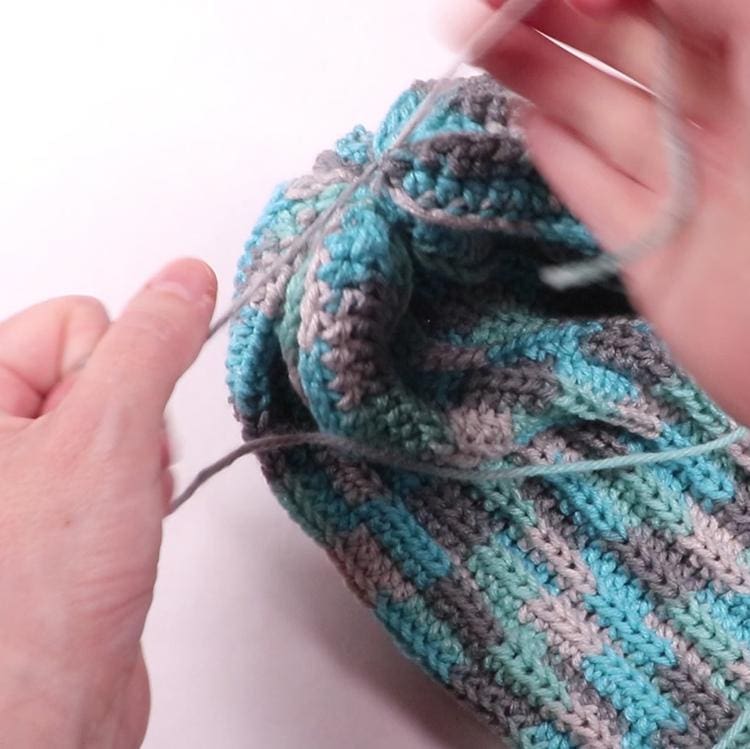
When you’ve reached the end of that side, you’ll start weaving in and out of the very edge loops all around the perimeter of the tube. Then pull it closed and tie it off.
Work the two yarn ends into your work, and that’s it!
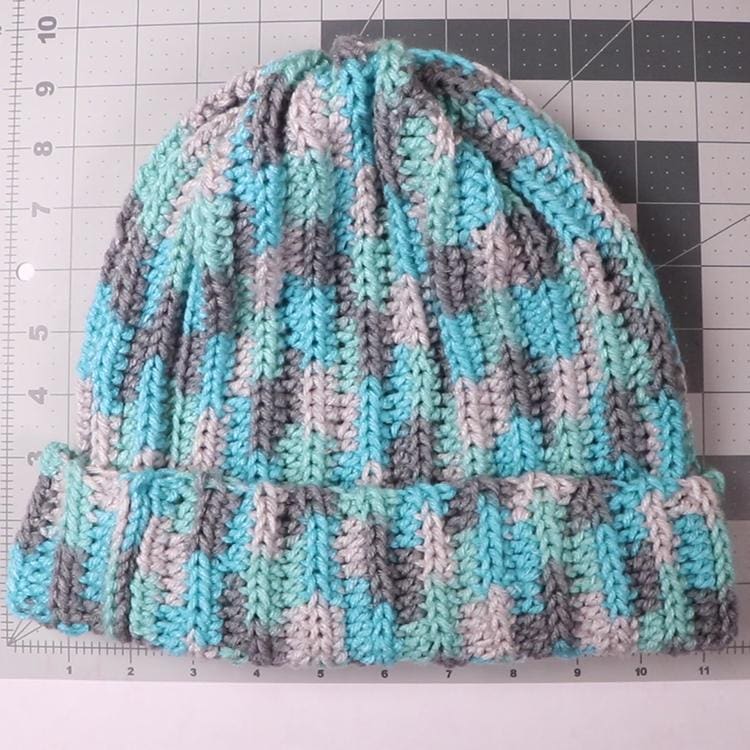
Now you have a comfy crocheted hat that fits like a dream!
If you want a more detailed explanation of how to make this hat, please watch my video that was created with beginners in mind. It will walk you through the entire process.


