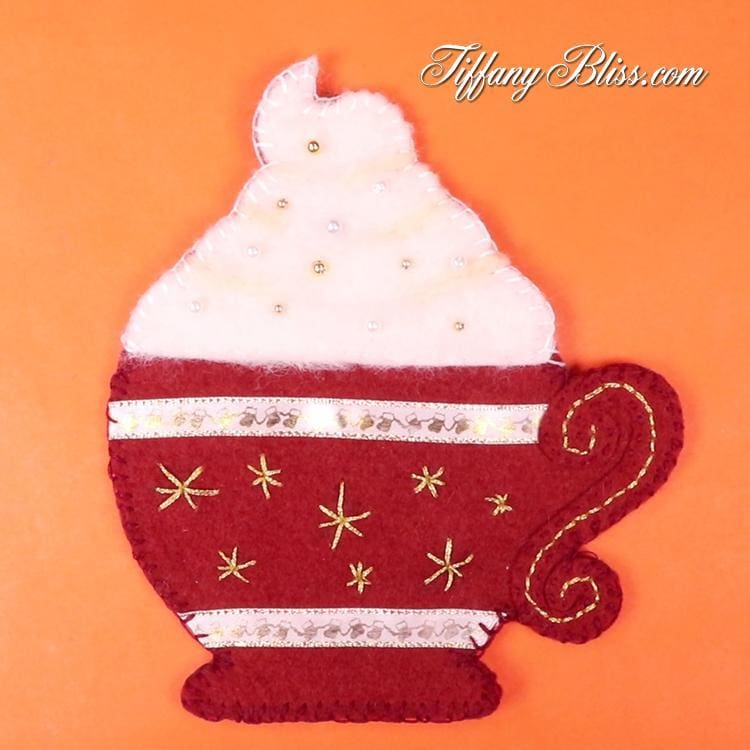
This custom coaster is a fun and easy project to make and perfect for the holidays. Use it to help decorate your home or make a set and give them out as a gift. You can also customize the coaster anyway you like by adding ribbon, embroidery, beads and more. For a more personalized touch, you can embroider the name of a friend or loved one in place of the stars.
For this project I needle felted the details on the whipped cream, but this is an optional step that can easily be skipped.
Let’s get started!
You will need:
2 felt sheets (1 in white and 1 in the color of your choice for the cup and handle)
embroidery thread (white, gold and matching thread for the cup and handle)
regular all purpose sewing thread
embroidery needle
scissors
ribbon
beads (gold and pearl)
Fabric disappearing ink pen, fabric pencil or chalk
bees wax
And the optional needle felting supplies:
needle felting needle, mat, white wool and off-white wool
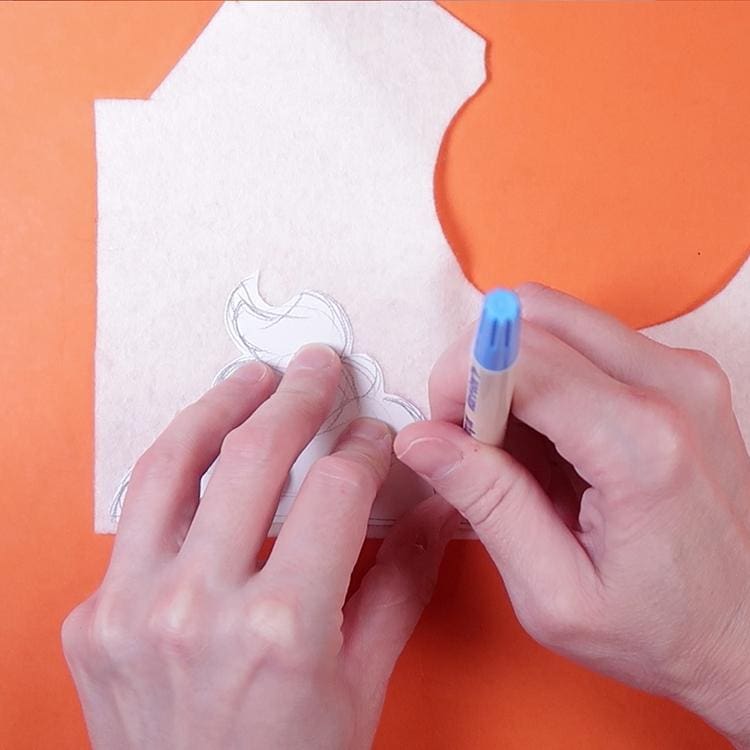
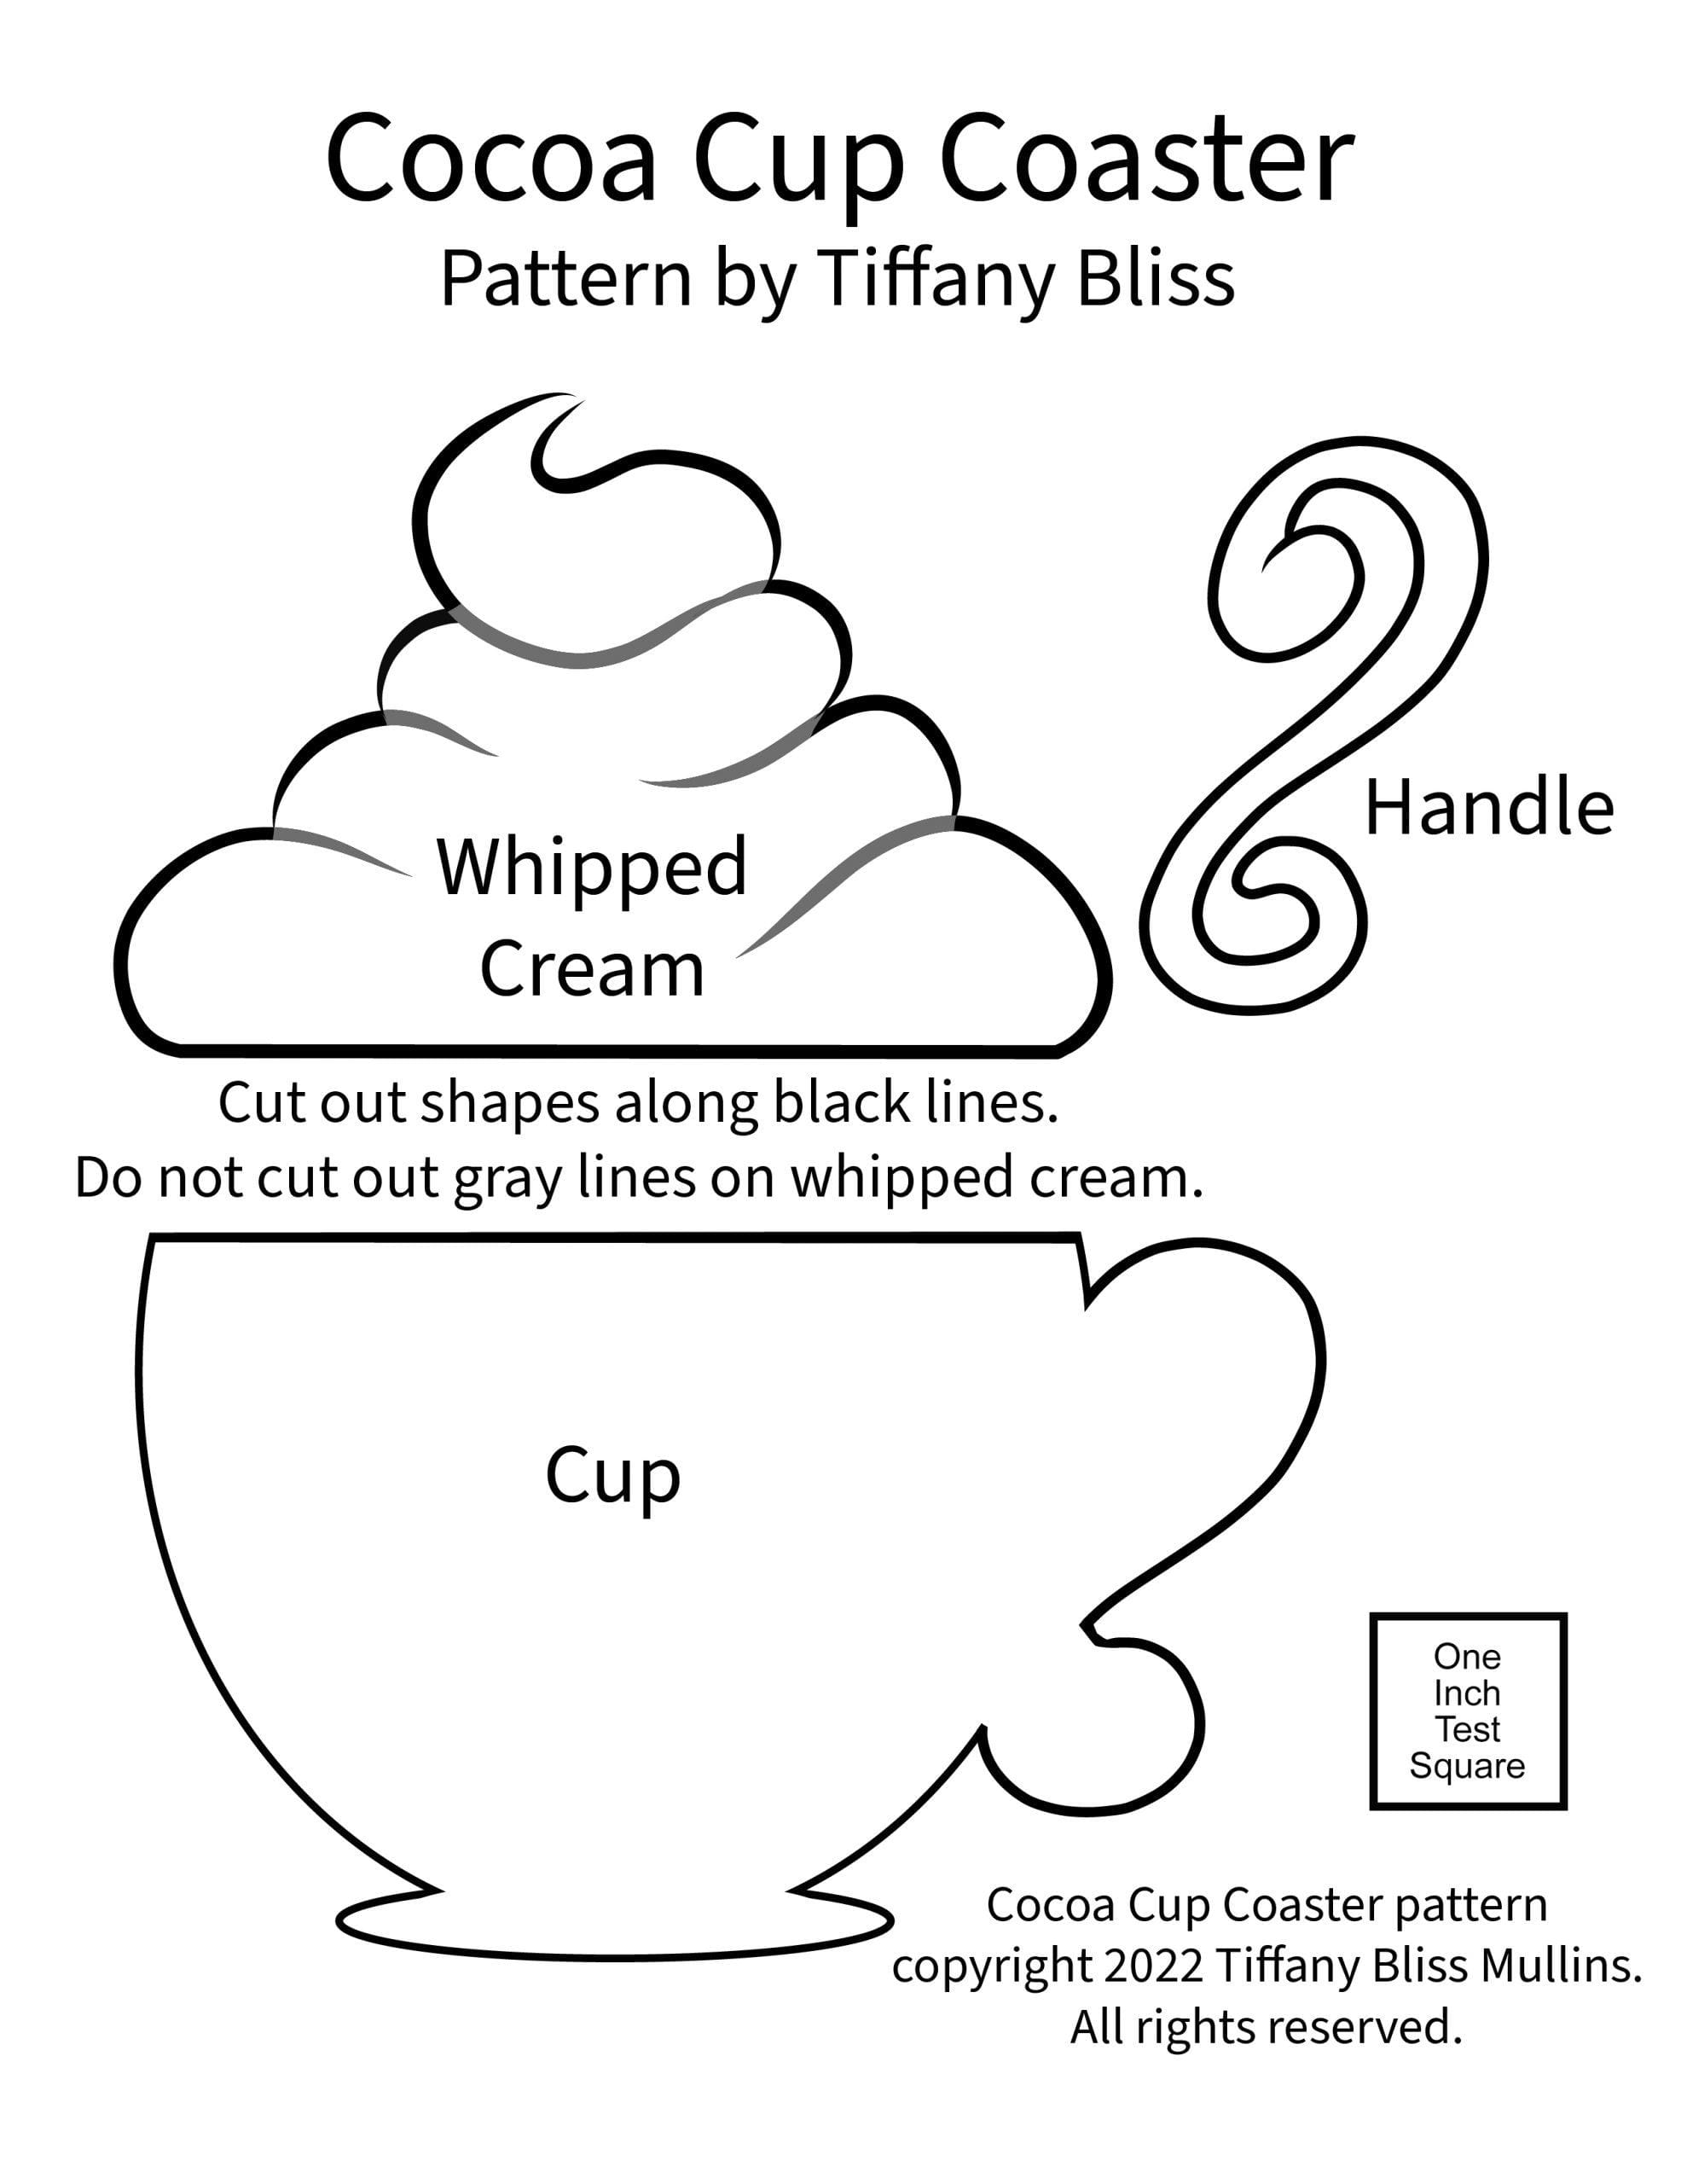
First download the custom coaster pattern and cut out the pattern pieces.
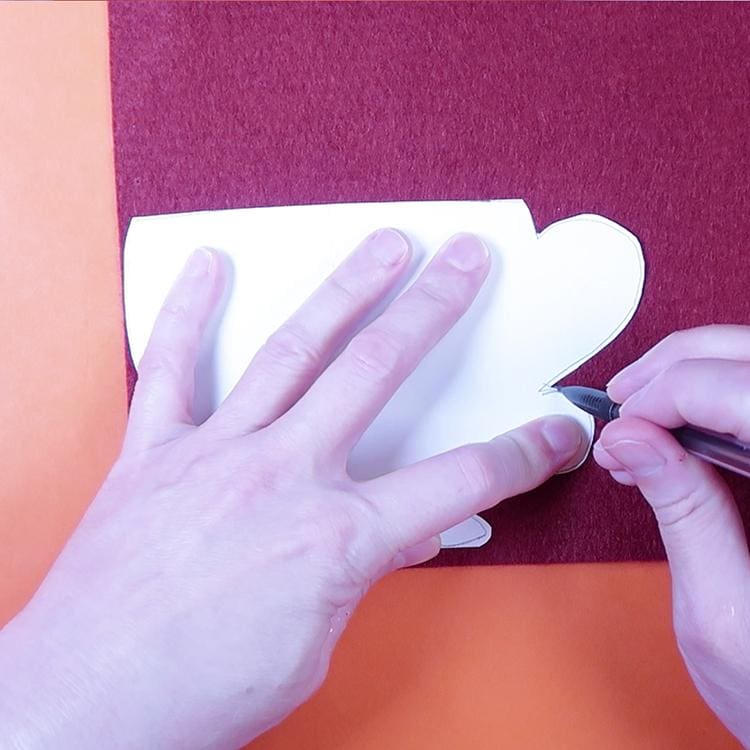
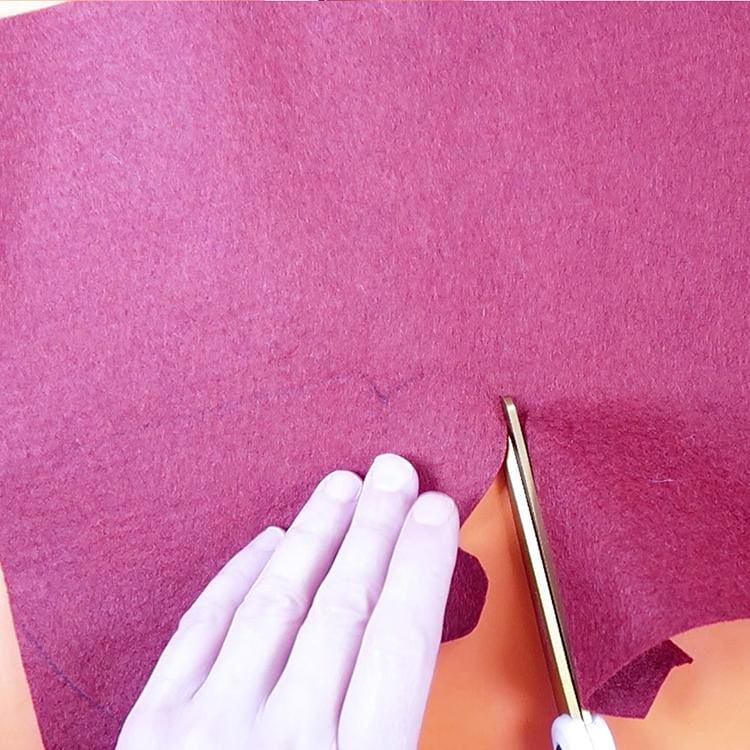
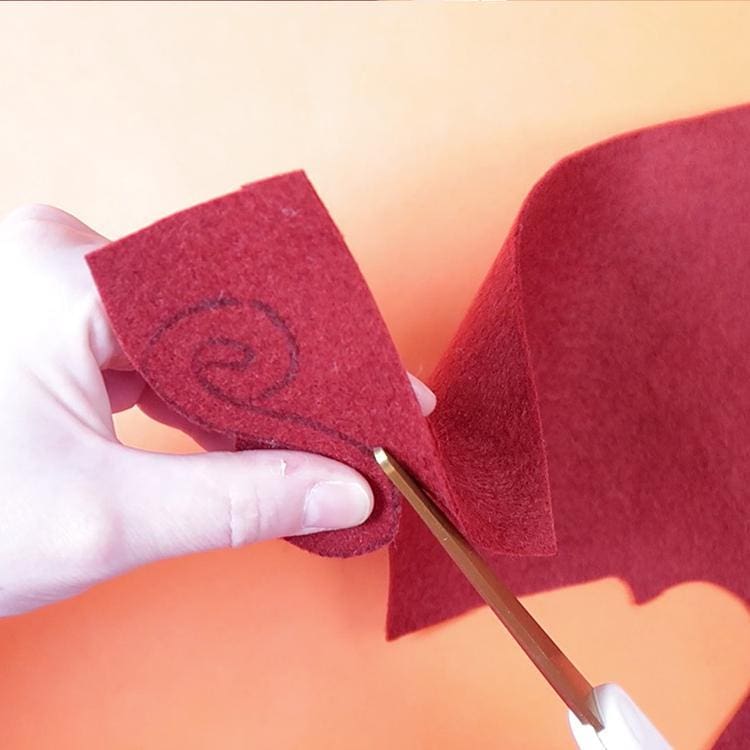
Place the cocoa teacup and handle pattern pieces on one side of the felt and cut out the pieces. I decided to use a deep red for my teacup but you can use any color you’d like.
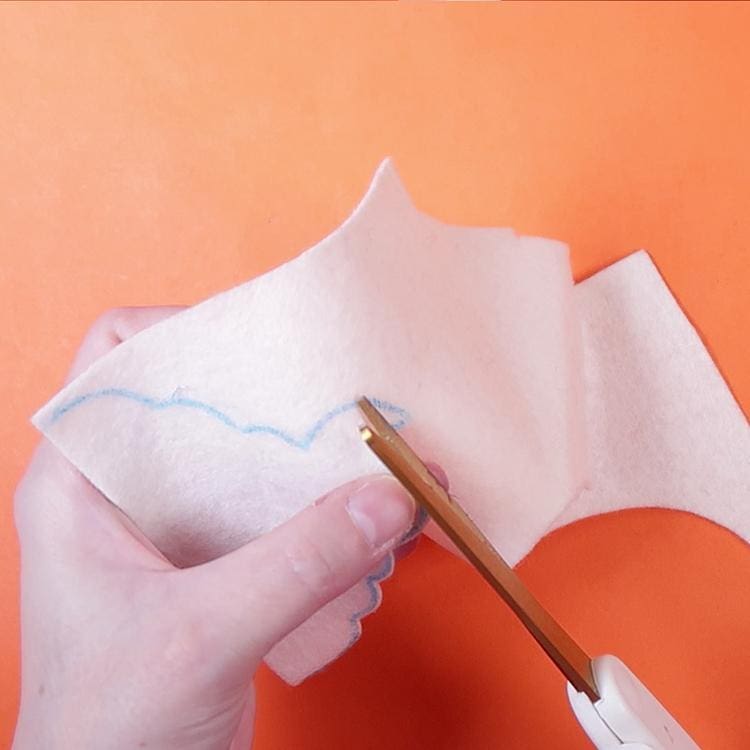
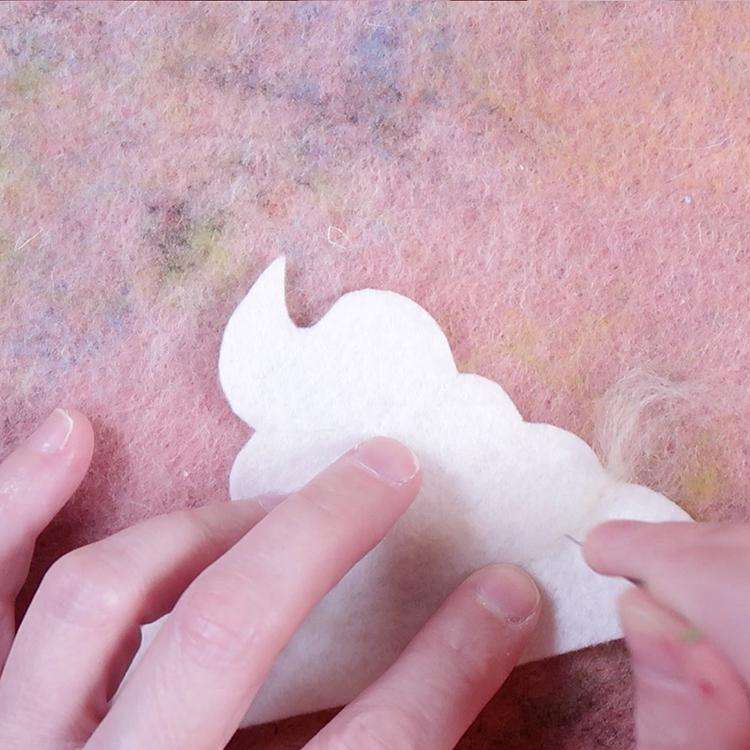
Then cut out the whipped cream topping on white felt. I was using a remnant of white felt I had left over.
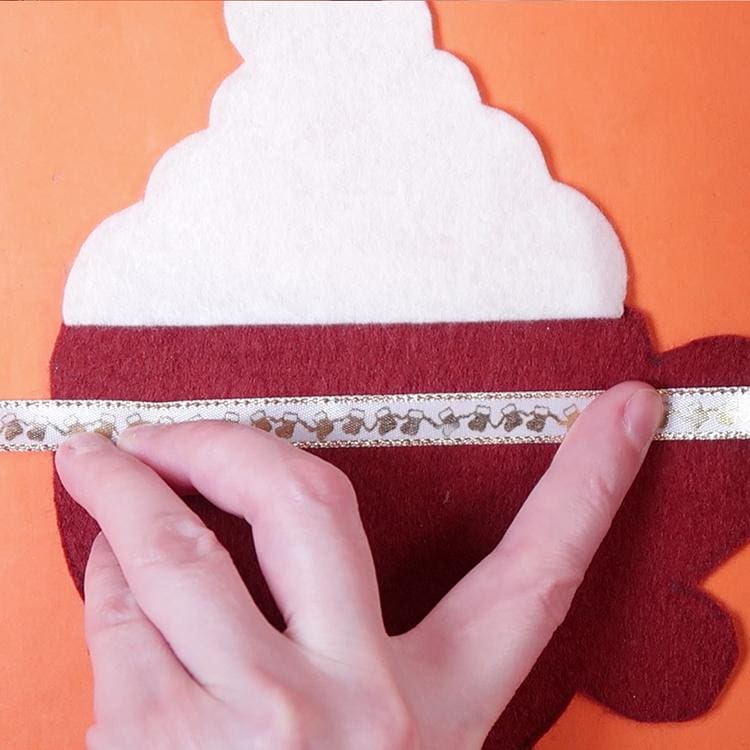
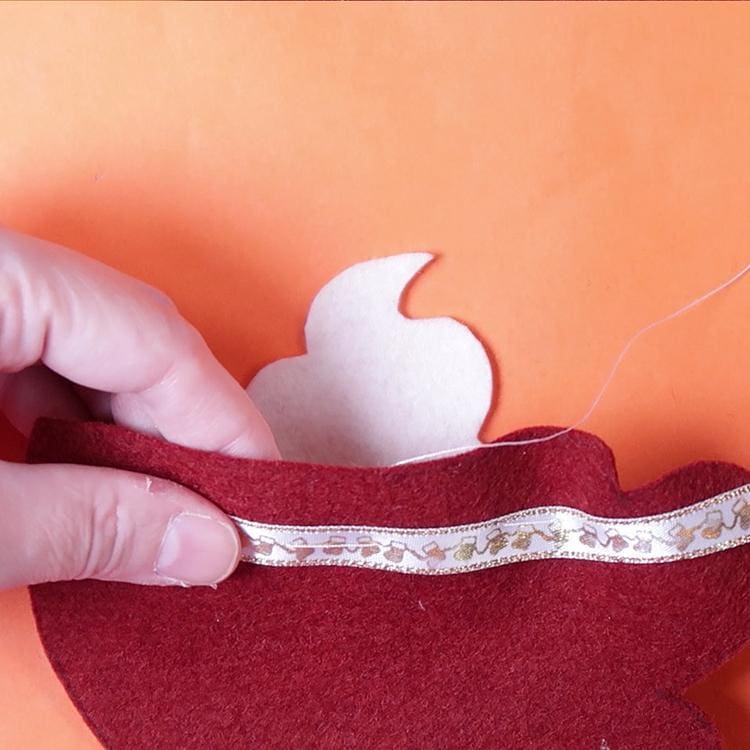
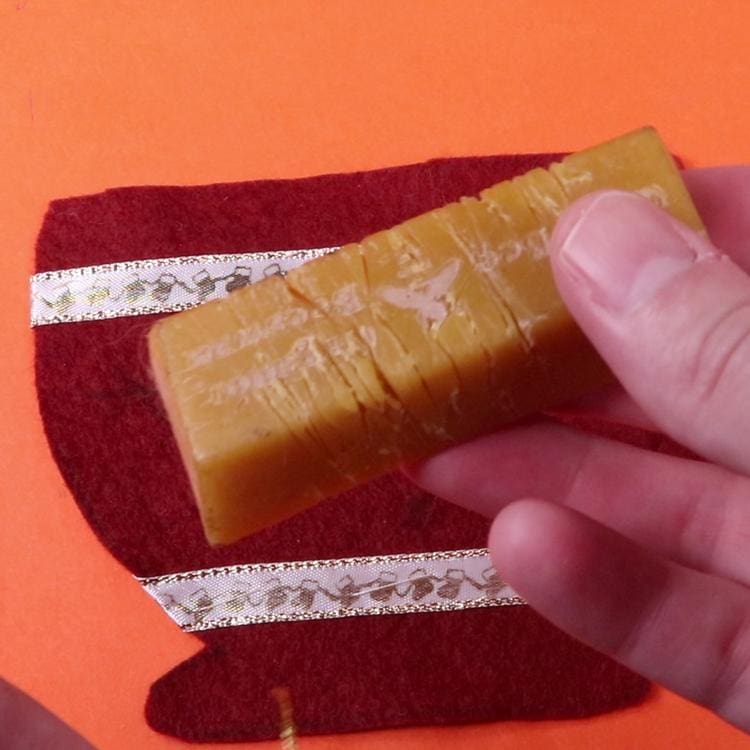
I added ribbon to the top and bottom of the cup and basted it in place with all purpose sewing thread. Then I secured the ribbon in place with a simple straight stitch along the top and bottom of each ribbon and removed the basting stitches.
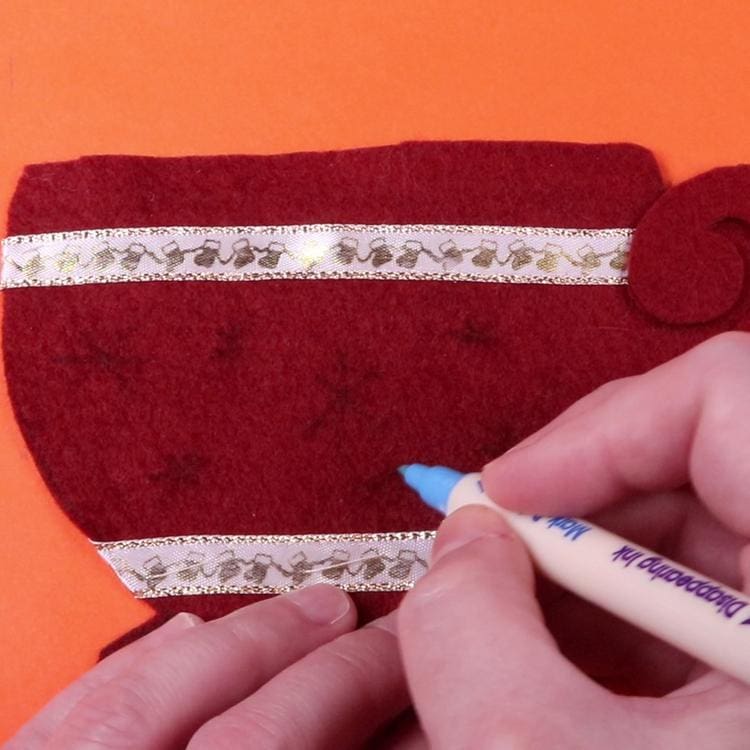
Next I drew stars on the cup. I just made simple six pointed stars. Just draw an “x” and then put a line through the center.

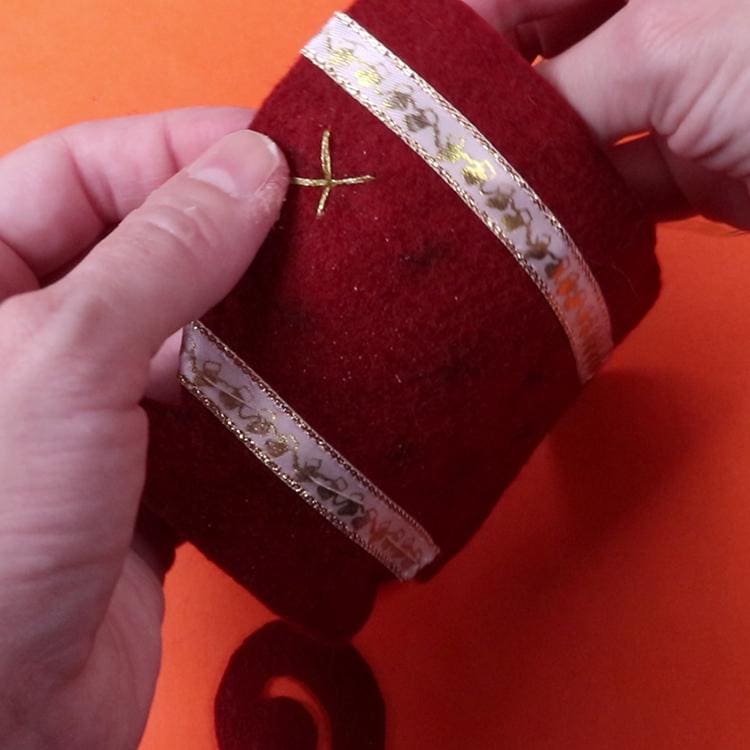
I decided to use gold embroidery thread for the stars.
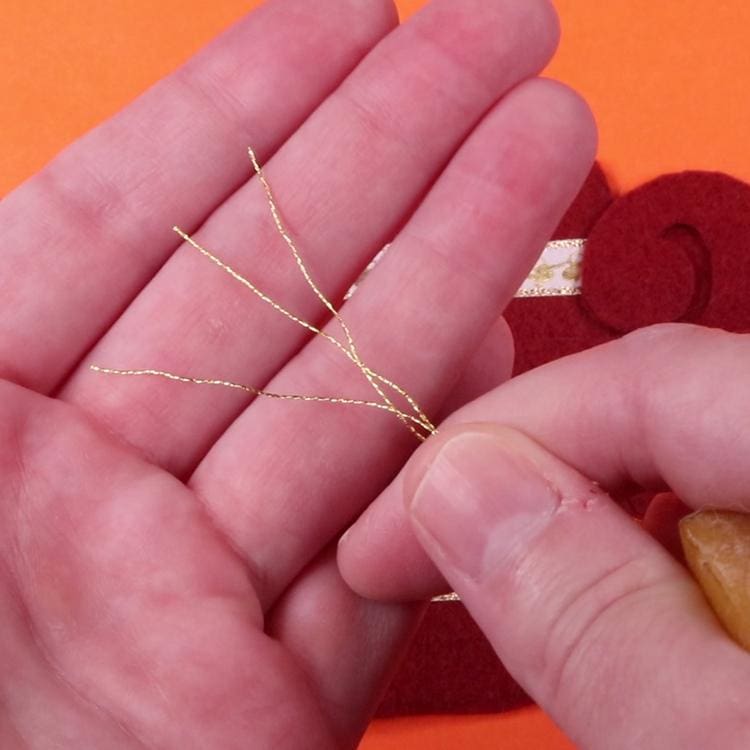
Metallic embroidery thread can be difficult to work with, in my experience. It’s prone to fraying, splitting, tangling and breaking. So I thought I would try using bees wax to help “tame” the threads and keep them together while I embroidered.
The bees wax block I show in the photos is the one I keep in my sewing kit. I’ve had it for years and works like magic. I use beeswax to help my thread stay tangle free and glide through fabrics easier. It also adds a little bit of strength to your thread. If your using one or more threads this can be a time-saver since multiple threads tend to tangle more often, leading to time wasted trying to sort everything out.
But, I’ve never used bees wax on metallic thread before so I decided to give it a try. I ran the threads (while they were grouped together) over my bees wax block.
When I embroidered on the stars, at first there was a lot of wax flaking off of the thread but the flakes were easily brushed off and it wasn’t a big deal in the end.

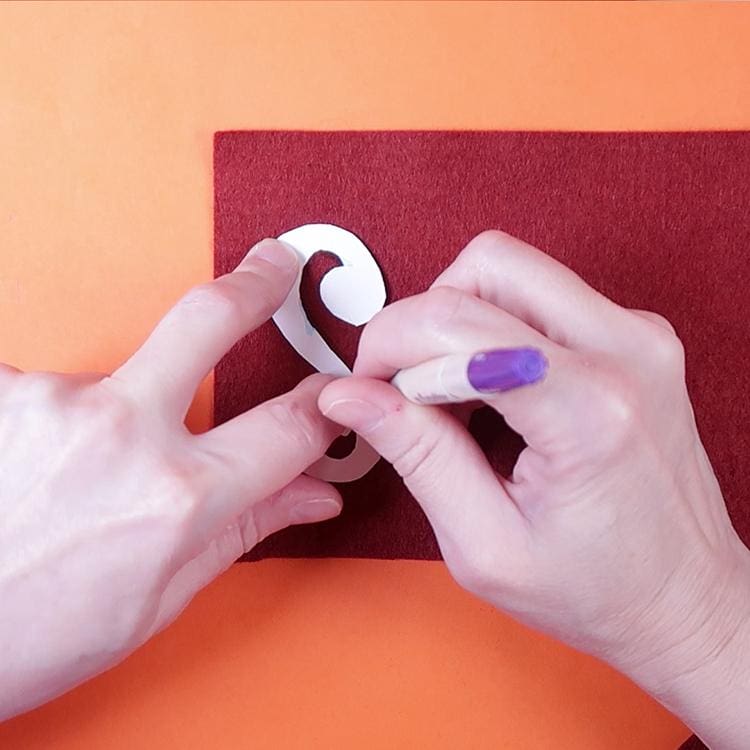
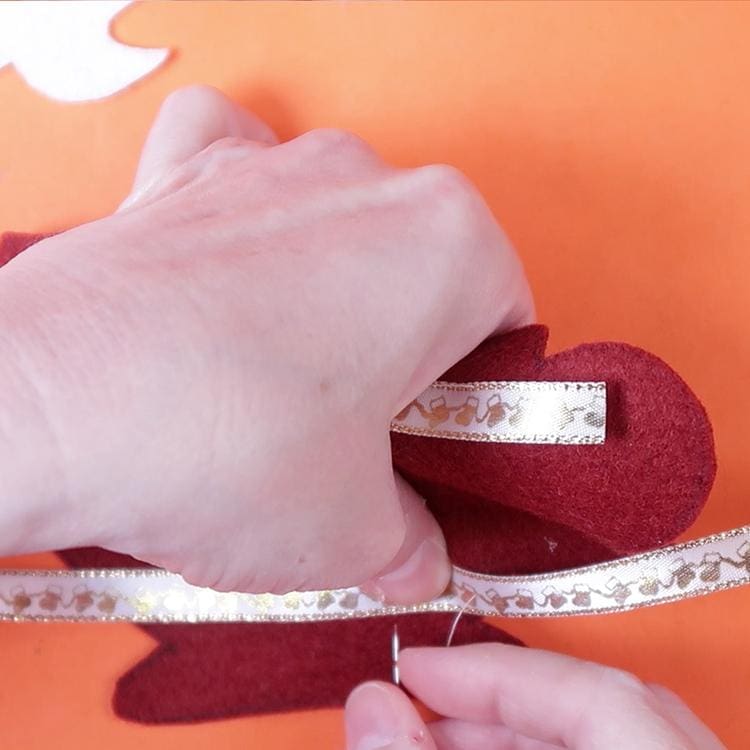
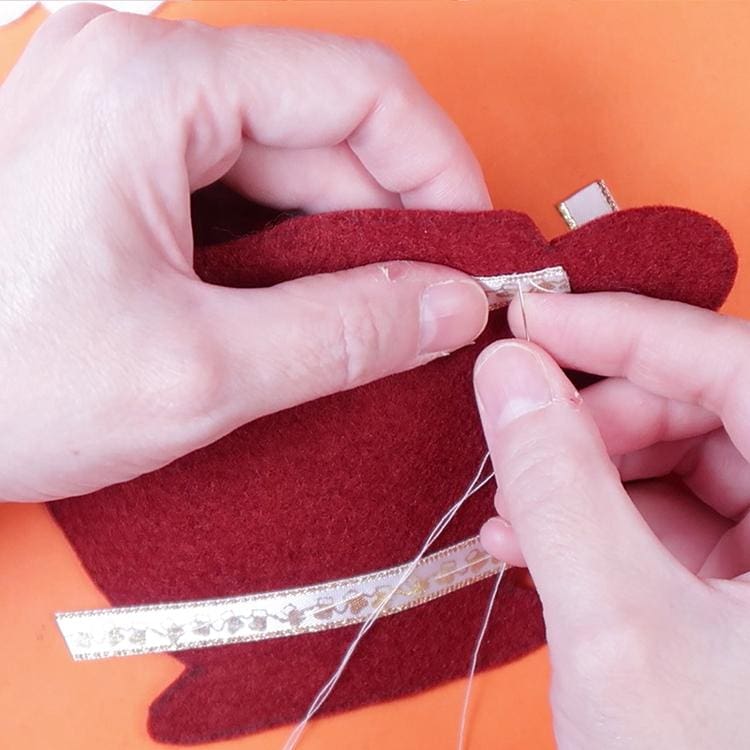
Next I basted on the handle with sewing thread. Then I used three strands of embroidery thread to sew around the edges of the handle.
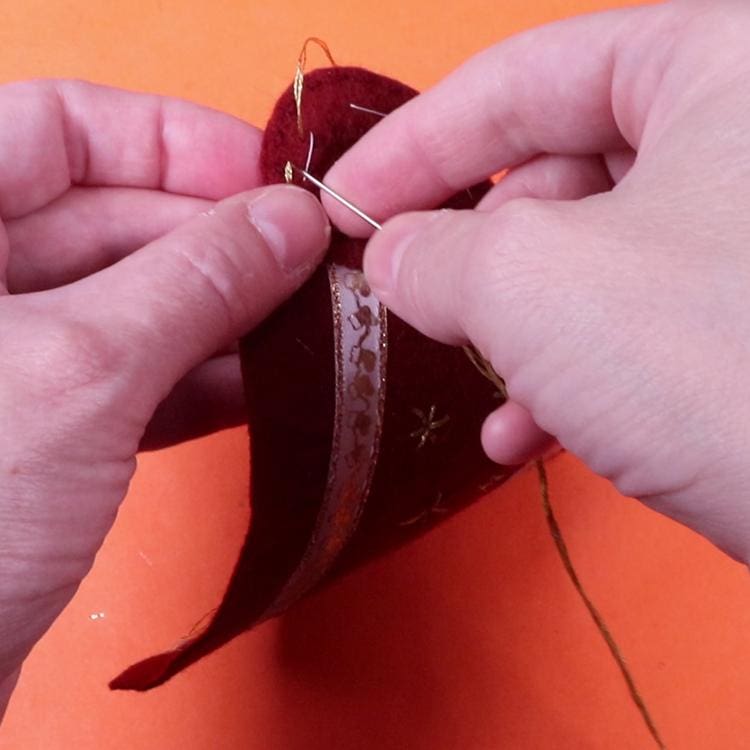
Then I used gold embroidery thread to embroider a gold line down the center of the handle following the curves and adding a decorative touch. For this, I just used a basic back stitch.
I still used the bees wax to help control the metallic strands of thread but this time I ran my fingers over the thread before I started sewing with it to remove any loose wax. This helped with flaking significantly. I barely noticed any while I was embroidering and the threads were easy to control.
For the whipped cream top I needle felted details on top. This part is completely optional, if you’re not a needle felter or if you don’t feel like going to the trouble, you can skip this step or simply use a back stitch to embroider on the shadows.
But if you are a needle felter, then grab your mat, needle felting needles wool and let’s do this..

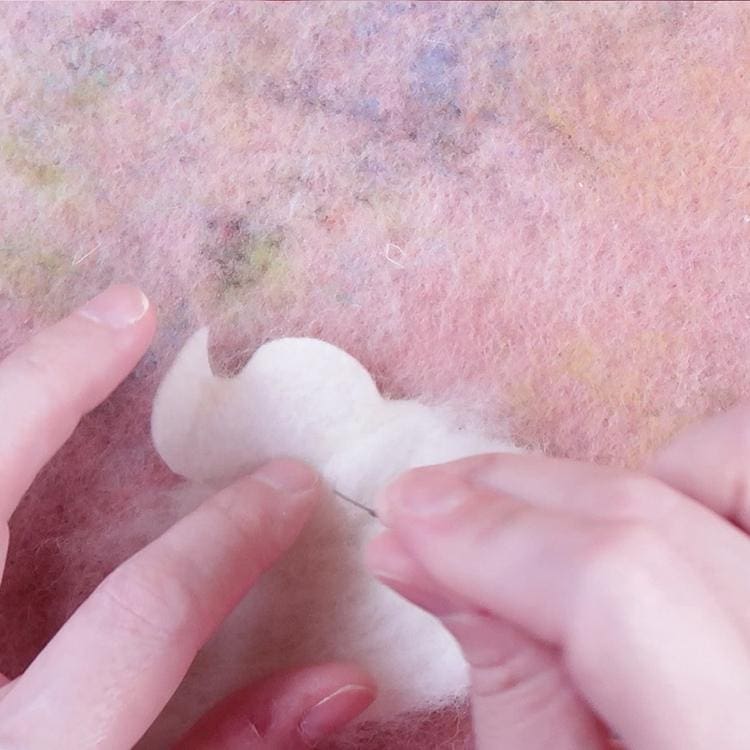
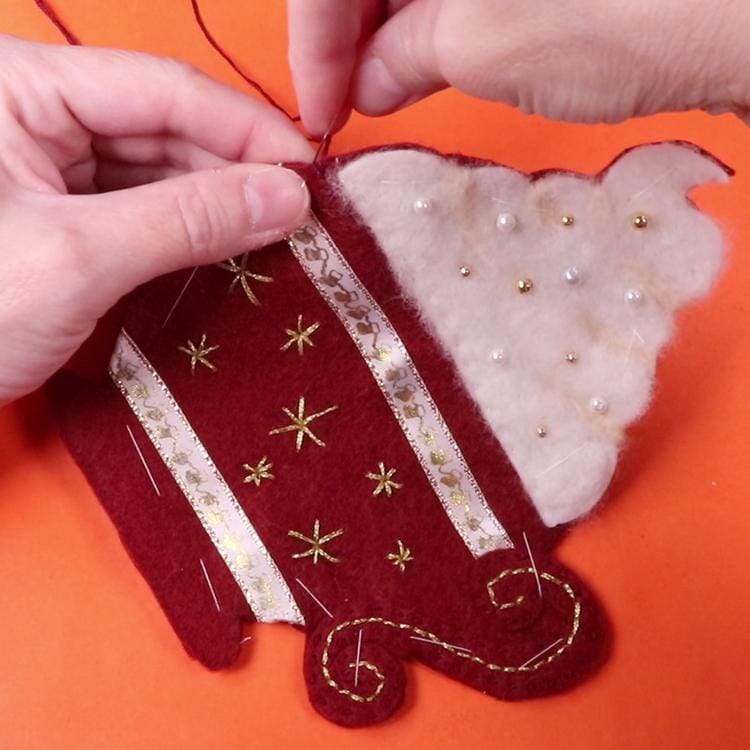
I started by drawing on the shadow details and needle felted some off-white wool onto the drawn lines. Then I needle felted white wool on the white parts of the felt.
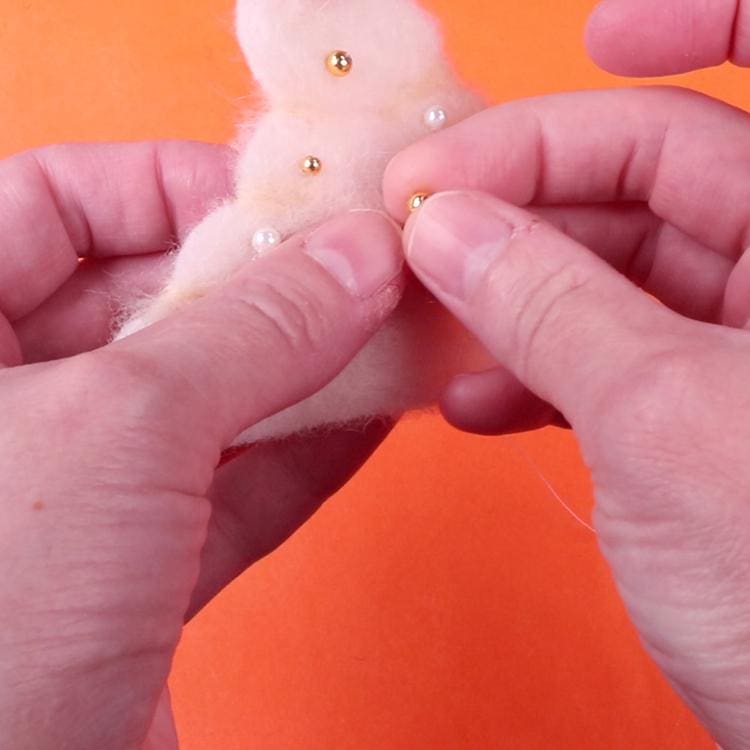
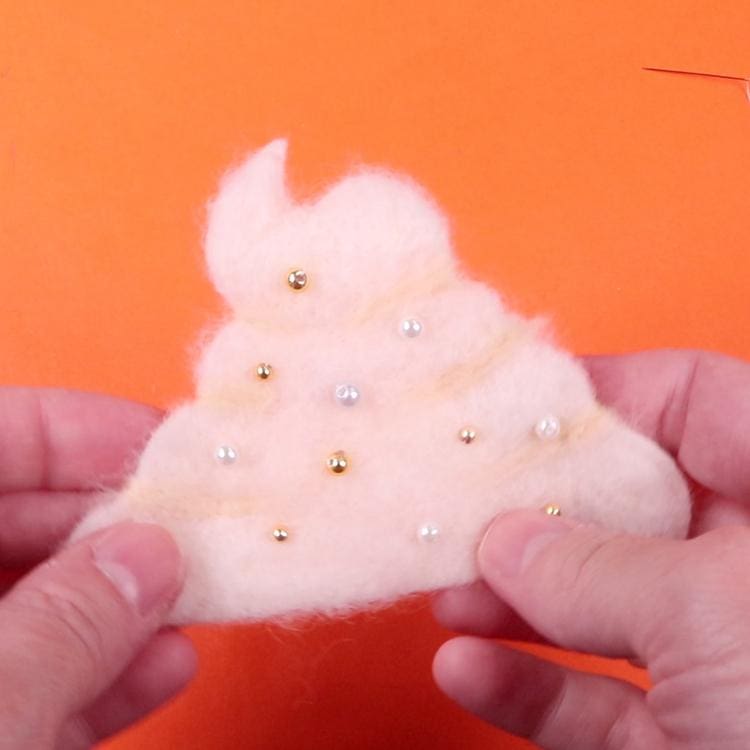
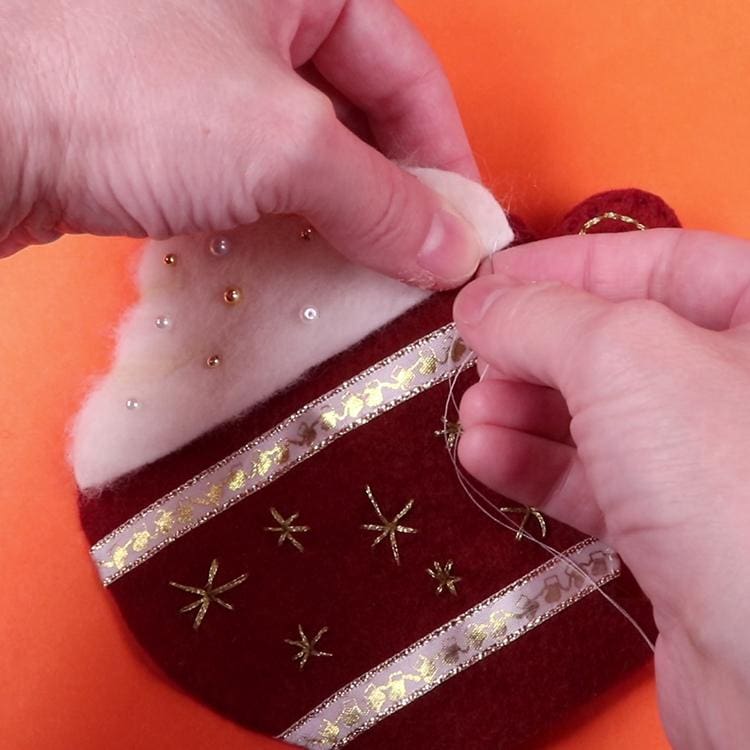
I used sewing thread to sew on gold and pearl beads on top of the wool. This really gave it a fun 3D effect and doesn’t affect it’s functionality since the coaster is big enough to just sit a mug on top of the teacup part. But if you want you can also skip this step or simply embroider sprinkles on top.
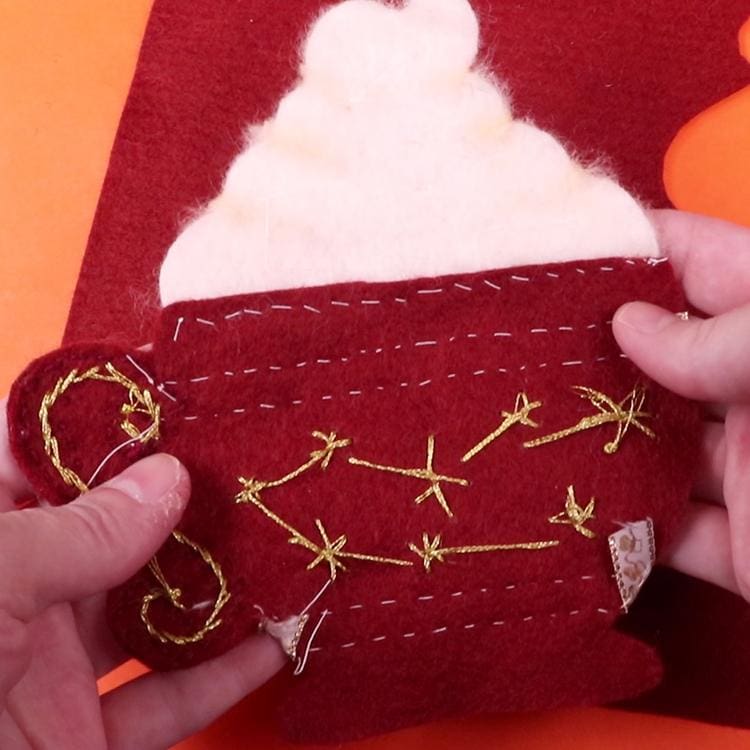
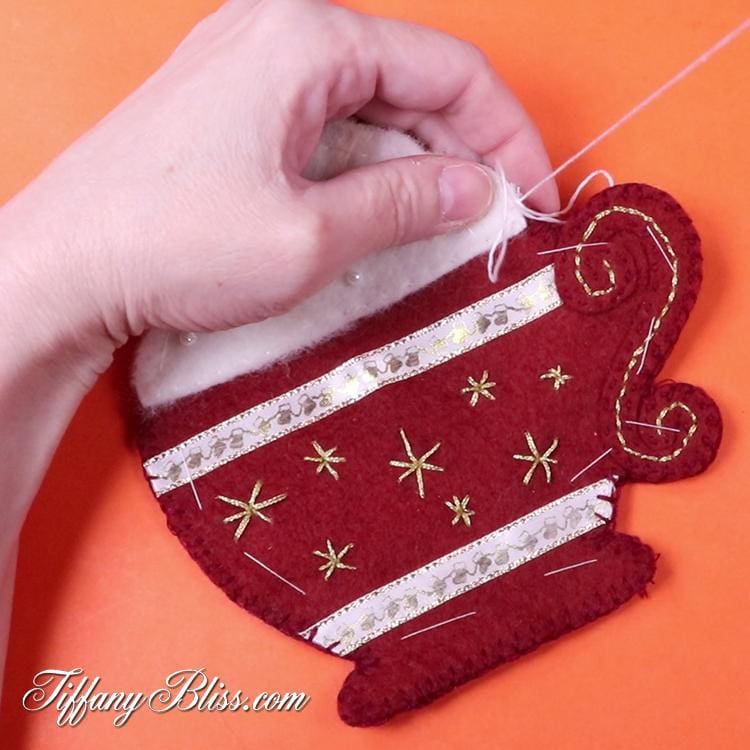
Next I placed the bottom edge of the whipped cream onto the top of the teacup and used a basic running stitch to sew it in place. I just used regular sewing thread for this step.
Now it’s time to hide the ugly side of the coaster and to add a bit of strength to the whole coaster.

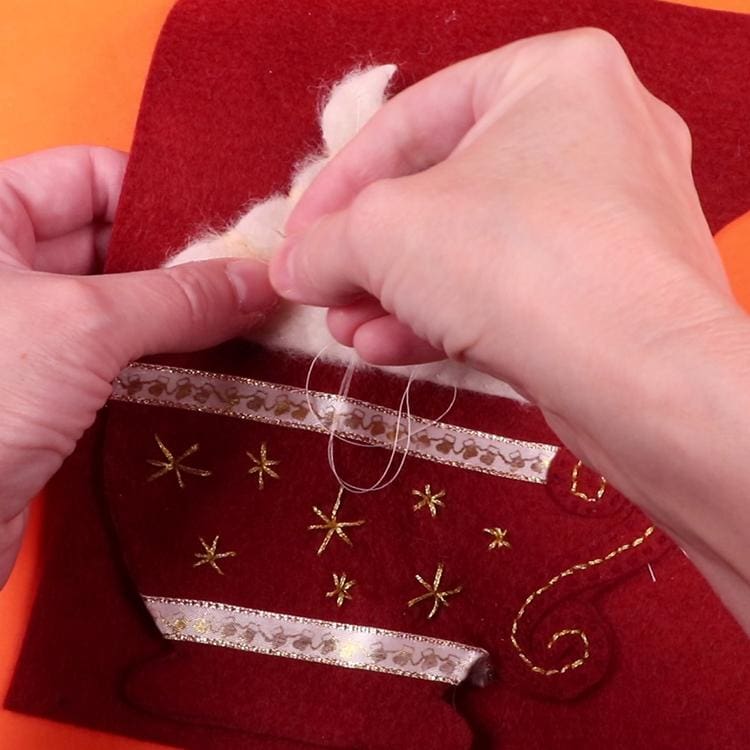
We’ll do this by placing the whole coaster (whipped cream and cup all attached) onto the other half of the felt you used for your teacup. Then just use regular sewing thread to baste it in place.
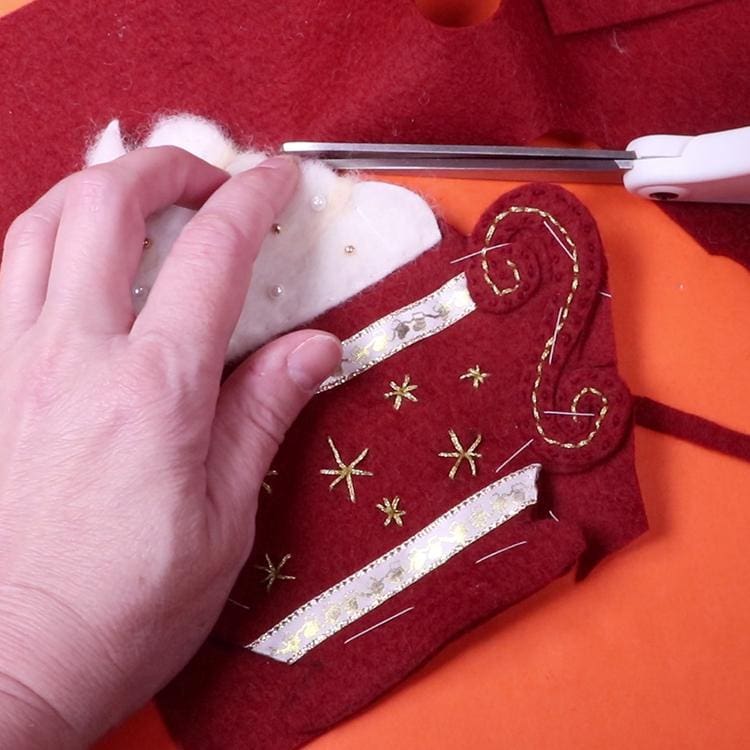
Then cut around the cup and whipped cream top.
To finish the coaster, I used a blanket stitch around the edges of the front and back. I used matching embroidery thread around the cup and handle and white for the whipped cream topping.
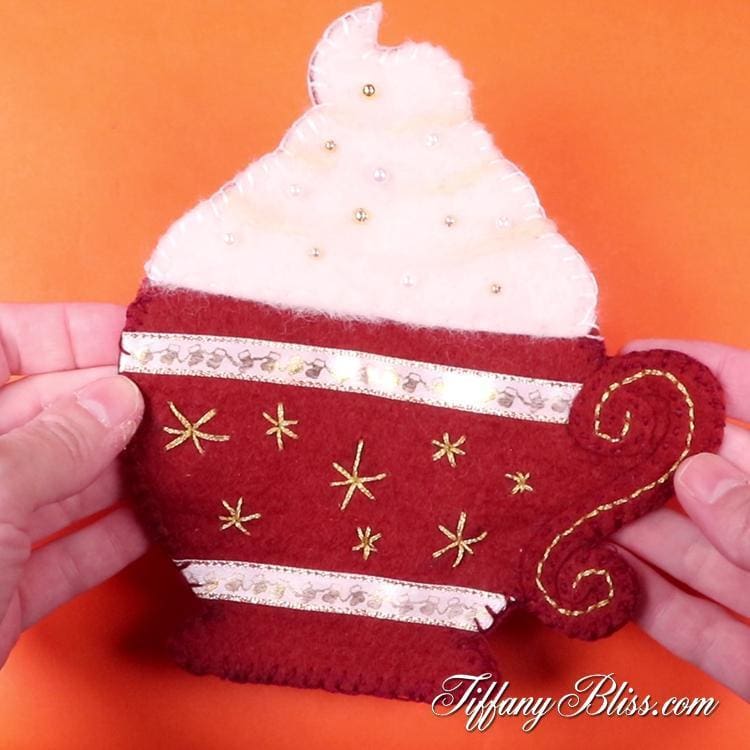
And that’s it! Now you have a fun and festive coaster for the holidays!


