Super Bulky Yarn Plus Double Crochet = Fast and Easy
This is a fast and easy crochet project. Beginners will love it because it’s easy to make and experienced crocheters will love it because it works up so fast and looks like a million bucks when it’s finished.
For this project we’re going to use a super bulky yarn and only one stitch: the double crochet.
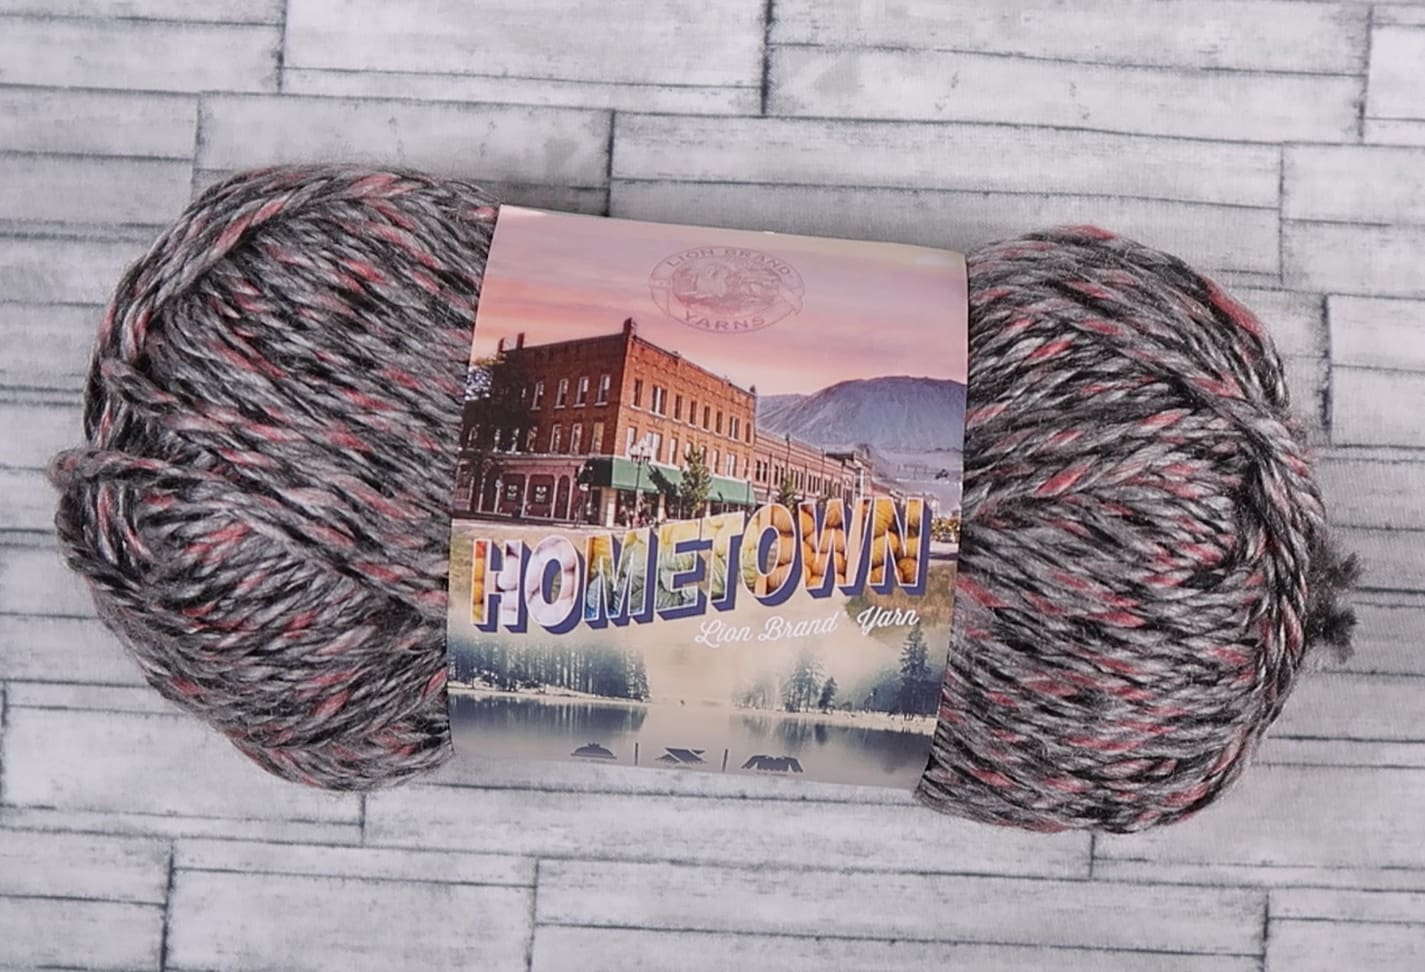
For my hat I used Lion Brand Hometown USA Super Bulky Yarn in the color: Salem Creek.
Please note: This pattern only works with a super bulky yarn so if you try to use a regular medium weight yarn it won’t work.
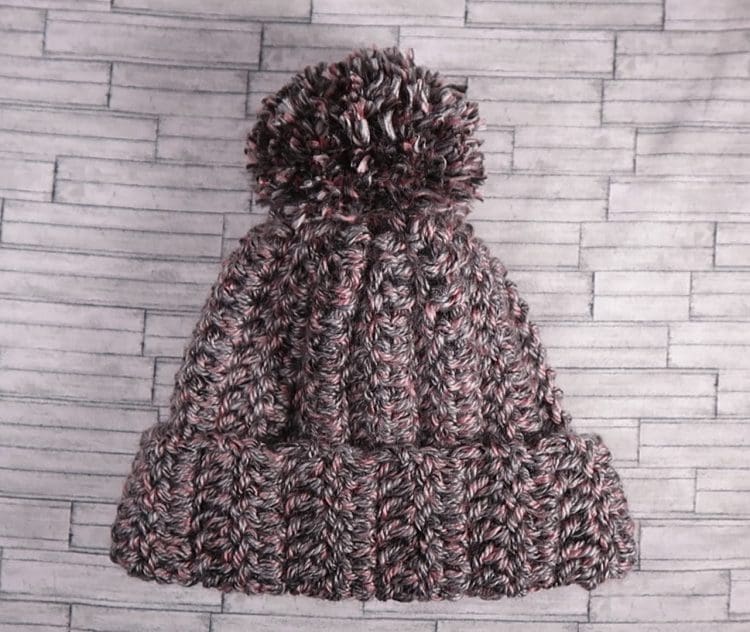
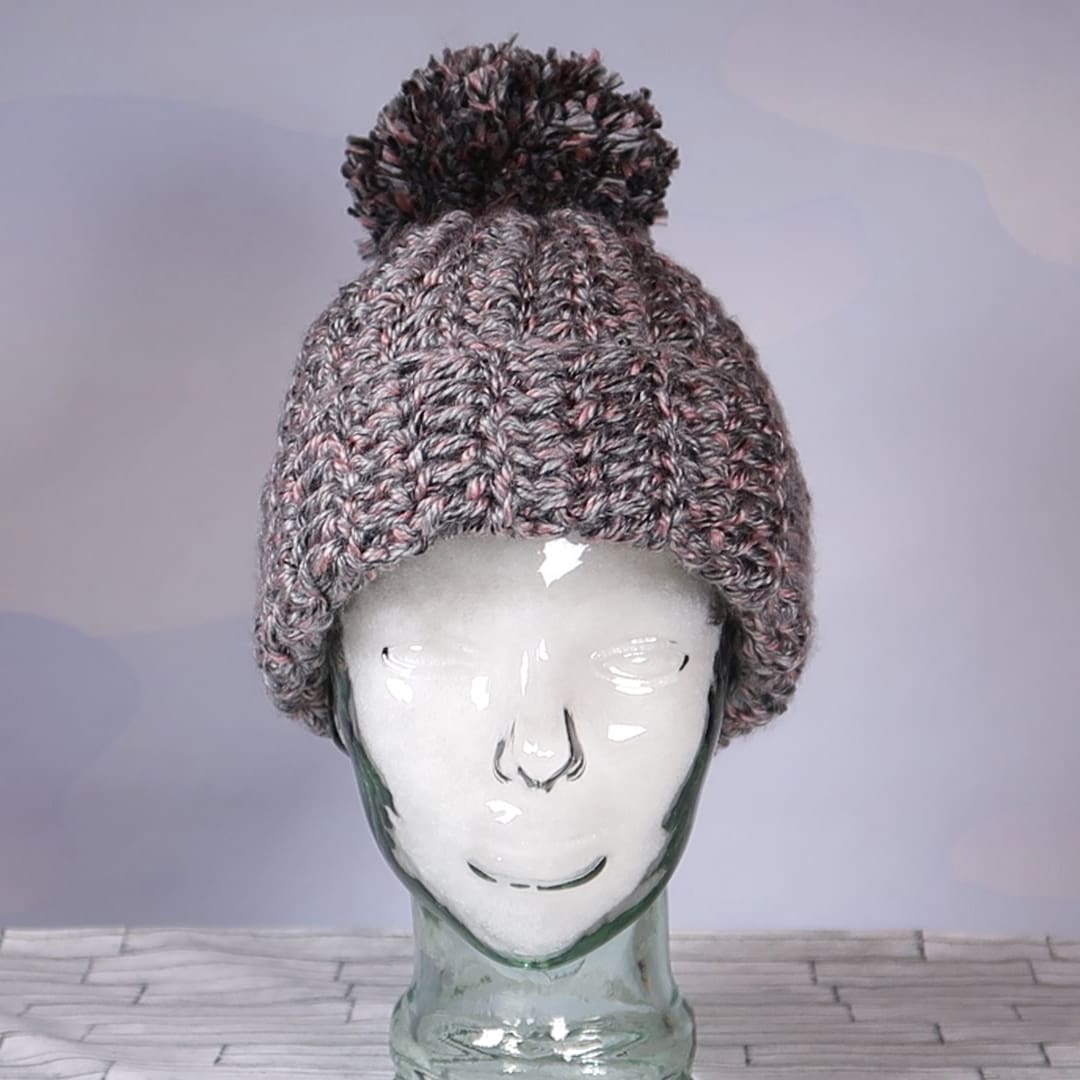
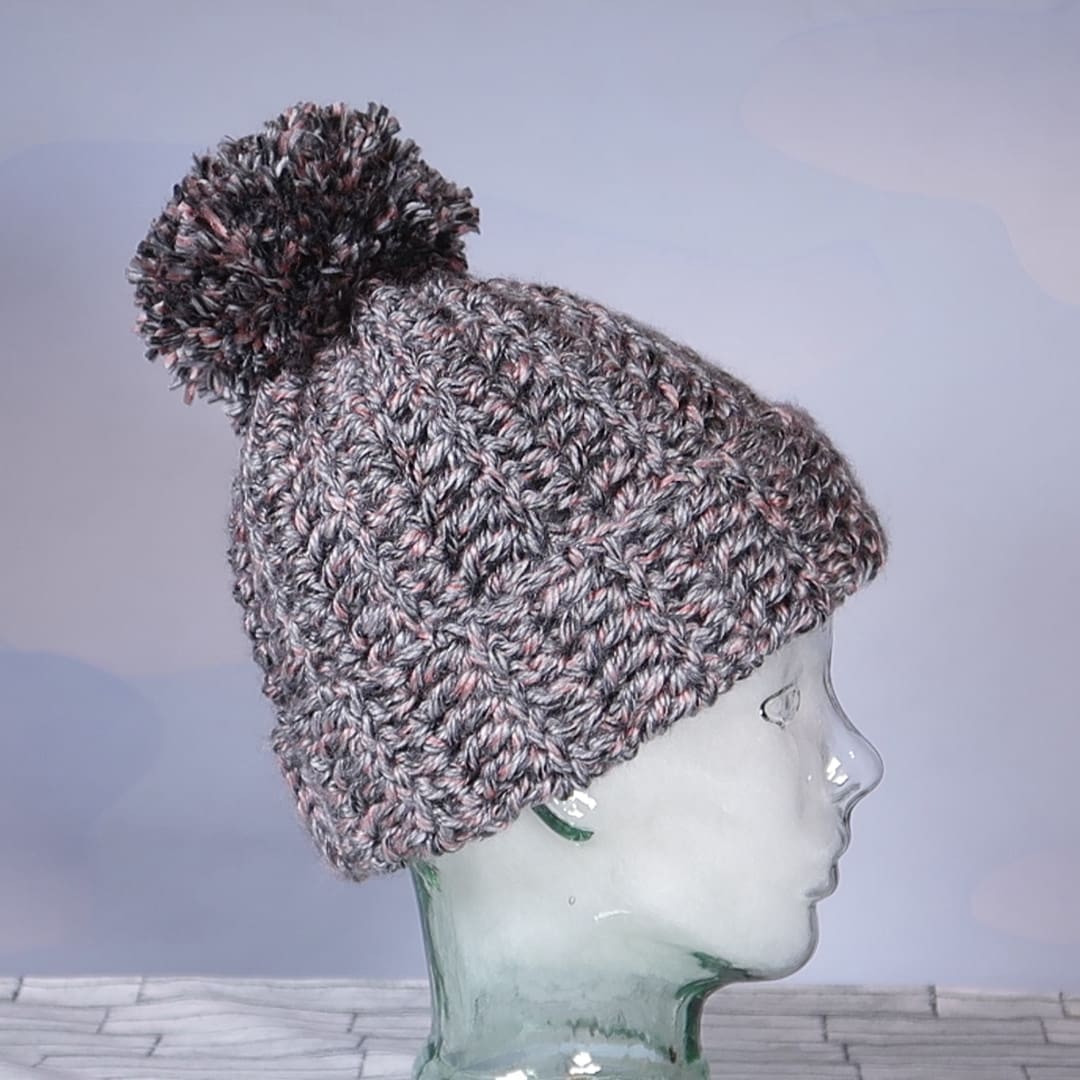
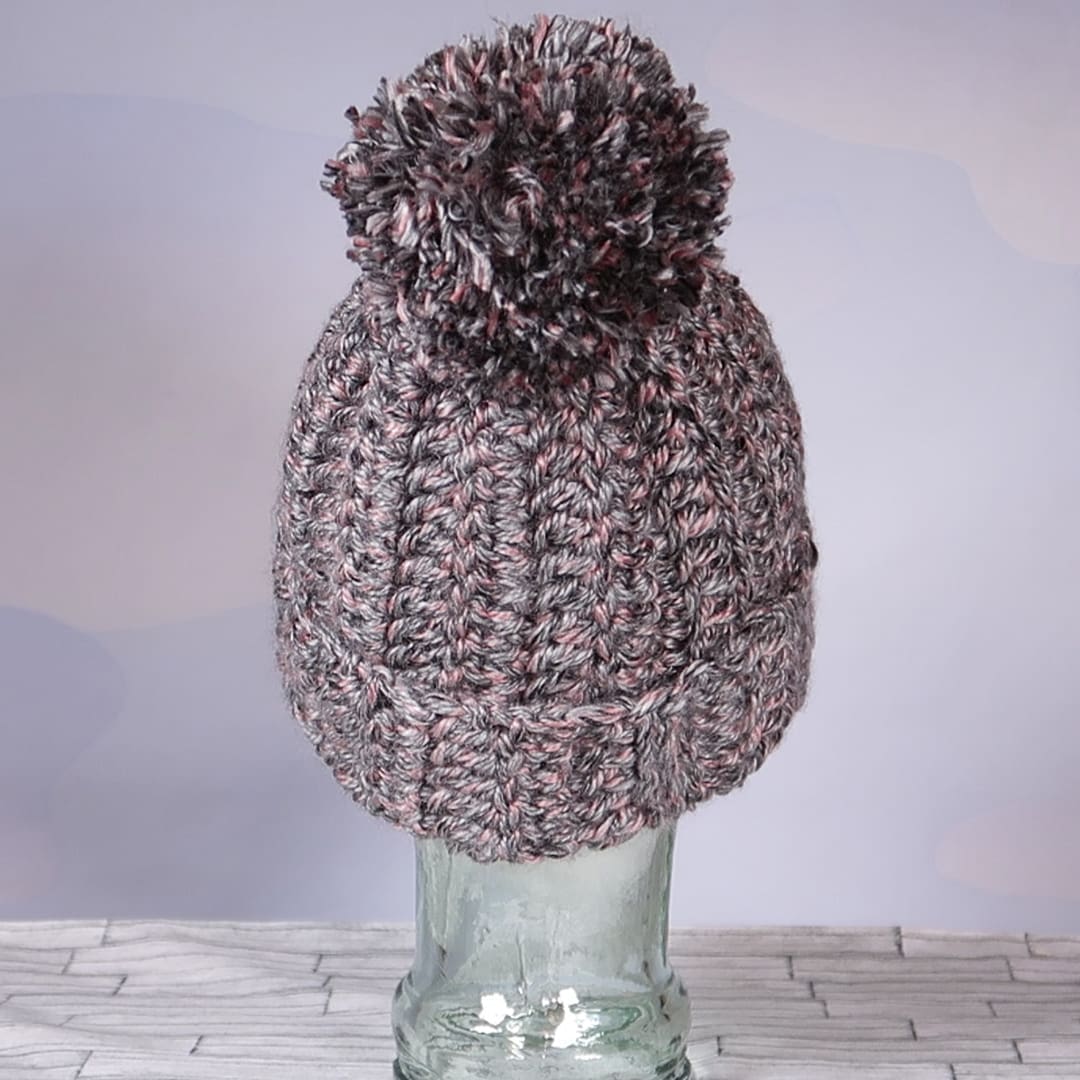
I really love the way this hat turned out! It looks like something you’d buy in a fancy boutique and I especially love the way the Pom-pom turned out. It’s so fluffy!! Let’s get started…
Let’s look at the supplies you need:
- 2 skeins of Yarn (size 6 Super Bulky yarn) I used Lion Brand Hometown USA in the color “Salem Creek” each skein is about is about 81 yards. I used 1 skein and a little off the next one because I made my own Pom-pom to match.
If you didn’t want to make a Pom-pom then you could possibly get away with using just one skein. I always err on the side of caution and buy more than I need though, there’s nothing worse than running out of yarn before a project is finished. - Crochet Hook (I used a 10 mm or size N/15)
- Yarn needle
- scissors
Making the Fast and Easy Crochet Hat
This hat doesn’t have a lot of instructions because it’s so easy to make.
Making a Chain and Beginning Instructions
We’ll start by making a crochet chain of 27 stitches. This will be the length of your hat from top to bottom, not the width. I made this hat so that it has a fold up brim so the hat will measure about 11.5 to 12 inches long. I like making bulky hats with a fold up brim because I think it looks more finished that way.
If you want to make the hat without a fold up brim then you should make it about 8.5 to 9 inches long for an adult. You would obviously make less chains to begin with but you can still follow this pattern to make your hat.
Making the Body of the Hat
Once you finish making your chain, skip 1 chain and from the 2nd chain on the hook make your first double crochet. Continue making double crochets in each stitch down the row until you get to the end.
When you get to the end, chain 2 and turn your work.
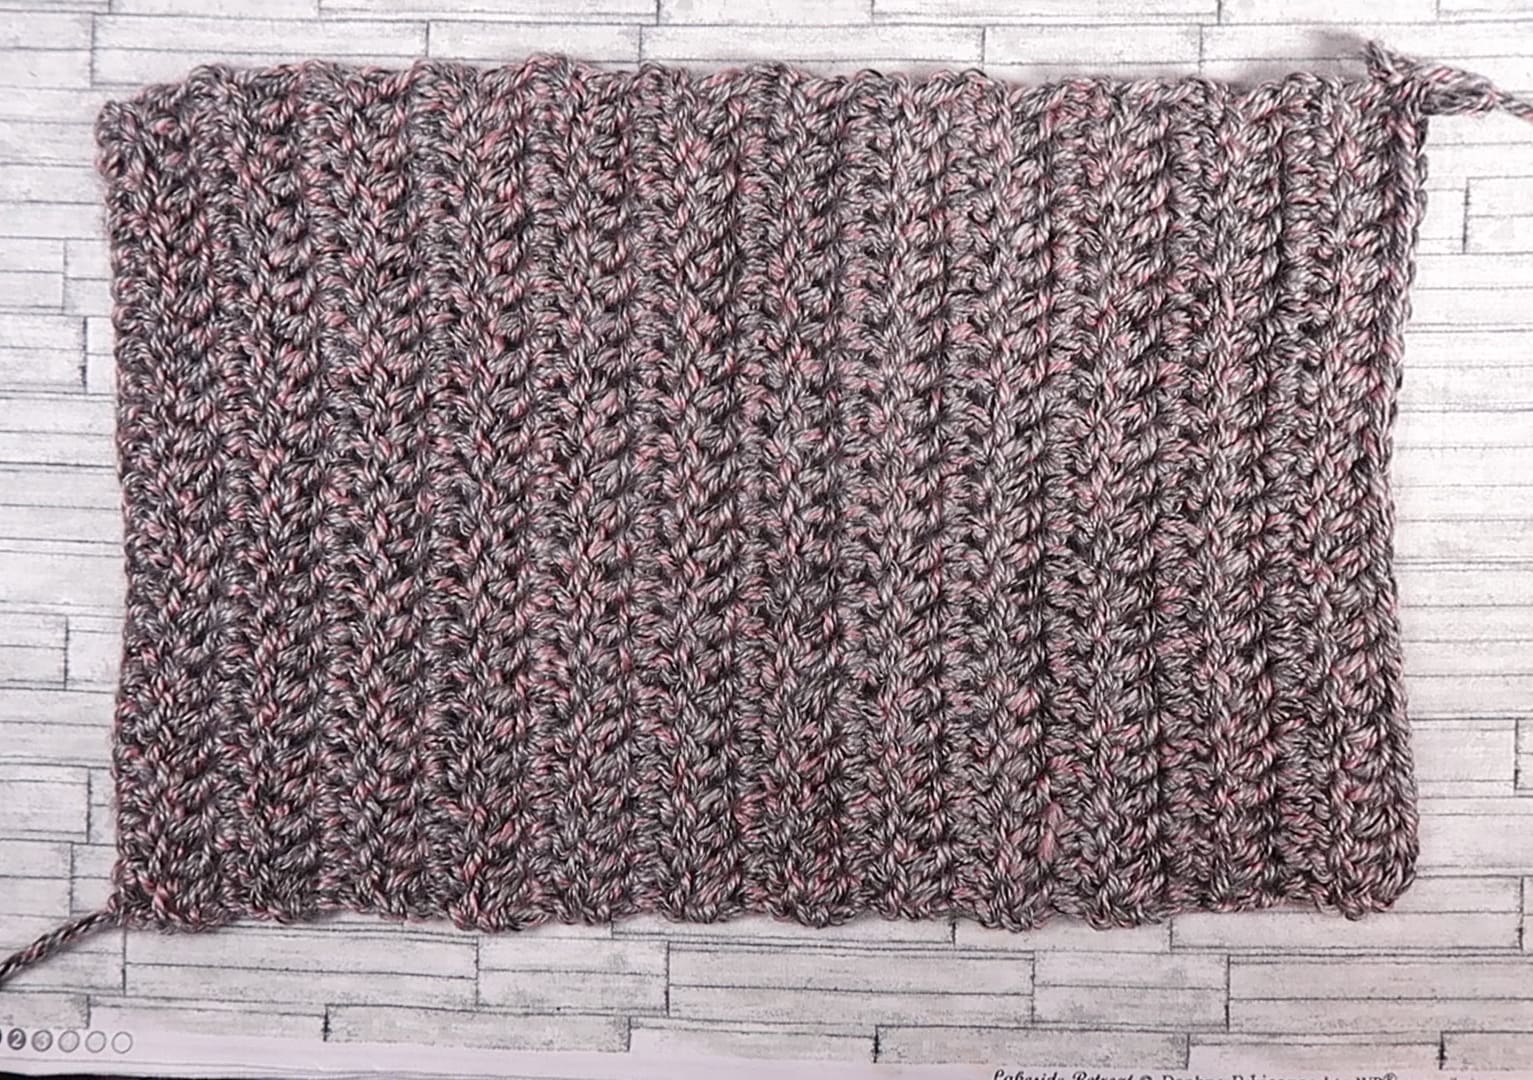
From now on you’ll make double crochets into every stitch until you come to the end of the row. Then you’ll chain 2, turn your work and repeat until you have 25 rows.
If you want your hat to be smaller in size (width), you will make fewer rows. This hat will measure a little over 19″ but it has a lot of stretch. Usually a good rule of thumb is, adult hats measure 22-24 inches. But this hat has so much stretch to it that if you try to make it that size, you’re going to have a very very big hat.
Forming the Hat
When you’ve made 25 rows of double crochets you’ll have a rectangle.
Fold your rectangle in half and slip stitch up the side of the hat and fasten off. When you’re finished you’ll have what looks like a tube.
Next attach a yarn needle to a long piece of yarn and start weaving in and out of the very edge loops all around the perimeter of one side of the tube shape. Then pull it closed and tie it off.
Work the two yarn ends into your work, and the body of your hat is finished!
Making the Pom-pom
If you want to make a Pom-pom, here’s what I did. Now, keep in mind, that this isn’t the best way to make a Pom-pom, it’s just what I did in the spur of the moment. There are lots of really nifty Pom-pom makers on the market that you can purchase and as well as many tips and tricks to make really great Pom-poms. I just kind of winged it to make mine. But I think it turned out just fine.
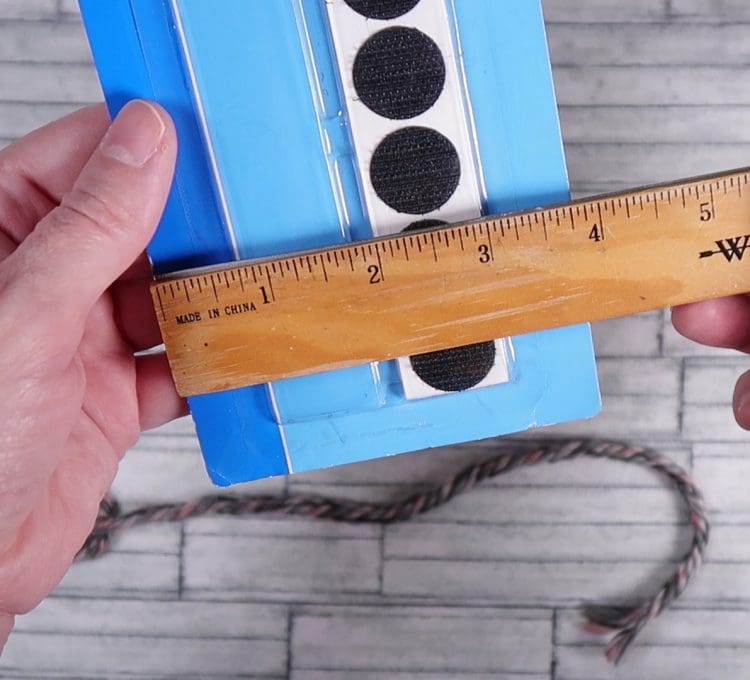
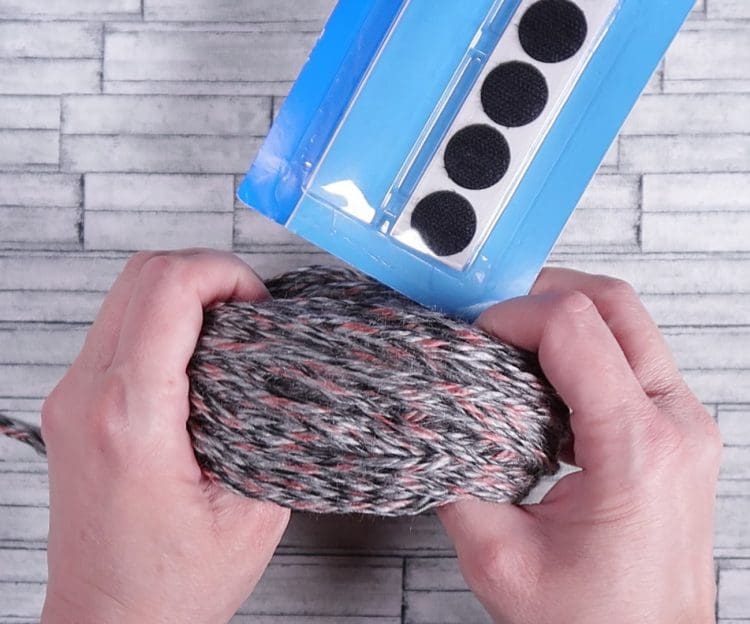
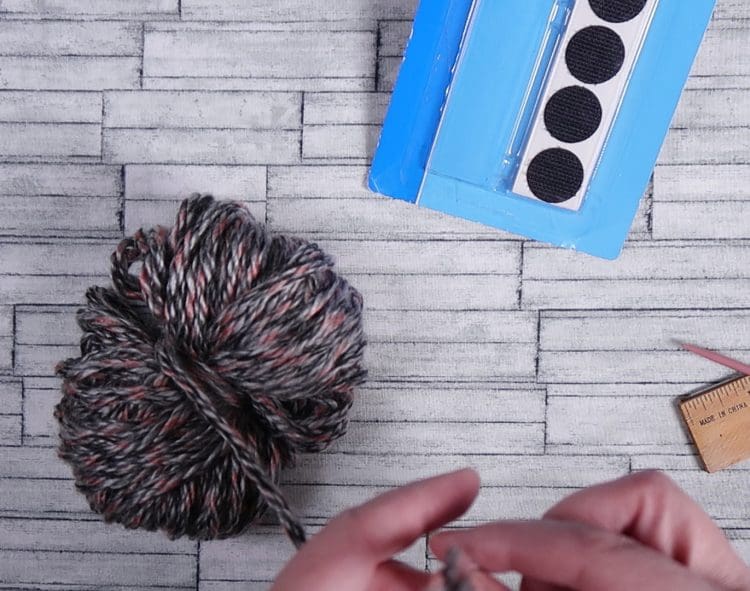
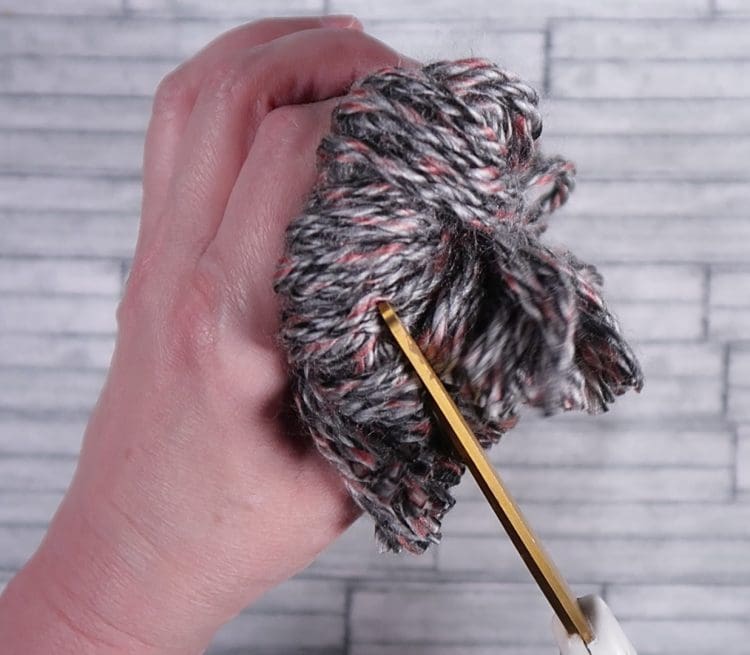
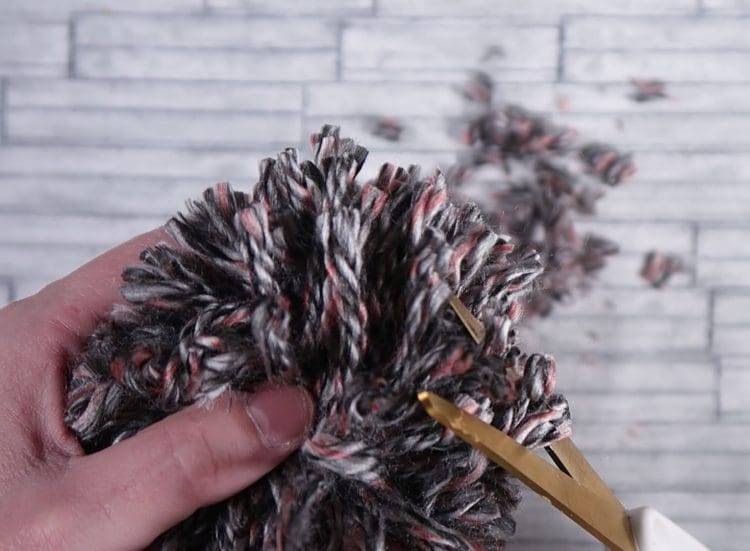
So, here’s what I did: I found a piece of cardboard that was about as wide as I wanted the Pom-pom to be. For me this turned out to be 3 3/4 inches wide. Then I wrapped the yarn around the cardboard until it looked like it would be a nice fluffy Pom-pom. Then I removed the yarn off the cardboard and used another piece of yarn to tie the wrapped yarn in the center. I made a good knot then used scissors to cut the loops on each side of the Pom-pom. Then I shaped the Pom-pom to make it nice and round. I fluffed up the yarn and used a yarn needle to tie the Pom-pom onto the hat.
And That’s it! I hope you love how this hat turned out as much as I did! These hats make a great gift, they’re easy to make and they work up fast!
If you want to see step by step how I made this hat, please watch my video below. It will walk you through the entire process and show you what I did.


