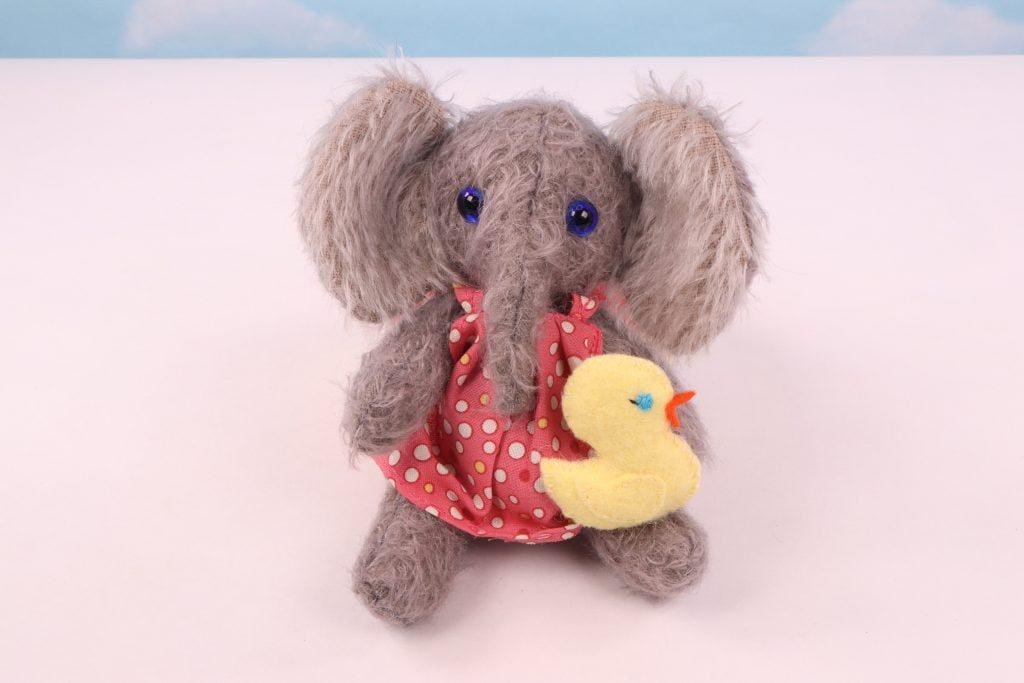
This miniature duck is perfect for dollhouses, dioramas or just to use as a miniature decoration. It’s super simple and fun to make and you only need a few supplies.
You will need:
- Yellow and orange felt
- Sewing needle
- Sewing pin
- Yellow, teal and black embroidery thread
- Scissors
- Fabric disappearing ink pen, fabric pencil or chalk for marking
- Wool or poly-fil stuffing
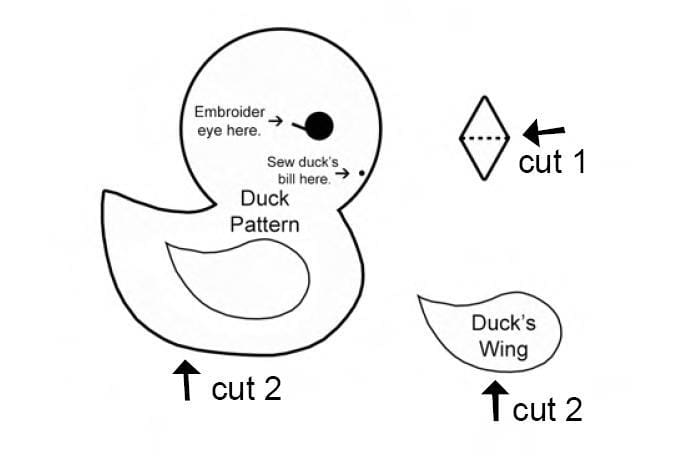
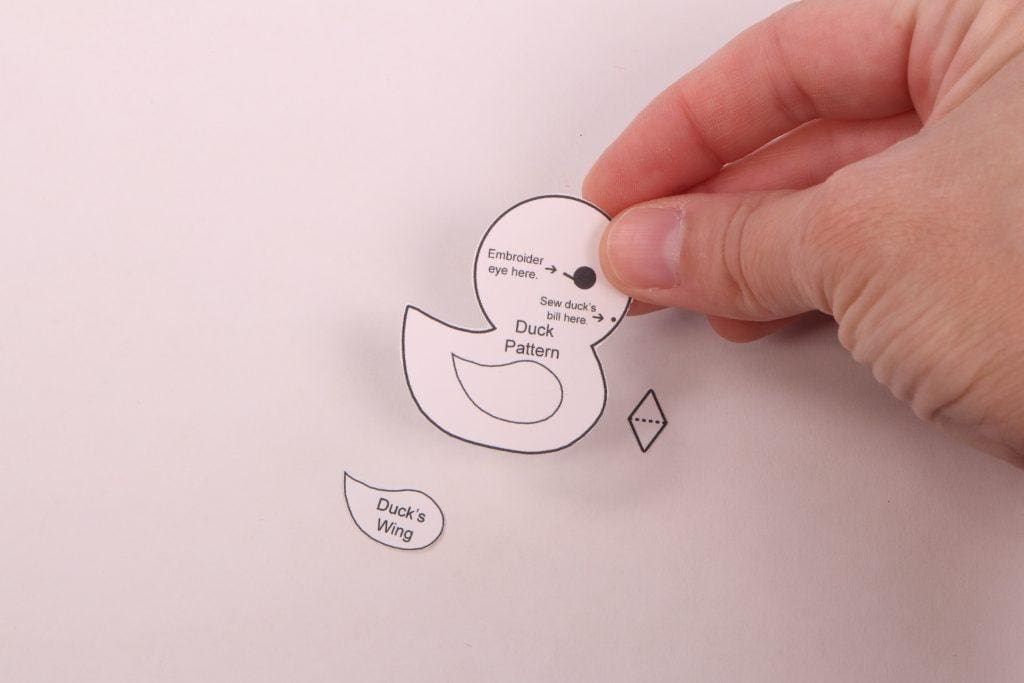
1. Cut out the above pattern pieces.

2. Place the duck and wing pattern pieces on a piece of yellow felt and use a fabric marker to trace the patterns. You will need to trace 2 of each pattern.
You will end up with 2 duck pieces (front and back) and 2 wing pieces (one wing for each side of the duck).
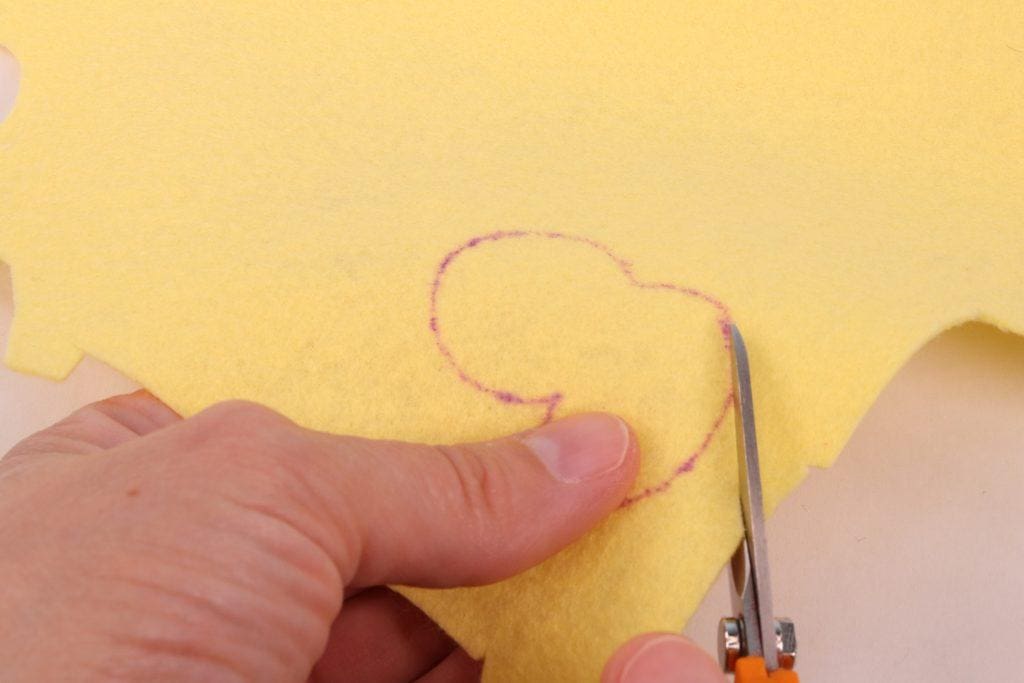
3. Then Cut out the pieces.
4. Place the ducks bill pattern on a piece of orange felt and use a fabric marker to trace the pattern. You only need to cut one piece.

5. Cut out the bill.
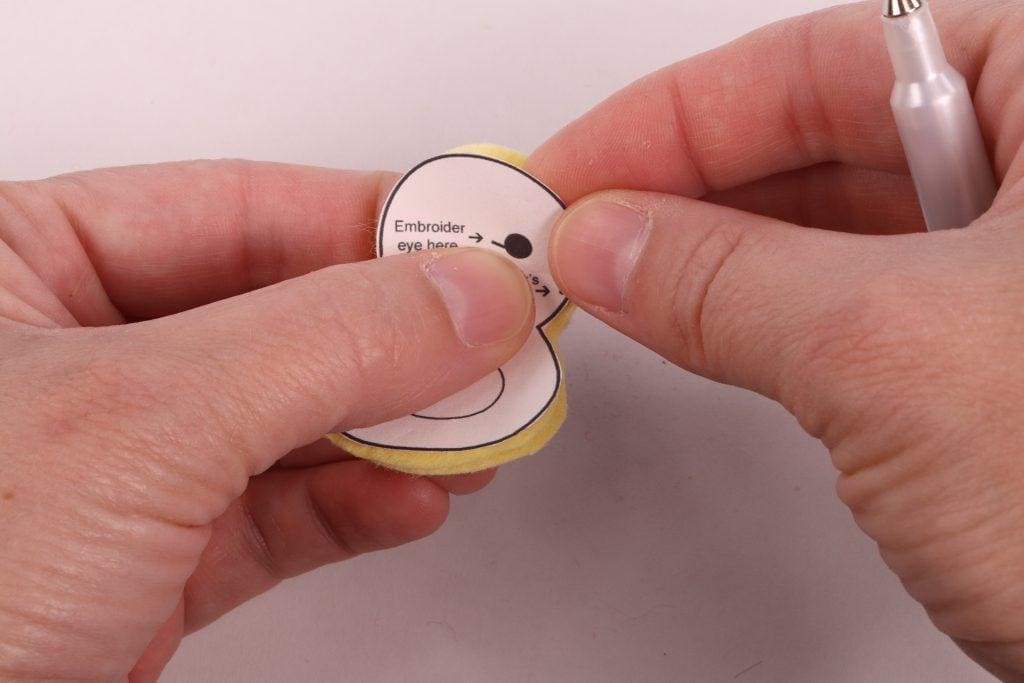
6. Place the duck pattern piece on top of one of the felt duck pieces.
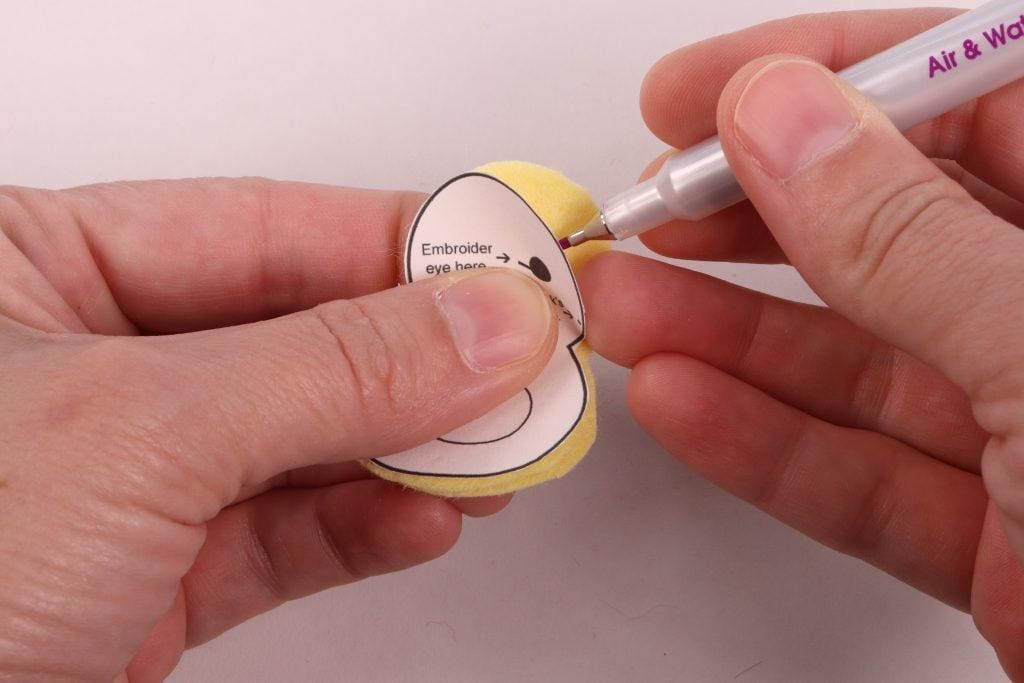
7. Use a fabric marker to mark where the eye should be placed.
8. Next place the two duck pieces together so that they line up completely.
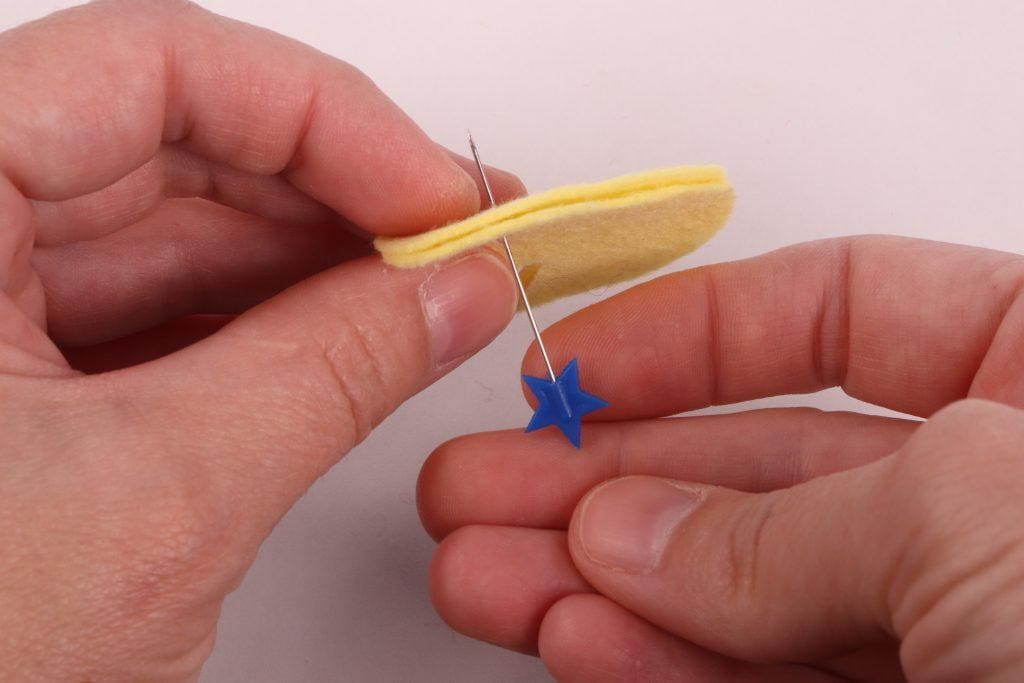
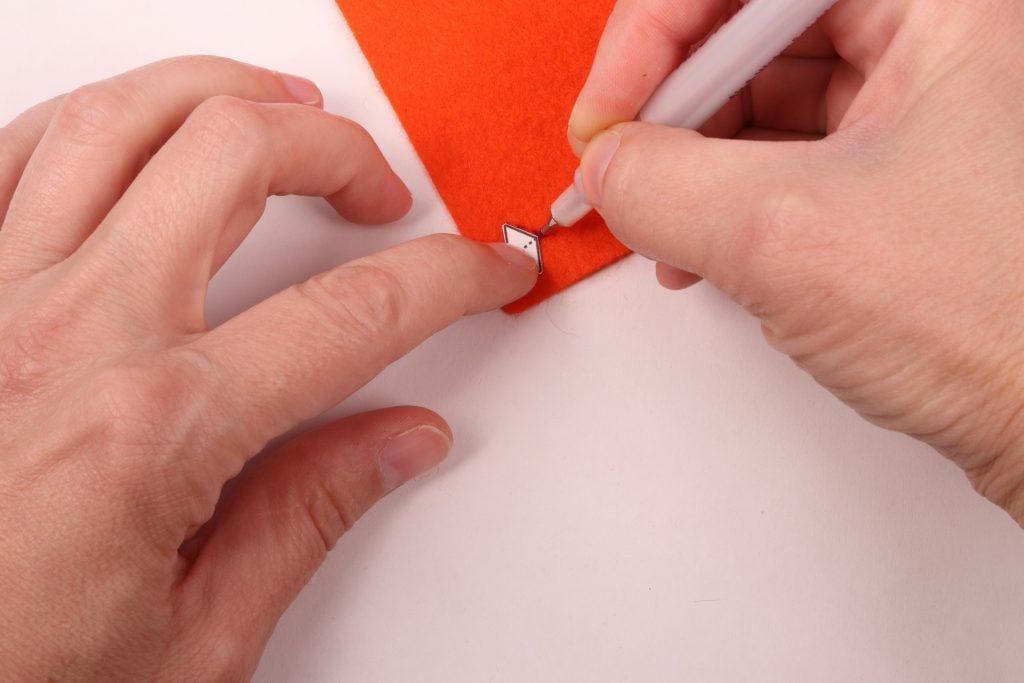
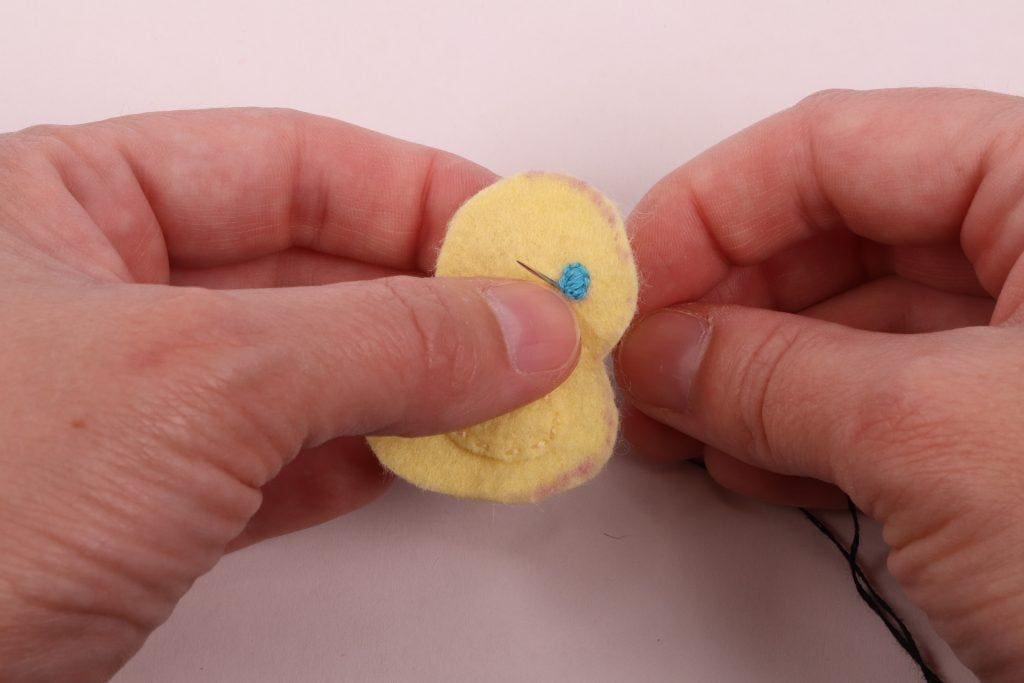
9. Then use a sewing pin to pierce through both pieces at the center of the eye.
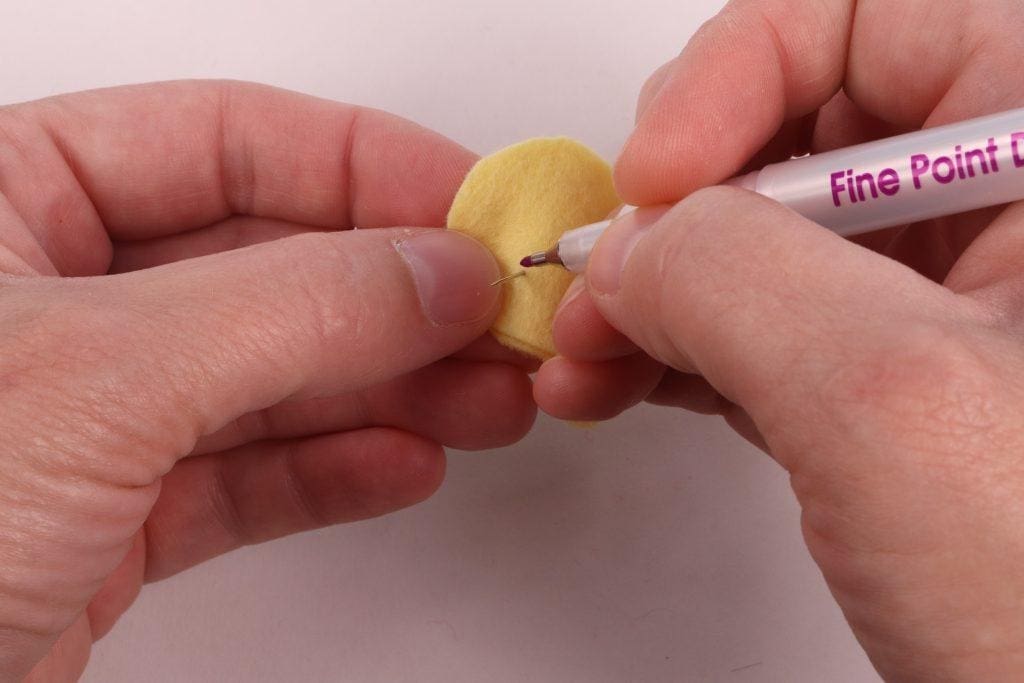
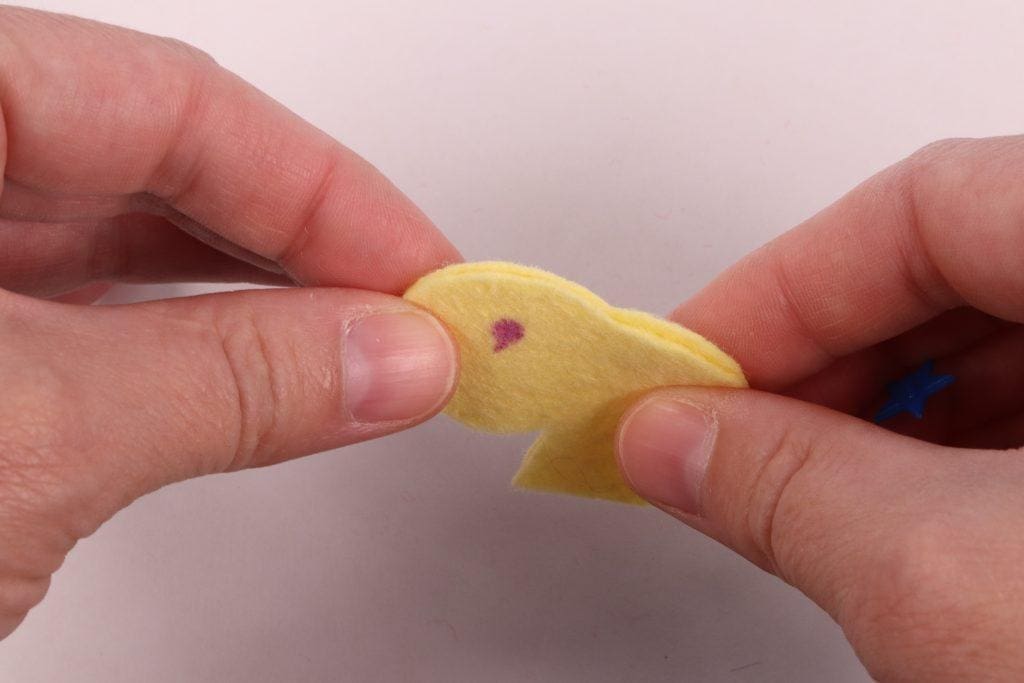
10. Mark the center of the eye on the other side. This will ensure that your eyes are lined up properly.
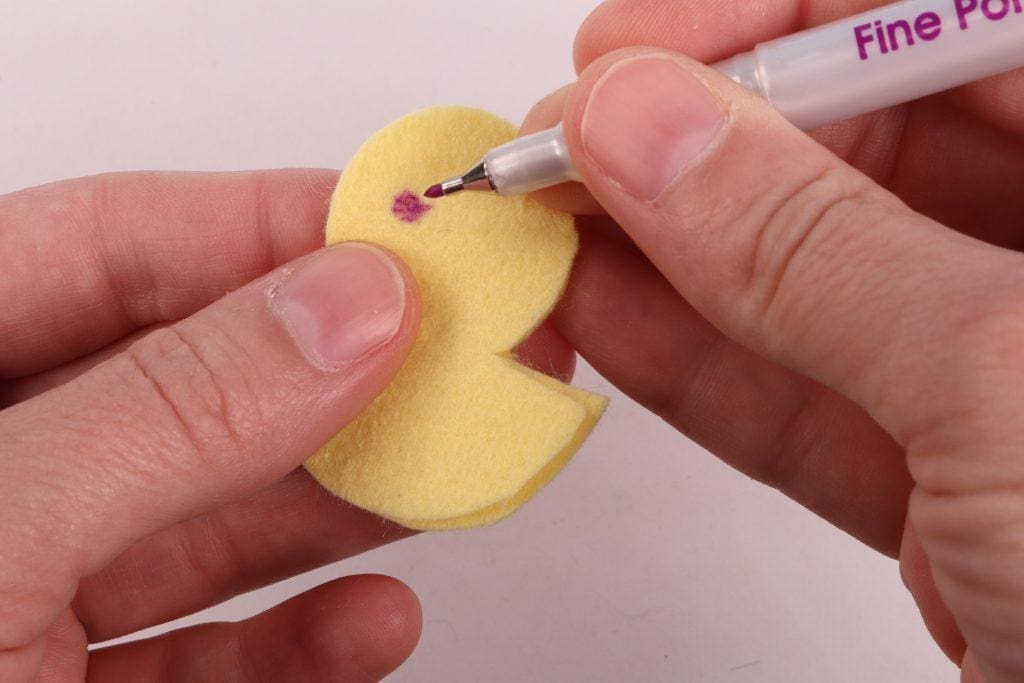
11. Next mark where the little eyelash should be on each side of the duck.
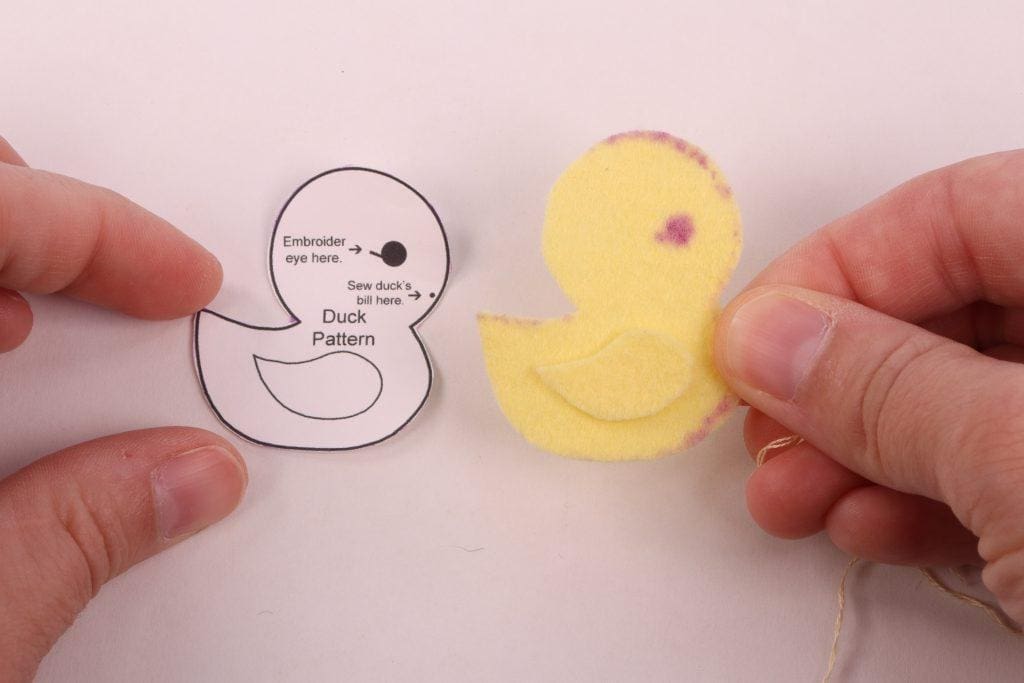
12. Place the wing piece in the middle of both duck pieces. You can use the duck pattern as a guide for proper placement.
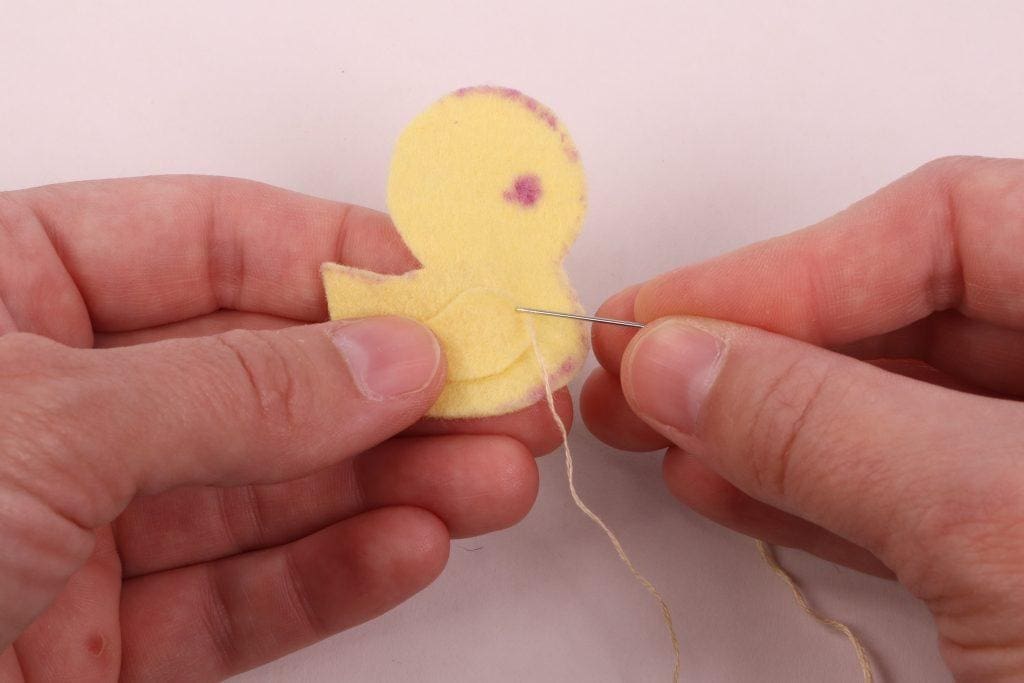
13. Now it’s time to begin sewing the wing. Start at the top right and sew until you reach the bottom middle of the wing.
14. Use a small amount of stuffing to stuff the wing. You can use a large sewing needle to help push in the stuffing. Then finish sewing the wing.
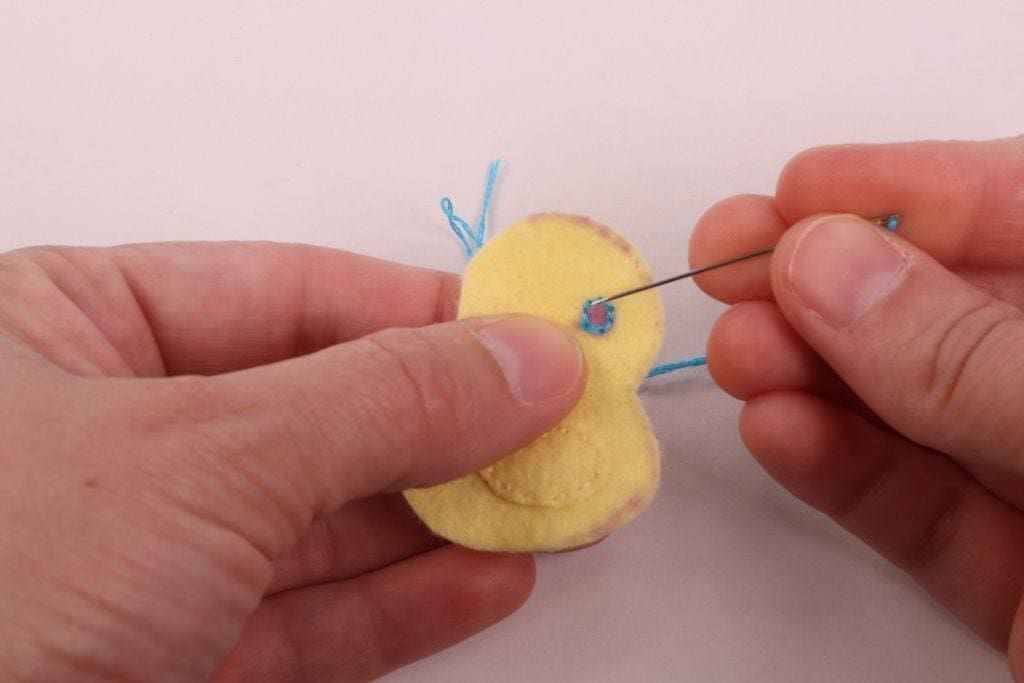
15. Use two strands of teal embroidery thread to stitch on the eye. Begin by outlining the circle.
16. Then use a satin stitch to fill in the eye.
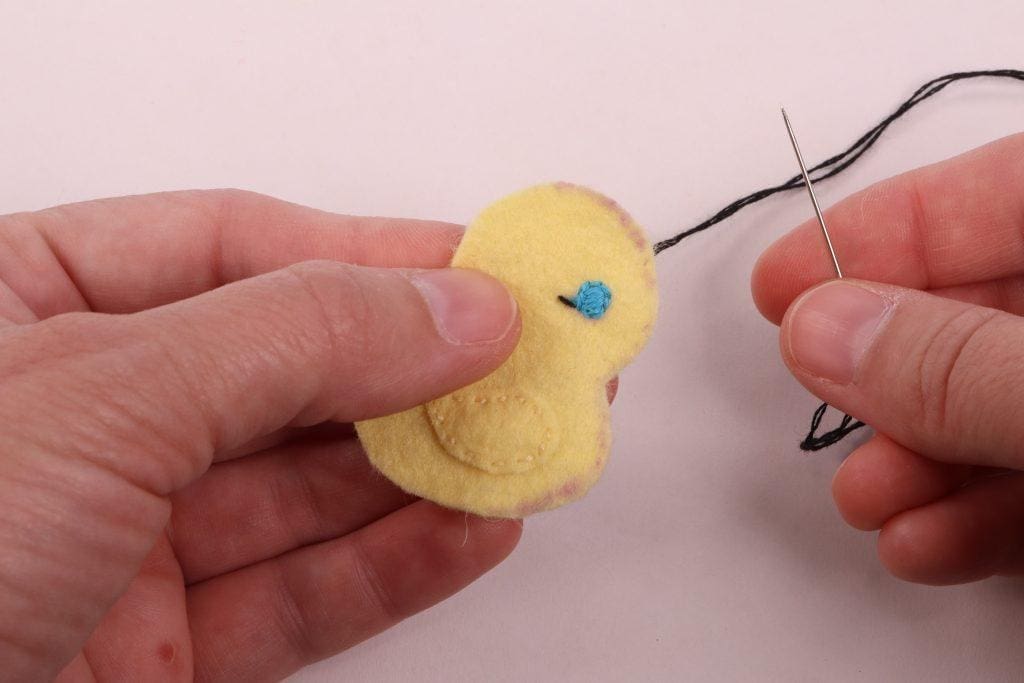
17. Next use two strands of black embroidery thread to add the black eyelash. This is just one simple straight stitch.
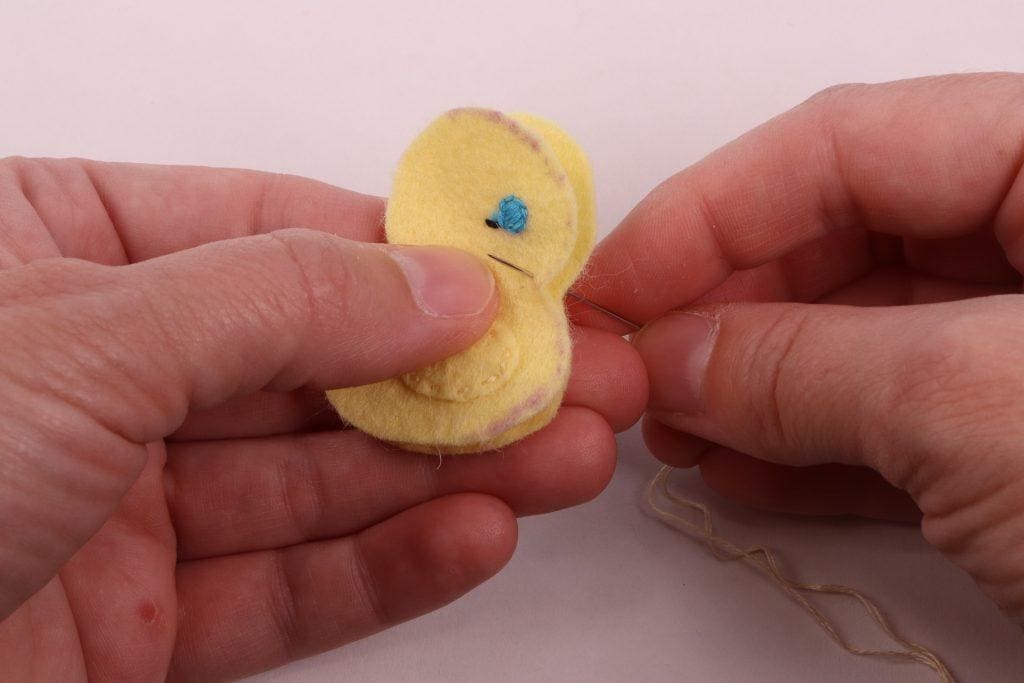
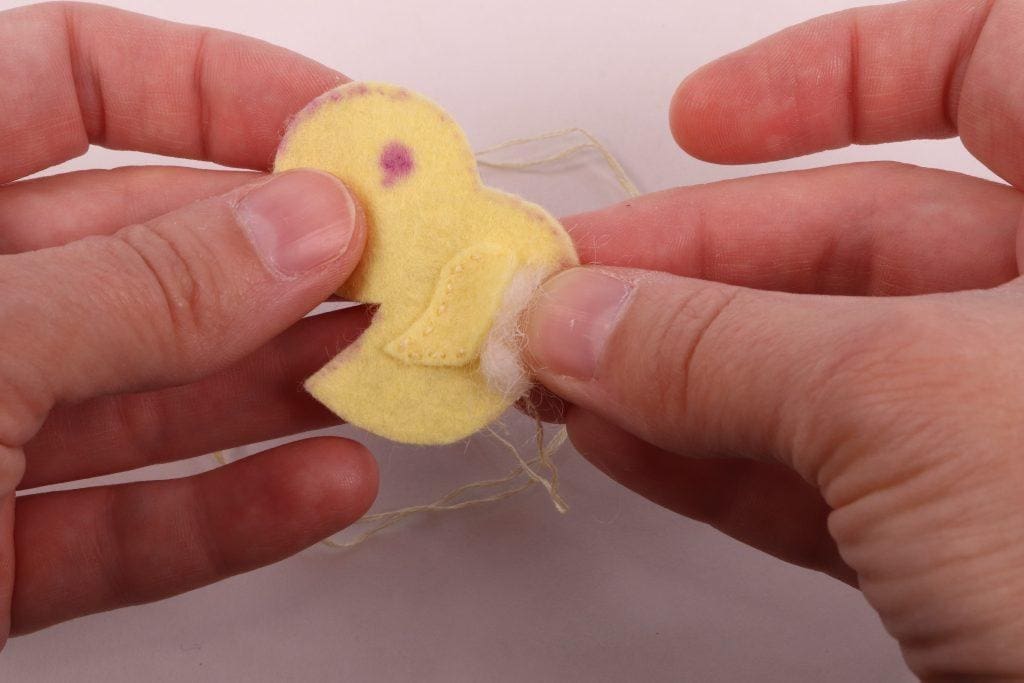
18. Now place wrong sides together so that the right sides are facing out. Start at the front neck of the duck and begin sewing using a whip stitch around the edge.
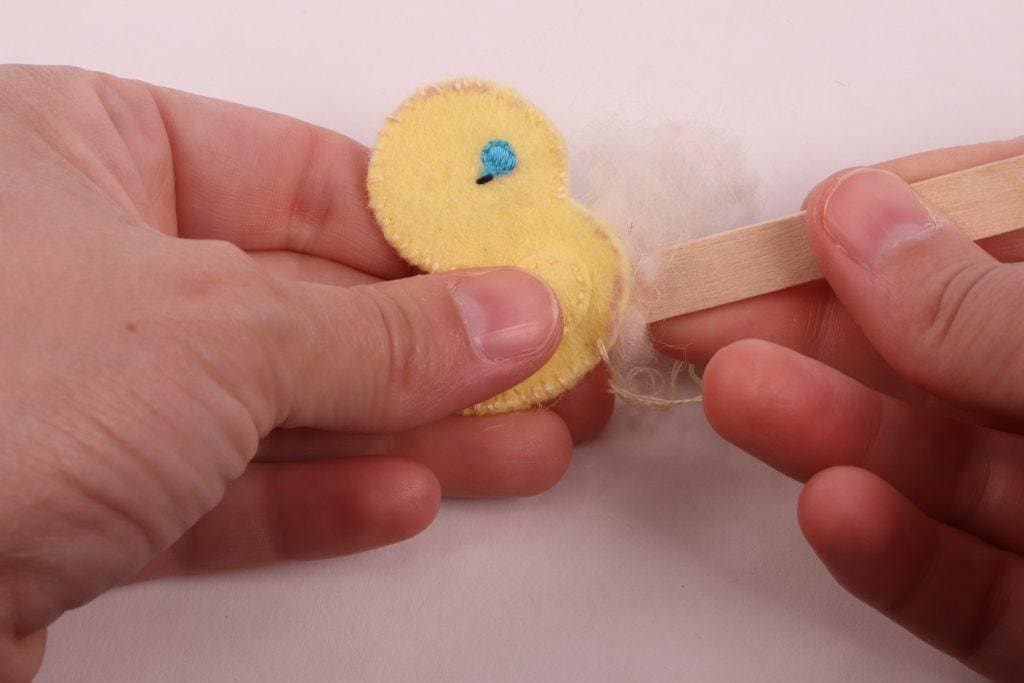
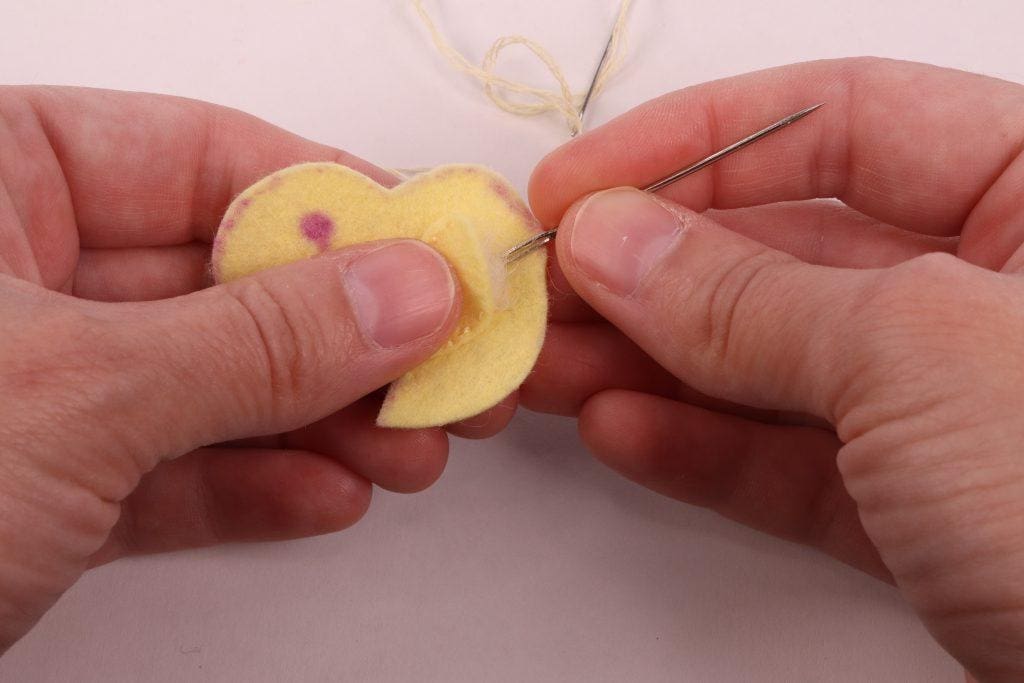
19. When you reach the bottom front you can begin adding the stuffing. I used a popcicle stick to help push the stuffing in, but you can use anything you have on hand. Then you can finish sewing it up.
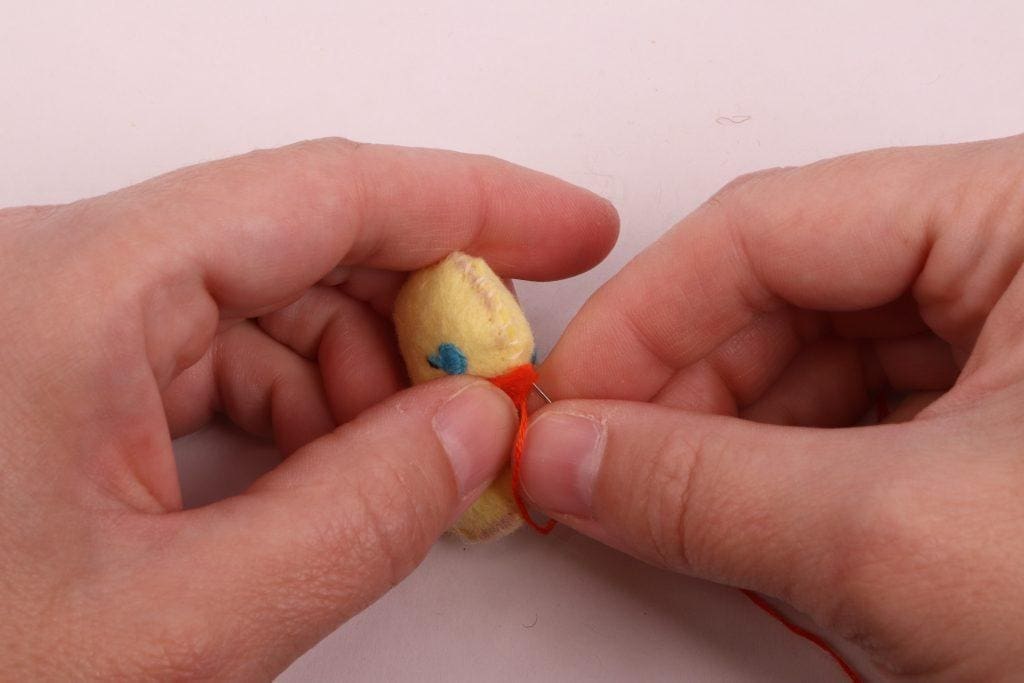
20. Position the duck’s bill on the front of the duck. Then sew a few stitches in the center to secure in place.
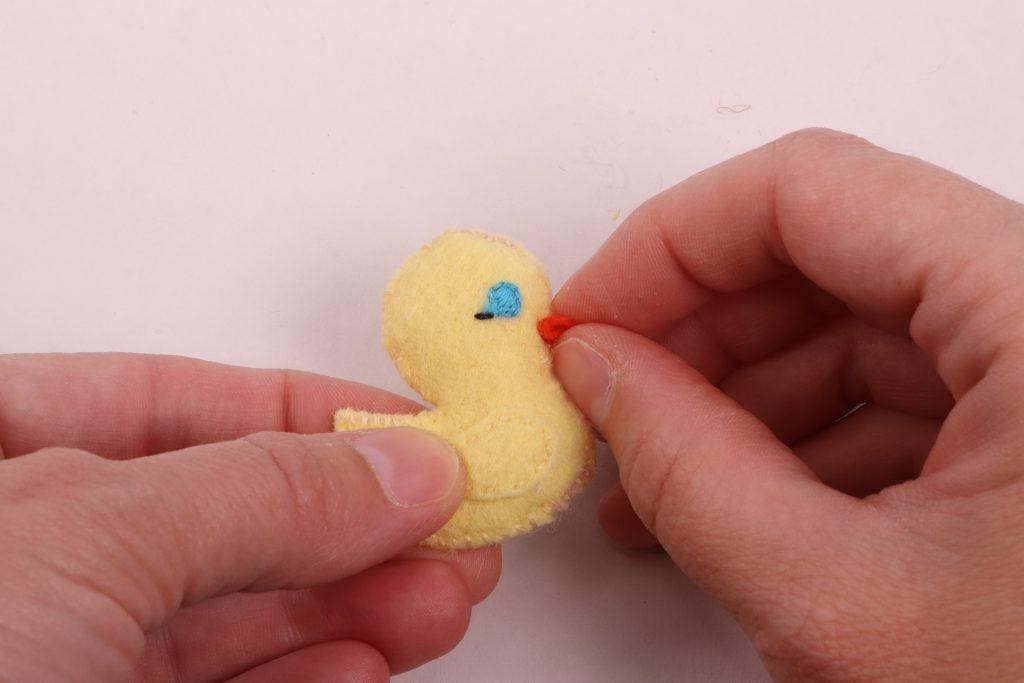
21. Pinch the duck’s bill closed to shape it.
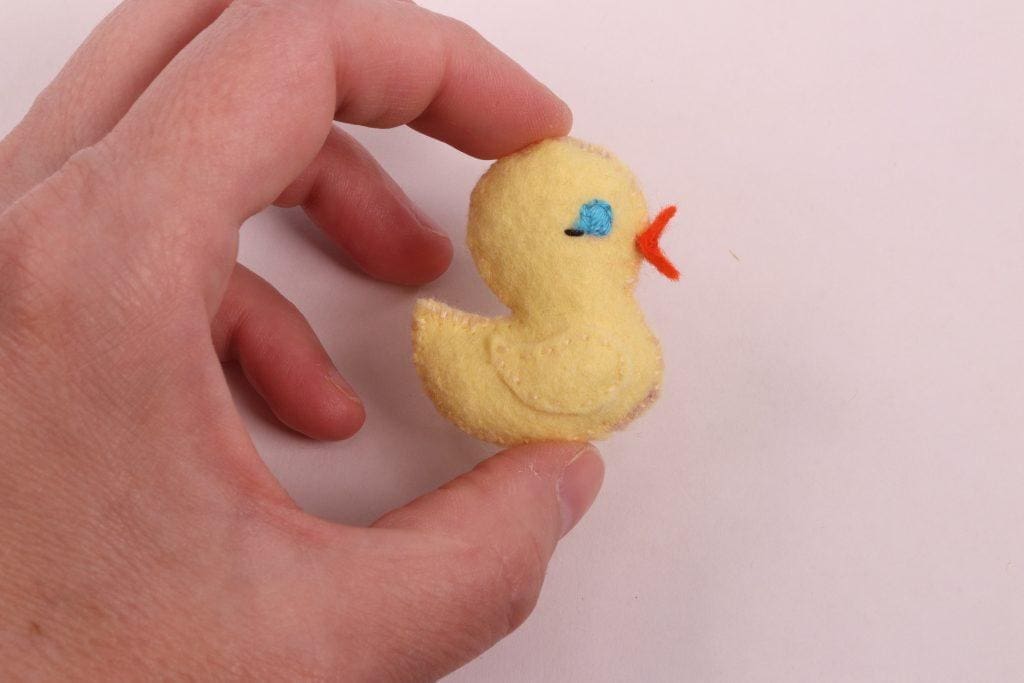
22. And that’s it! Now you have a cute little miniature duck plush.


