Disclaimer: Some of the links below are affiliate links. This means that, at zero cost to you, I will earn an affiliate commission if you click through the link and finalize a purchase. Please see my Affiliate Disclosure page for more details.
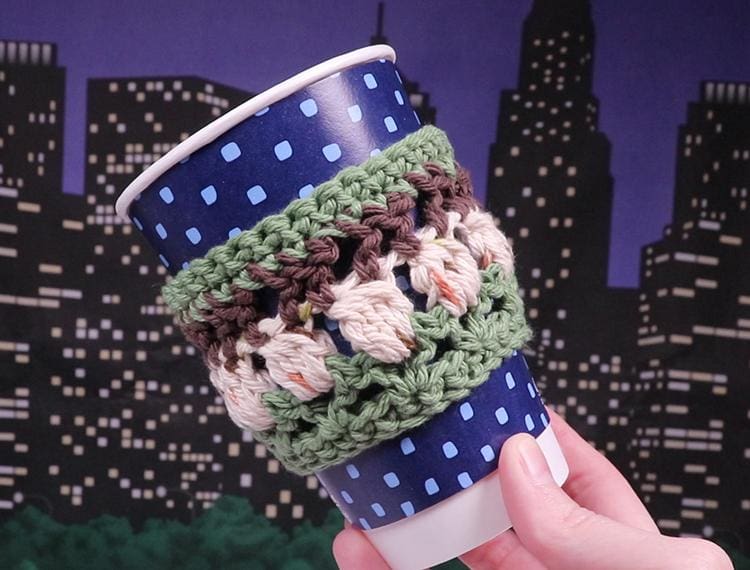
This crochet reindeer cup cozy is a cute and easy project to make quickly if you need a last minute gift. Or just make one for yourself to protect your hands from your hot cocoa cup.
The finished cup cozy measures 4 1/2 to 5 inches wide and about 3 inches tall. This fit my 16 oz cup perfectly. The cup I used for my model is a Chinet brand 16 oz Comfort cup. If you’d like to make this cup cozy wider you can use the instructions on my Reindeer Crochet Stitch page to make the alterations.
For this crochet pattern you will need:
- Three colors of yarn.
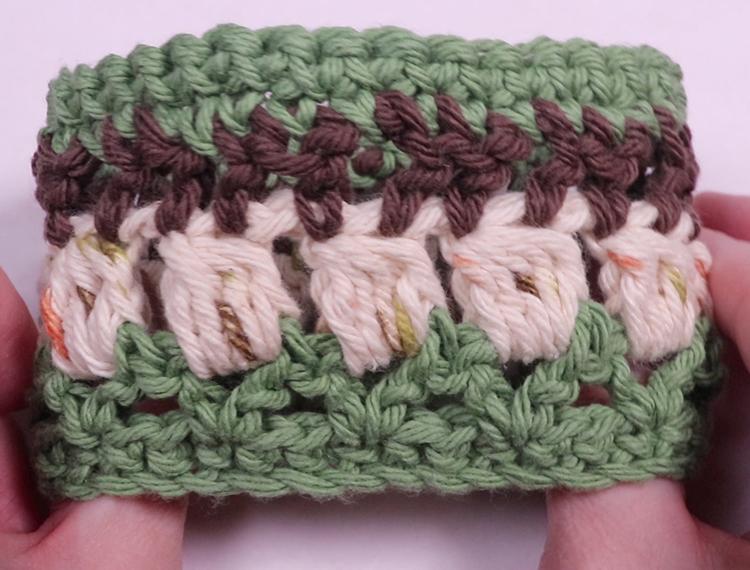
- I used Peaches and Cream yarn in the color “Rosemary” for the main color. It’s a lovely shade of green.
- For the deer heads I used Peaches and Cream yarn in the color “Oasis” which is a really variegated natural color.
- And for the antlers I used Peaches and Cream in “Dark Taupe” which is a rich shade of brown.
- Scissors
- Crochet hook
- I used a siz H/8 5.00 mm
- Yarn needle
Crochet Reindeer Cup Cozy Instructions
- Make a chain of 35. If you’d like to make this cup cozy wider to fit a bigger cup, please refer to the Reindeer Crochet Stitch page for details.
- Once you’ve made your chain, single crochet into the second chain from the hook. We do not count the loop on the hook as a chain. Then single crochet into every chain down the row. When you get to the end, chain one and turn your work.
- Make one more row of single crochets. Chain 5 and turn your work. We’re now going to make a row of V stitches.
- Double crochet in the very first stitch.
- Skip two stitches and double crochet in the third stitch. Chain 2 and then double crochet in that same third stitch. We’re going to continue this pattern until you reach the end. The pattern is: skip two stitches, double crochet in the third stitch, chain 2, double crochet in the same third stitch. You’ll notice we’re making little triangle shapes. It’s important to note that you do not double crochet between making the triangles (when we are skipping two chains).
- When you get to the end of the row, loop in your deer head color and chain 3. Then, turn your work.
- Double crochet 5 together (DC5Tog) in every triangle (or every other hole) starting with the first one. If you aren’t familiar with the DC5Tog stitch it’s basically like making 5 double crochets halfway, then once you have 6 loops on your hook you finish all 5 double crochets together in one full swoosh. Chain 2 after every DC5Tog. These will be our deer heads.
- When you get to the last deer head do not complete the swoosh part of the DC5Tog. Instead loop in the antler color and chain 5 then turn your work.
- Double crochet into that first stitch.
- If you look at the top of your deer heads you will see that there are 2 stitches on each head. One might be smaller and one might be longer. You’re going to double crochet in the first stitch then chain 2.
- Move to the next stitch and double crochet. But do not chain 2. Repeat until you reach the end of the row.
- At the end of the row loop in your original main color and chain one. Then turn your work.
- Single crochet in the first space between the deer antlers (not the first stitch)
- Single crochet into every stitch above each antler and above every deer head. But not between individual deer. Your stitch pattern will be: single crochet in space above head on deer A, on deer antler of deer A, on deer antler of deer B, on space above head on deer b, on deer antler on deer b, on deer antler on deer c…etc.
- Make one more row of single crochets, fasten off, cut the yarn and weave the tail of the yarn into your work using a yarn needle.
Watch the video below for details on how to work the reindeer crochet stitch. This video does not show how to make a cup cozy but it will show you how to make the stitches:


